A few days ago, I released my lastest video, " Robots". It’s a fan-tribute music video based on the song of the same name by Flight of the Conchords. Check it out and enjoy.
Almost a year ago, I mentioned that I had discovered the site www.mytoons.com. In that blog post I mentioned that I felt my animation wasn’t really getting the amount of views I hoped they would get. So I put my animation on mytoons and when the results weren’t immediately different, I completely forgot about my experiment. I check back on MyToons.com from time to time because of their great newsletter, Animation Snack. But I hardly ever check on my own videos. Well, I did a check today and the results are astonishing!
Blender 2.46 was released yesterday and it has a whole bunch of new features- mostly created to facilitate production of Big Buck Bunny. What I’m looking forward to the most is hair/fur rendering, any toolsthat makearmatures easier to skin (the bane of my animation hobby!), a cloth simulator, and the improved sequencer which should allow most of the video editing to take place inside of Blender.
I’d love to play with it, but right now I’m working on some animation projects so I need to wait until at least Fedora comes out with the 2.46 rpm. Ideally also my FreeBSD render farm would also get updated. A lot of the new goodies like hair/fur rendering are not backwards compatible. Good job from the coding team and I hope to test it out soon enough.
I’ve been very happy until now with drqueue. Developed by Jorge Daza, it’s a very nice render farm management software with a nice GUI. It worked relatively well for me for “Jose’s Dinner” and " Schrodinger’s Cat". However, there were two big kinks in using drqueue. First of all, Windows support was so sketchy it might as well be non-existent. So my most powerful computer was left out of the render-pool. Second, with the latest iteration, it no longer works on BSD computers. I tried for a few nights to make it work, but to no avail. So I turned to FarmerJoe.
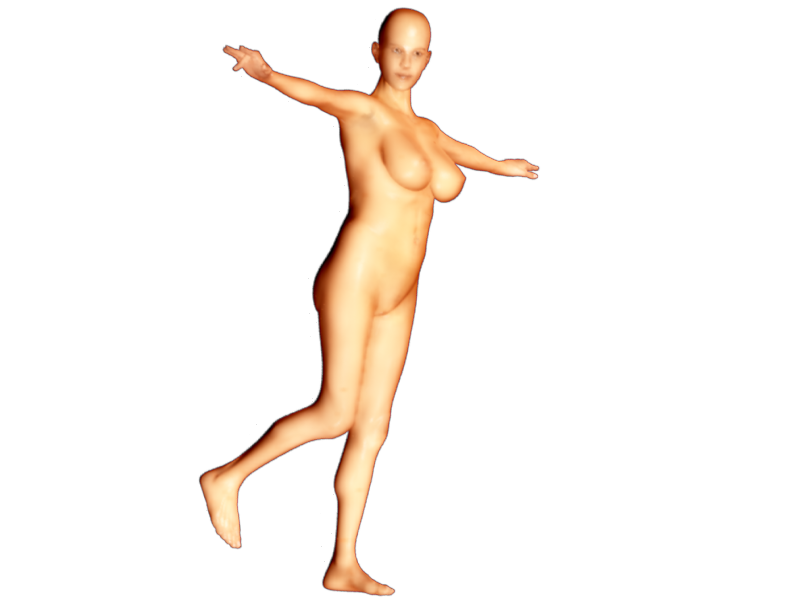
You’re probably asking yourself two questions. 1) When did Eric get awesome at modeling humans? and 2) What are these bald, naked women doing on this site? In fact, you probably asked yourself those questions in the reverse order. Extra points for the MakeHuman team if you didn’t even realize those were computer images and thought they were real.
So, to start off with question 1, I didn’t model those humans in the traditional sense. In other words, I didn’t start with a box or plane and build up a human from there. Instead I used a program called MakeHuman which has similar goals to the commercial software Poser. Poser, as those of us into 3D art and animation know, is software for the posing, animating, and rendering of humans (and occasionally other creatures). Both software packages exist because animators may not want to also be character modelers. Instead they may wish to use a package such as MakeHuman which creates the character meshes and materials for them and then work on the animation. In such a context I wouldn’t call it cheating. After all, in a studio, most artists specialize on one part of the animation (eg animation, modeling, texturing, etc). I may even see myself using MakeHuman or Poser if I wished to have a realistic human character in my animation.
Since I don’t have any animation needing to be rendered for a few months, I decided it was a great time to upgrade Dr Queue to the latest version. I’d heard that a lot of improvements had been added since version 0.60. So let’s see how the upgrade process goes:
On Mario, my Fedora 8 machine, I had to install scons first as it’s now used to buld dr queue. I also had to build it on my FreeBSD machines, starting with KingKoopa, the render master. This also required python to be installed. For Mario, it was very easy, I just ran the install script and it wrote over the old stuff and appears to work. I’ll probably need to copy the new directories over to the common hard drive. Peach and BulletBill already had python installed so they didn’t need scons installed.
Posted over on Blender artist s and told them about the problems I was having with Indigo and getting it to render Suzanne as glass. It turned out that I had two things wrong. One: I needed to set the gain to 2 instead of the standard 100. Apparently this controls the transparency level. Two: I needed to set the absorption color as it didn’t transfer over from Blender. In fact, a quick look on the Indigo forums showed that the materials don’t export over well without some work. Here’s the final result after 28 hours:
For nearly a year now, I’ve seen a lot of really great images in the blender gallery. Many of the most breathtaking images are rendered with outside renderers like Yafray or Indigo. Here’s an example of a subtle, but real-looking render made with Indigo.
I already tried Yafray before, and didn’t really like it too much. I decided to give Indigo a shot. So I went to the Indigo website and followed their directions for rendering with Indigo from Blender. The tutorial shows it as coming out like this:
11 Second Club - Nov 2007 - first pass from djotaku on Vimeo.This is my first pass. I’ve gone through and animated nearly everything for the character on the right (mancandy) except the lip sync. To see it in full HD awesome quality, follow the link containing the video’s title right under the video.
I’ve just finished up my second pass. I finished up Mancandy’s animation and did the arm/hand animation on lil guy. I think it’s coming along very well for my first attempt at something like this. I’m going to set it to render tonight at respower and I hope to find all or most of the frames to be done by the time I get up tomorrow.
The 11 Second Club is a great animation learning tool and a fun contest. Every month they post an audio file that is approximately 11 seconds long (it’s 12 this time) and the members create an animation to go along. At the beginning of the next month, the members vote on the entries and a winner is declared. The emphasis is on the acting of the characters and the backgrounds/props are not supposed to matter. I thought it would be a great thing to do so that I can work on my acting, especially emotions and lip syncing. When I saw this month’s clip, I knew that I had to enter for the month of November! It’s a clip from one of our favorite movies, The Birdcage. I will probably be posting my progress as I work on it. Look for my progress over the next few days.
Ok, I got a better version uploaded. The video is MUCH better quality and the audio is better as well. However, the conversion to flash caused it to go a little out of sync. It’s still not as bad as it was before. Still, for someone like me who’s trying to share their creative vision, it’s quite annoying. Enjoy the improved version. To see my original version, just follow the Vimeo link and download the original .mov file. You’ll notice that the first part is a bit more in sync.
I finally finished rigging up Nick’s body. His face is yet to be done, but at least I finished up this milestone. At this point I’m not sure if I’m going to start work on the facial rigs right away. I’m leaning more towards beginning modeling on my next character, Wallace. This is because at the NY Blender Conference (which was awesome!) I spoke with Bassam about how he handles facial animation and he told me he used latices in combination with shape keys. Every other book I’ve read uses shape keys exclusively or armature-driven shape keys. I figured that while I’m thinking about the type I’m going to use that I can hold off on that and make an armature that will allow me to achieve good results as well as not being a real pain in the butt to use. Also, I’ve done a lot of work on this armature and added a lot of constraints, which I’ve never done before. I think I’m going to make this my general purpose rig for human characters for a while, so I’d like to take the time to get it right - or as right as possible. Then, after a few shorts I’ll either refine the armature or create a fresh one.
I was reading 3D World Issue #95 and they had a tutorial for Blender in the Questions section. It involved having a ball hit a wall of bricks and knocking them down. This is tedious to animate brick by brick, but relatively simple with the Blender physics engine. The following animation only took me about 15-20 minutes to get set up.
But you may notice a problem here. The ball appears to accelerate as it leaves the bricks. That’s because the tutorial was just a quick example of how to do the task at hand. So I set about to find out what was going on and why my ball was not obeying the conservation of energy. It turns out that the settings as described in the magazine kept continuously giving the ball energy. So I had to adjust it so that it would only get energy at the beginning. After that, I got something much more realistic.
It’s something I need to keep reminding myself as I work on getting myself more and more competent with Blender and 3D animation in general. For example, check out the complex rigging I did for Nick’s hand for “Sugar”:
It’s not complex in the sense of having a ton of bones, but complex in the sense that it has a few pointless bones. I tried to come somewhat close to “reality” by making sure that the bones of the fingers are connected to the bones of the hand. These bones don’t really do anything as I don’t want a hand to be able to bend there. Afterall, I don’t need to duplicate anatomy. I don’t have hips or anything like that. The body will move just as well with less bones and will be less complicated for moving if I simplify it as below:
I’ve used and created a few rigs now for my different animated shorts and test animations and I’ve had my share of frustrations with the process. First off, it can be quite tedious to create even a mediocre one. Second, it’s hard to create a good one; forget about how hard it is to create an excellent one! All of my rigging experience post " Penguin Flight" have come from a tutorial I read from the Blender Summer of Documentation. Even then, I didn’t do it from the rigging tutorial (which is incomplete in the most interesting of places) ; rather I did it based off of the Character Animation tutorial (which is quite, quite good and got me started after “Penguin Flight”. In fact, you may recognize it as the source of Raul Domingo).
I don’t like posting too many videos because they could be removed at any time, leaving this post worthless. However, here are some neat cartoons I found. The first one, “Wanted”, I found because it was featured in issue #92 of 3D World. It was the final project of some German film students. It took them 6 months to complete.
“Bath Time” is a cute CG short I found on youtube after watching “Wanted”:
I’ve heard about Yafray so much and I’ve seen that it can deliver VERY photorealistic shots. The Blender internal renderer is not bad - as a matter of fact, it’s awesome. However, for all the really realistic stuff people tend to use Yafray. I tried to use it before, but all I got was a blank screen. Today, doing some research, I found out that, for some reason, the lights need to be jacked up in order for Yafray to work. Click on any of the pictures to see a larger size.
Thanks to the helpful users over at blenderartists.org, I was able to solve the problem of the water turning black upon landing on the table in my fluid simulations. Apparently, I needed to turn on TraShadows (transparent shadows). You may want to save this for your last step because it causes the renders to take a LOT longer. I put the cup, table, and water with TraShadows on and you can see the results. (Click for full size)
I tried another shot at using the physics engine and here’s my latest work. I rendered this at full HD resolution so it took 2 days and 7 hours to render these 990 frames. Enjoy!
I tried another fluid simulation. I still have a few things to learn.
It appears that inertia caused the water to fly out of the cup - I did move it relatively quickly. How can I lift the glass of water without causing all the water to shoot out.
Why is the water black when it hits the table? I had that issue in the first simulation and it also appears to be the case in the tutorial I followed the first time around. However, this is obviously non-realistic. I really intend to investigate this.
Here’s a pretty neat fluid simulation render I did yesterday. I’m pretty happy with the results. It’s based off a tutorial I was doing. I intend to make one that’s a little more involved. This is really computationally intense and although it’s not VERY difficult, it’s not trivial either. Enjoy!
I set “Jose’s Dinner” to render from beginning to end to test the eye and mouth movements I’ve done so far. It’s almost done, but it’ll probably need another hour. So it took around 25 or so hours to render on one computer. Now I have a benchmark against which to see how fast the renderfarm is. Remember that most of my computers are old POS donated computers. So I don’t know how much it will be able to speed things up. Tomorrow I will probably do a test render with the bouncing ball to see how much more quickly that one renders. I’ll be excited to see the results.
Last night around 2300 I finished up the preliminary 3D render of Jose’s Dinner. Now I just need to tweak up the animation with the fine details such as blinking and mouth movements. After that I just need to create the soundtrack and credits and the short film will be completed. I’m excited about debuting it, so this will probably take up all my spare time (instead of playing games or watching tv).
I discovered a great CG artist named Daniel Martinez Lara who has some great material on the web. I discovered him because he recently started using Blender, whereas he had been using commercial 3D software previously. If you want to see a great animation that’s only a couple of minutes long, check out Changes.
Blender Nation has been one of the really great rigged up characters available for use in Blender, mancandy. It’s very useful for people who want to focus on backgrounds or learn how to create a semi-realistic humanoid and rig. After seeing this story about different pictures people created with mancandy, I decided to give it a shot. It’s a very well rigged character and I think I will use it to practice facial expressions and body language. I only played for about 5 minutes, so I know there’s lots I’m not taking advantage of, but here’s my best shot. It’s now my Windows background image. Link is to a background-sized image.
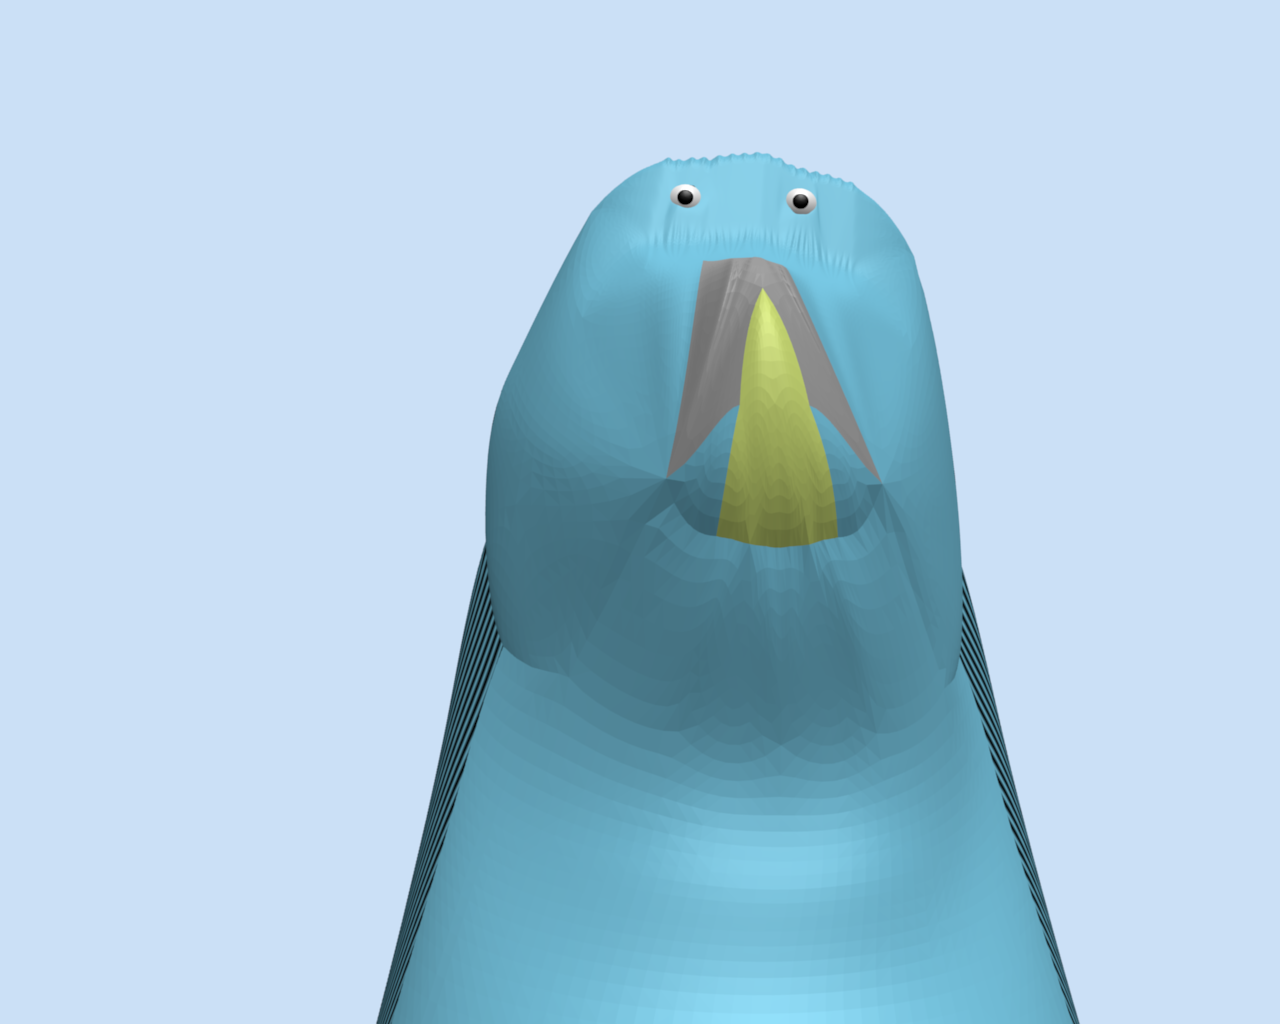
I started working on a new animation project a couple of weeks ago. I’m pretty excited about this because it’s going to be my first animated short with a plot. Sure, the Penguin Flight animation technically had a plot. But it didn’t have a valid story-telling plot. There was no conflict - it was boring. (Not to make, but to watch) For this new animation I’m going through all the steps - starting with writing a story and storyboarding. Then creating a 2D animatic. This is not, by the way, the budgie video I was previously planning. That one has been shelved for now because it didn’t really have a plot and I am really into this new story. I’ll go back to it later, I think. Also, you may see the bird make cameos in other shorts. At the very least, it was a great exercise for me to learn more about modeling.
Just got a book today that I ordered from Amazon.com - “Inspired 3D Short Film Production”. As I watched the DVD of shorts that came with the book and thought of the dozens of ideas swirling around in my head, I came to terms with the reality of computer animation - the animation step itself, it pretty trivial with respect to the rest of the process. In other words, in a good animation package like Blender, the animation is actually the relatively easy part. The hardest part is making the objects, giving them textures/colors, and rigging them up with bones so they can be animated. After that, animation is relatively easy. Relatively easy because, it’s still pretty hard to create convincing animation. However, making a good model in the first place is tough. It takes the Blender character animation book until page 82 to finish up a character of moderate difficulty. Of course, the process gets fast with time. I was able to model the budgie a lot faster than I was able to model my penguin and Raul Domingo. However, it still takes a fair amount of time to model a reasonably nice character.
Luckily, my younger brother pre-ordered this for me for my birthday (which came months ago), because the book is now sold out. Ever since I heard about it in Oct 2006, I couldn’t wait for it to come out. There are really great tutorials online, but I needed a nice coherent, beginning to end book to guide me through the process at least once. As you know, I’ve already done one animated short, " Penguin Flight", and a few quick animated scenes in preparation for my next animated short, " Budgies". However, although I have the basic techniques down, I know there are enough gaps in my knowledge to make any reasonably length animation a pain in the butt.
from my vimeo page:
The cartoon I’m going to be making featuring the budgie you’ve been seeing will take place in this apartment living room.
There seem to be two flaws.
The camera seems to move in a strange, unanticipated way in the beginnig
I need to fix the lighting situation. I had done most of my lighting testing with the walls off, adding the walls has apparently caused a lot of light to be blocked.
The short will take place in an apartment living room so I’m taking a little bit of a break with the budgie to work on the living room. (This is, in many ways, a lot easier than the bird, so it’s a welcome change)
Finished my first ever couch today. I’m pretty happy with how it came out. I didn’t even look at any tutorials - I just worked at it for about 30 minutes until I figured out the best way to represent a couch and what I would have to do to get it. Blender is one of those tools, like Photoshop, that takes a while to get used to, but then, once you start thinking in the program’s paradigm, you become insanely productive. So here’s what the apartment looks like so far in lo res and, by clicking, hi res. (The object hanging on the wall is a very small LCD Tv. I hope to give him a larger allowance so he can buy a bigger Tv. q;o) But for now this’ll do.
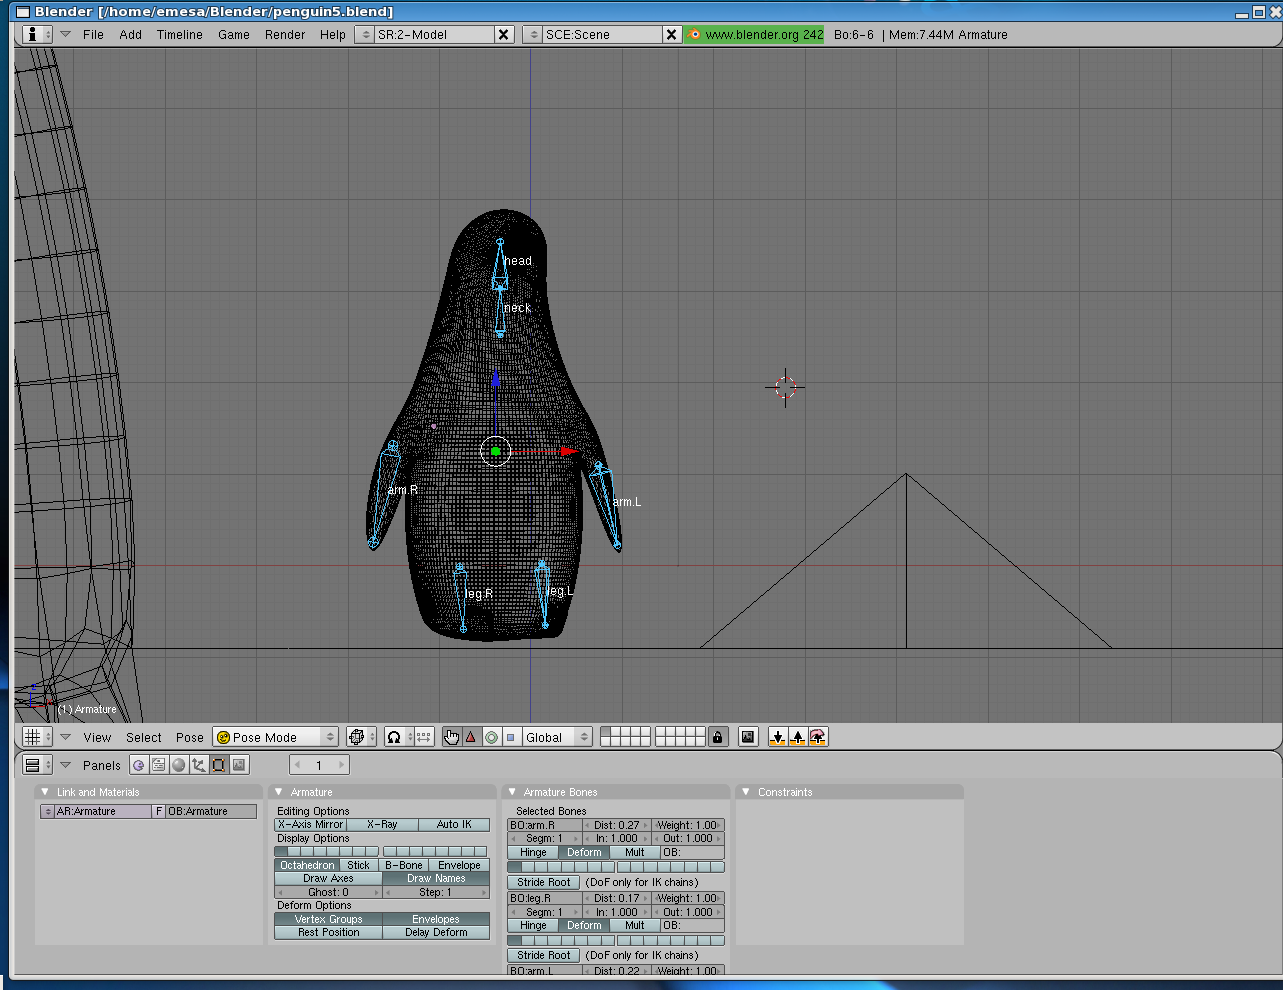
The budgie is almost complete. Here I am testing all of the bones. I just have a few things left to fix up with the bones. Then I need to fix the tapering of the wings. After that I just have a few little things like making the bird blink. Then I’ll be about 80% done towards finishing up the cartoon the budgie will be staring in.
Finally got to do some more work on the budgie today after having taken about 4-5 days off to do other stuff like photography and be with my wife. Finished rigging up all 6 toes on the bird. All I have left in the rigging is to do his legs and creating a tracking bone for moving his eyes. Here’s another foot animation to showcase all the little toes moving around. I hope the next one will have the entire bird moving through his entire range of motions as a test.
My budgie is almost ready to perch. I finally finished getting all the bones in the right front toes. This is the annoying part of computer animation. I need to make bones for each part of the body I wish to move and then tell the bones what parts of the flesh they move.
So here he is moving his toes around and getting ready to perch.
Didn’t get to do any work on the budgie 3 Jan 2007. However, I did get a lot of texturing and adding of bones done late on the second, I just didn’t post it. Here are some of the highlights.
I added the strips behind the head, which you can see much better in the picture after this one.
I also added some “feathery-white” textures based on a picture I saw online of a blue budgie.
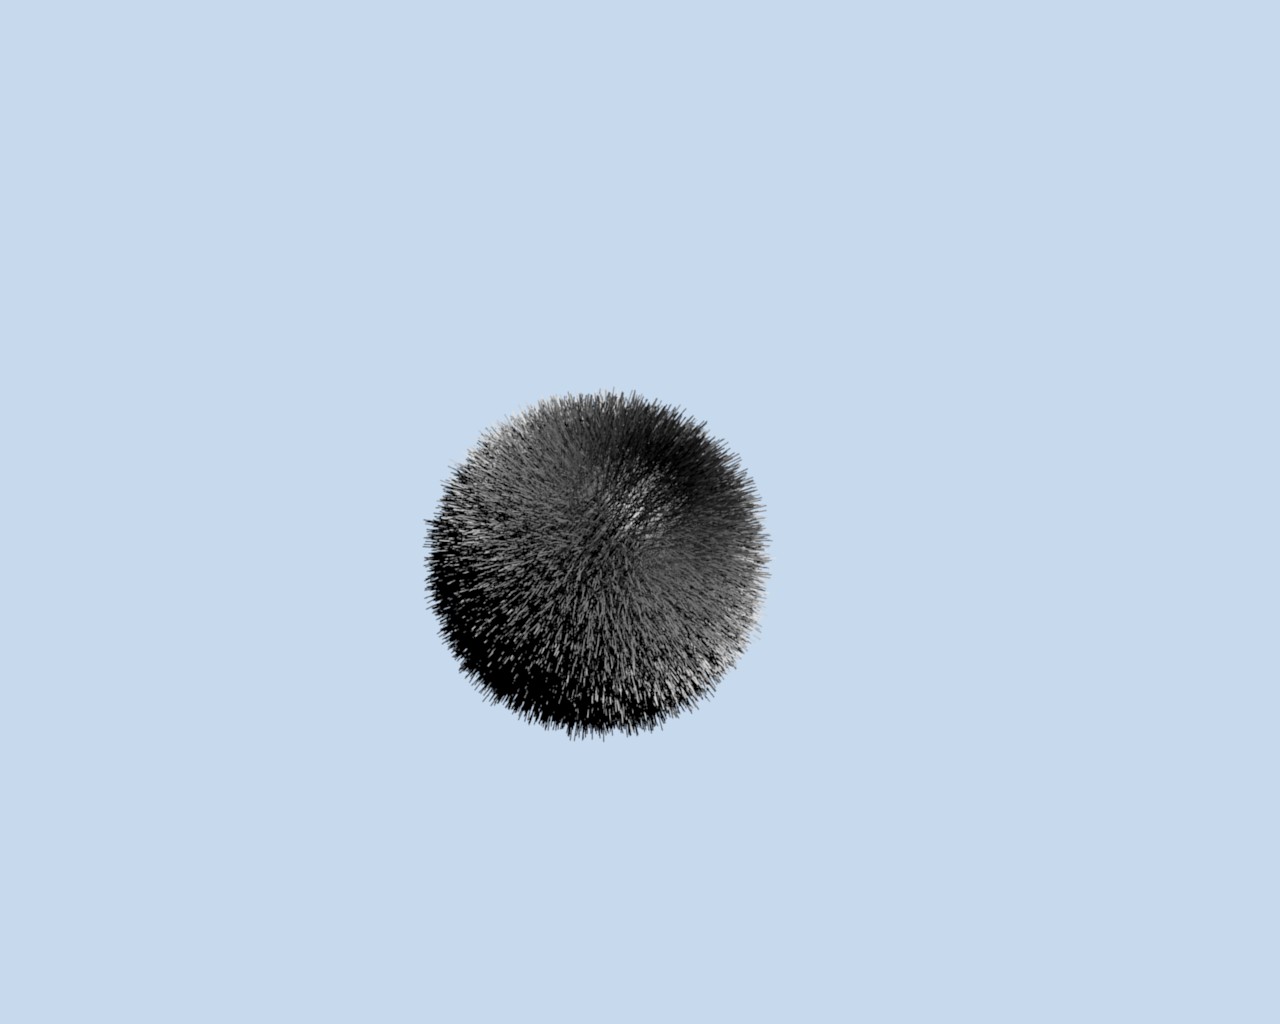
I wanted to play a little with particle systems in Blender and see if I could get some realistic fur. I came to the conclusion that I need a lot more practice before I try to implement it. Sure, making a furry sphere went very well.
I even got a little bold and added some color to my furry sphere.
But things got a little messed up when I tried to add fur to Danny!
Raul Domingo and the little Penguin. This turned out to be a lot harder and more complicated to put together than I imagined. Thankfully the programmers are working on a better implementation. (Click on the picture for a larger version that may work better as a background for your desktop)
Alright, I finally finished up the animation for Raul Domingo. In addition to all I did before, I now know how to lip sync, use the NLA editor, and do some other pretty neat stuff. I technically know how to make him blink, but I was having some technical difficulties and wanted to get the animation going, so I skipped that for now. Part of the animation involved creating facial expressions for Raul so that he could speak and show basic emotions. Here are some of the facial expressions. (Link to the videos below)
I’m making really great progress on Raul Domingo. As I mentioned yesterday, the fact that I’ve already used Blender before is really helping me understand what I’m doing instead of hunting down where things are. Today I not only finished putting bones into the legs and feet, but I’ve also done a wonderful walking and waving animation section of the tutorial. You get to see that probably tomorrow. It’s amazing to see what kinds of things are so easily neglected if you don’t know what you’re doing.
I forgot to add this to the end of the last post and I’m a bit of a stickler for editing posts once they’ve gone public. I am going to name him Raul Domingo after my late grandfather who I never got to meet, but feel that I know via all the stories I’ve heard of him. I know I would have loved to have met him and look forward to doing so in Heaven (after a long live on Earth - I hope!).
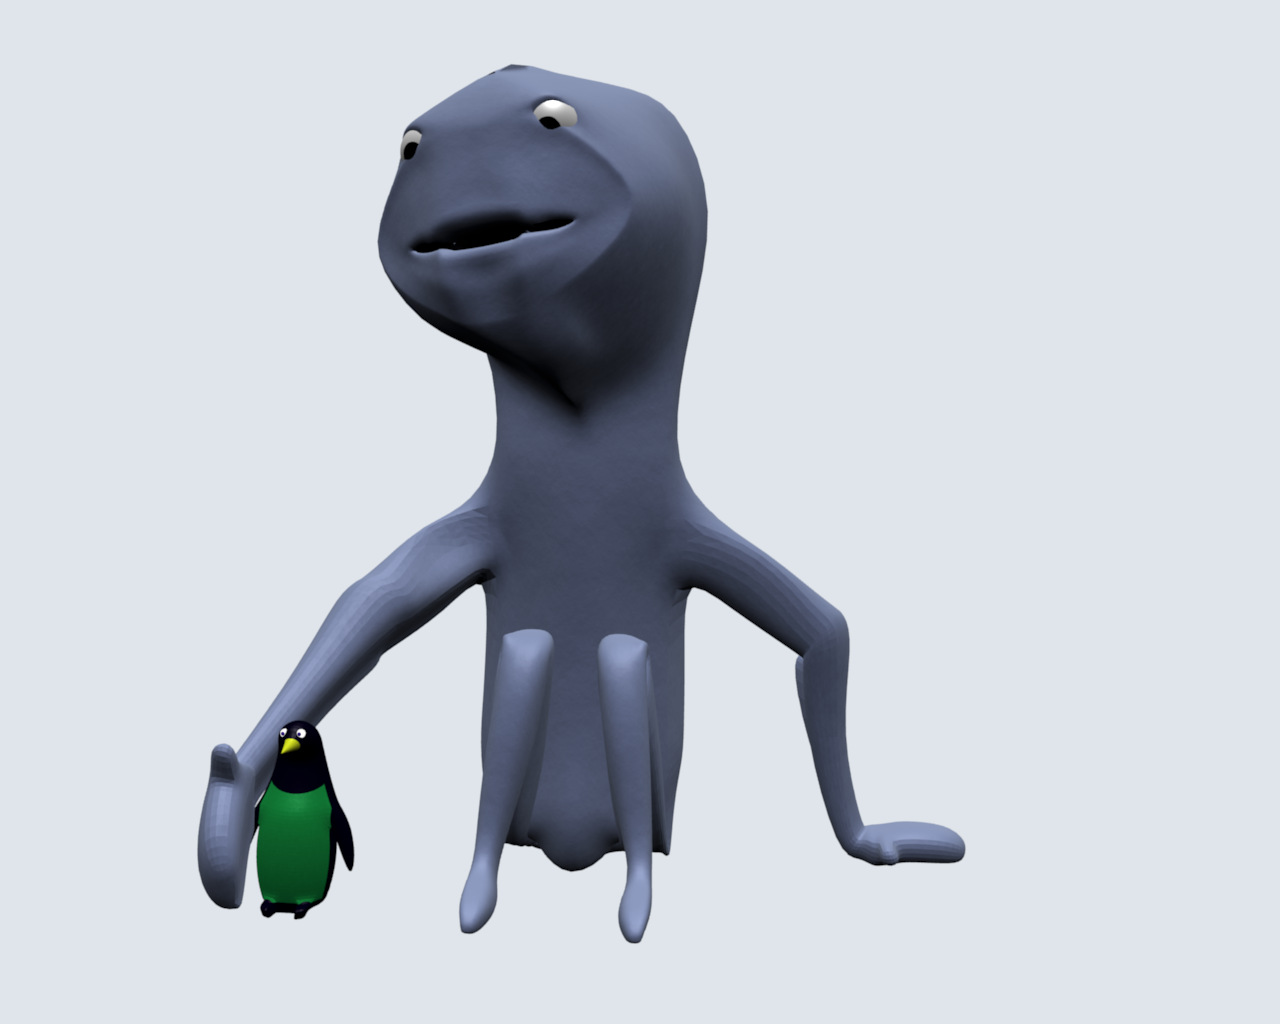
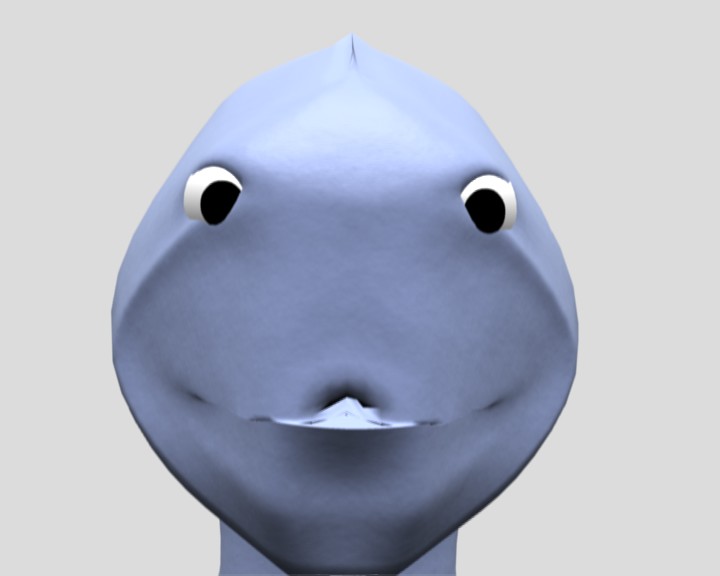
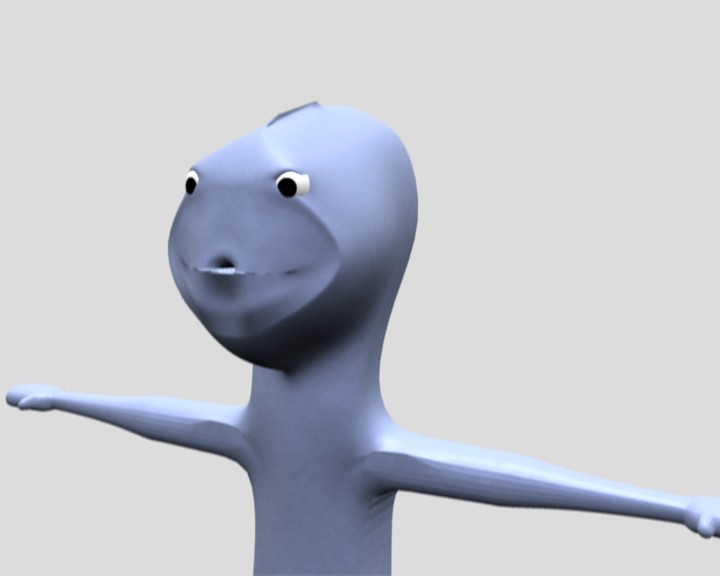
I stress the word humanoid because it would be quite a stretch to call it a human. It is roughly human, but the head is not quite as spherical as a human head. However, I think you will notice quite a few improvements over my previous render, the penguin.
Most notable should be that the skin looks a little more skin-like. This time instead of looking so plastic-like, the current set of tutorials I’m following has taught me about materials and textures. I really hope you can see the textures on your screen. This really looks like clay to me. I’m moving along a LOT faster than the penguin. I was really shooting blind with that one. I was in such a hurry to get my first ever computer animation out there that I learned as I went along. Not quite what you want to do with Blender. Now, I’m realizing how a lot of these things work. It also helps that this tutorial is not my first time using Blender. I have a better idea of where to find things and how to navigate around. Another improvement you may notice is that the eyes look a little more realistic. This has to do with the way I applied the materials and colors to it when compared to the penguin.
You can see Penguin Flight, my first-ever CG short subject film, at drop the bomb production’s CG Animation Page. It’s at the bottom. Read the description first and then give it a shot. It took roughly a month to get that sucker down. I expect my next one to take longer as well as be of better quality. Please enjoy it!
Got some advice on rendering. Apparently for the amount of frames I did, it’s much better to render them as individual frames and then piece together the AVI from that. So I chose PNGs since they are lossless. If the last render session is any indication, it’ll be nearly Thursday before I can put the finishing touches on the animation. Darn! Hopefully this works well and is just a lesson learned.
The rendering of my penguin cartoon is over. Now I will review it and add a soundtrack. If everything goes right I hope to have it up by tomorrow or Wed at the latest.
I finally finished the animation for the penguin short. It looks to be about 2 minutes long. (Not including opening and closing credits) I will now begin rendering and we shall see just how long it takes to render. I was originally going to do an HD render, but I’m afraid it will take much longer than NTSC. Also, I had been using 25 frames/sec and NTSC is 30. Since I’m going to edit it later to add sound, I guess I’ll do with 30 frames per second. So it may move a bit faster than I thought. Actually, I think the biggest lesson I will have from this animation will be timing. It’s been hard trying to think about how long things take. What should happen after one second? What happens in a half-second?
Oh, all of my penguin CG renders are, of course, copyrighted to me. However, I am copylefting them under the Creative Commons Attribution-NonCommercial-ShareAlike 2.0 which you can read about by clicking on the link.
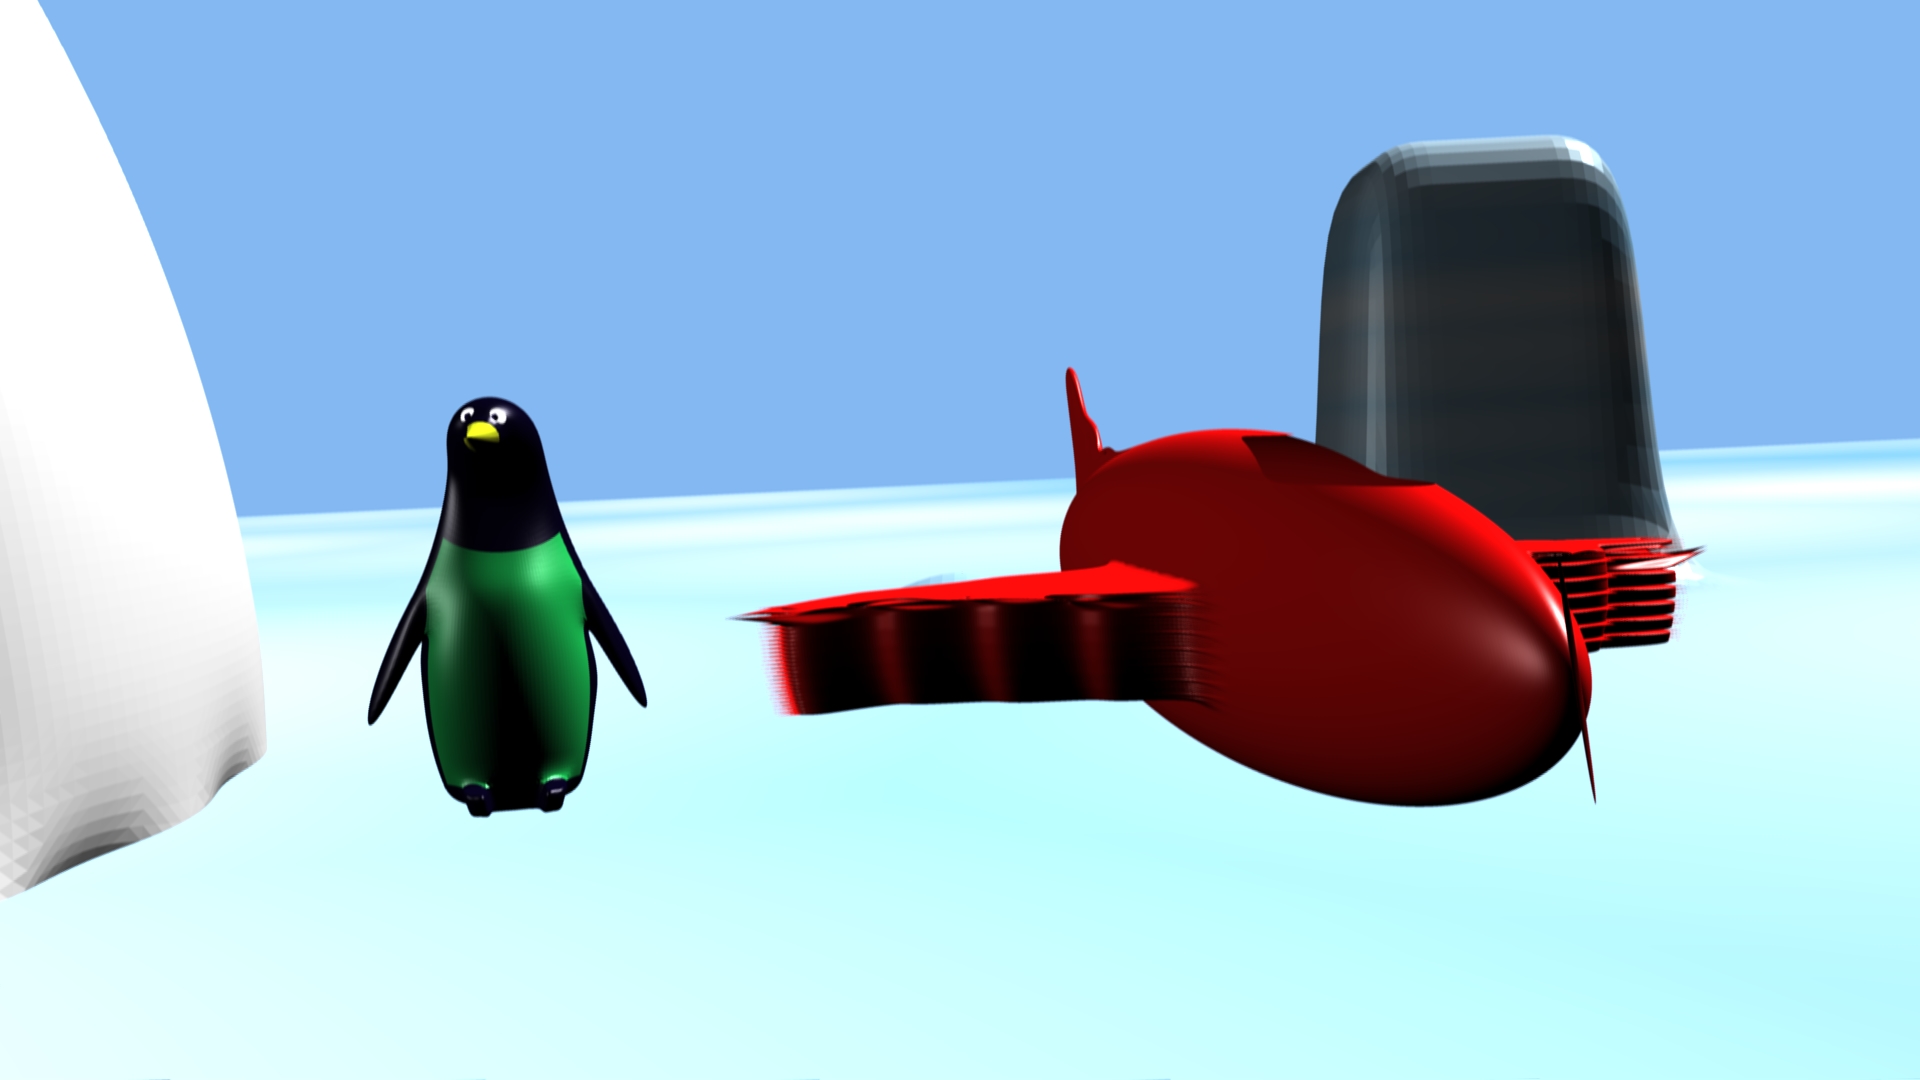
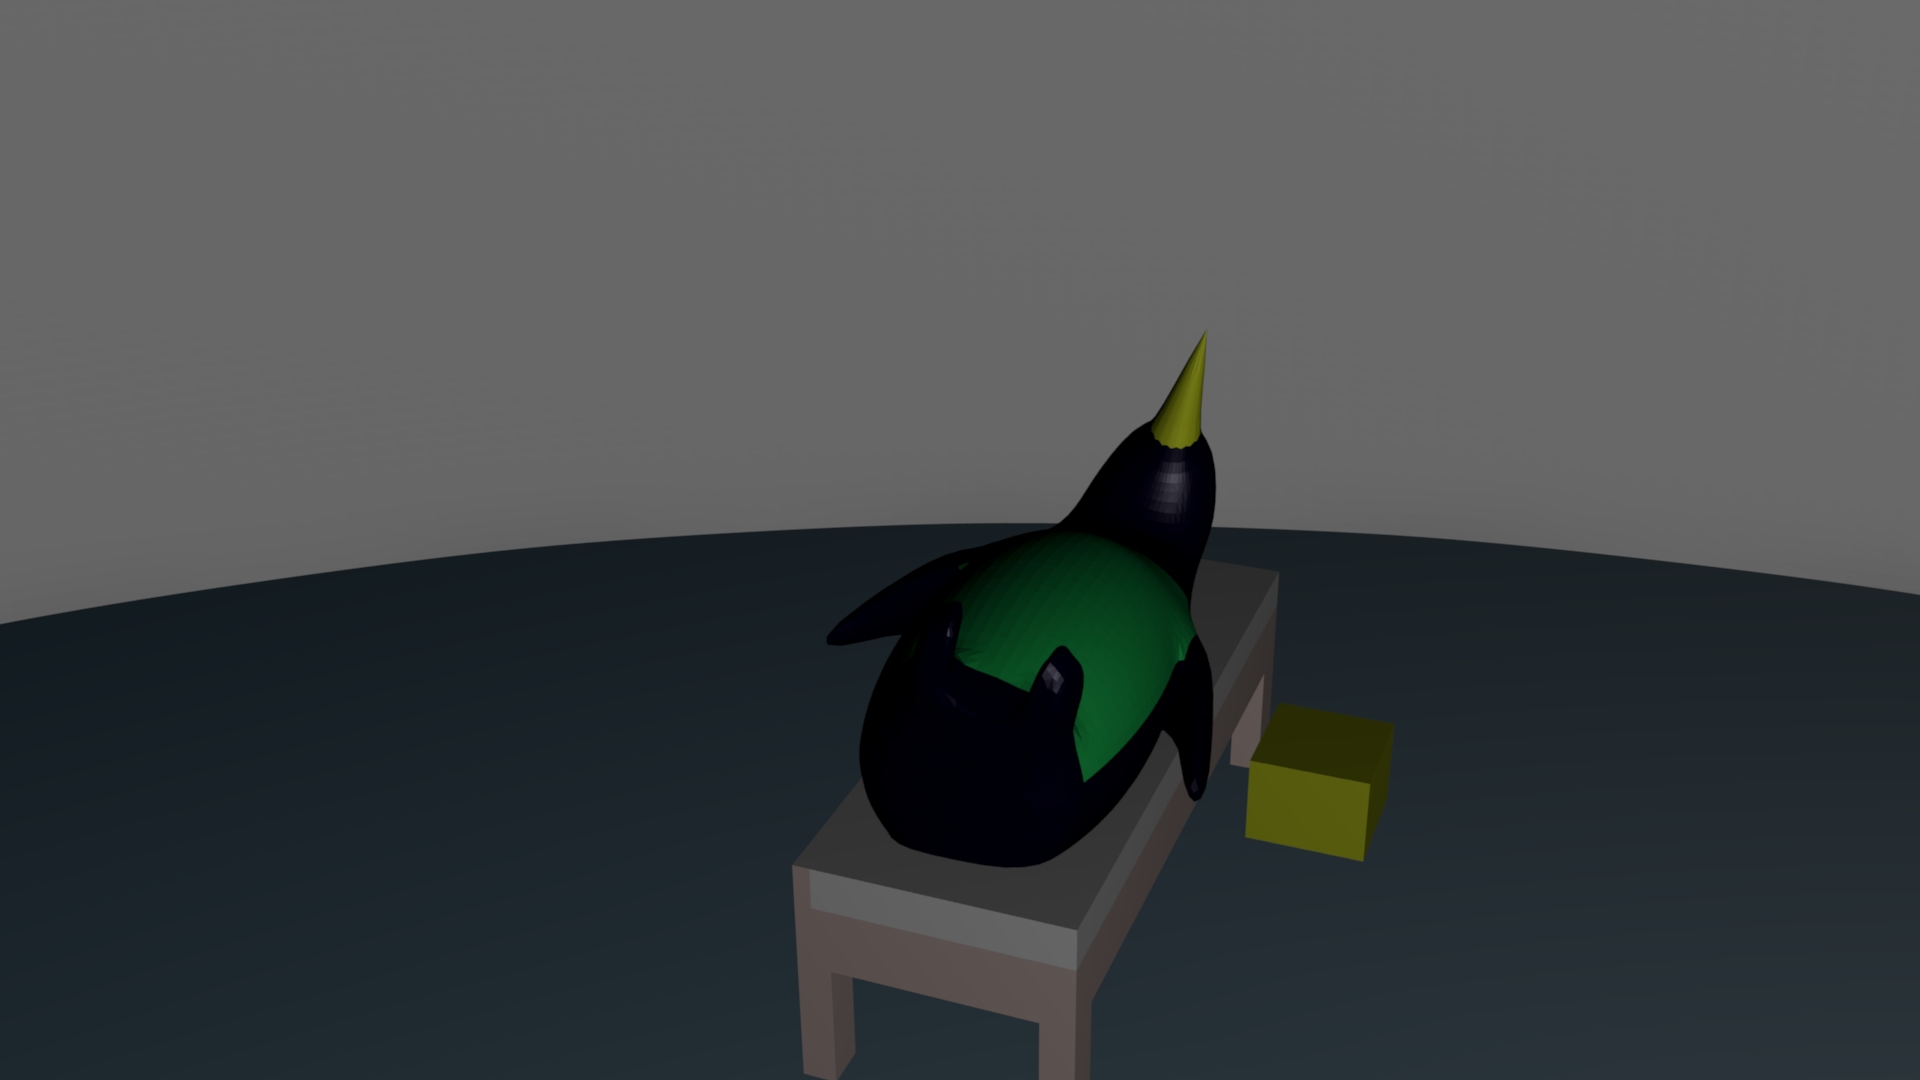
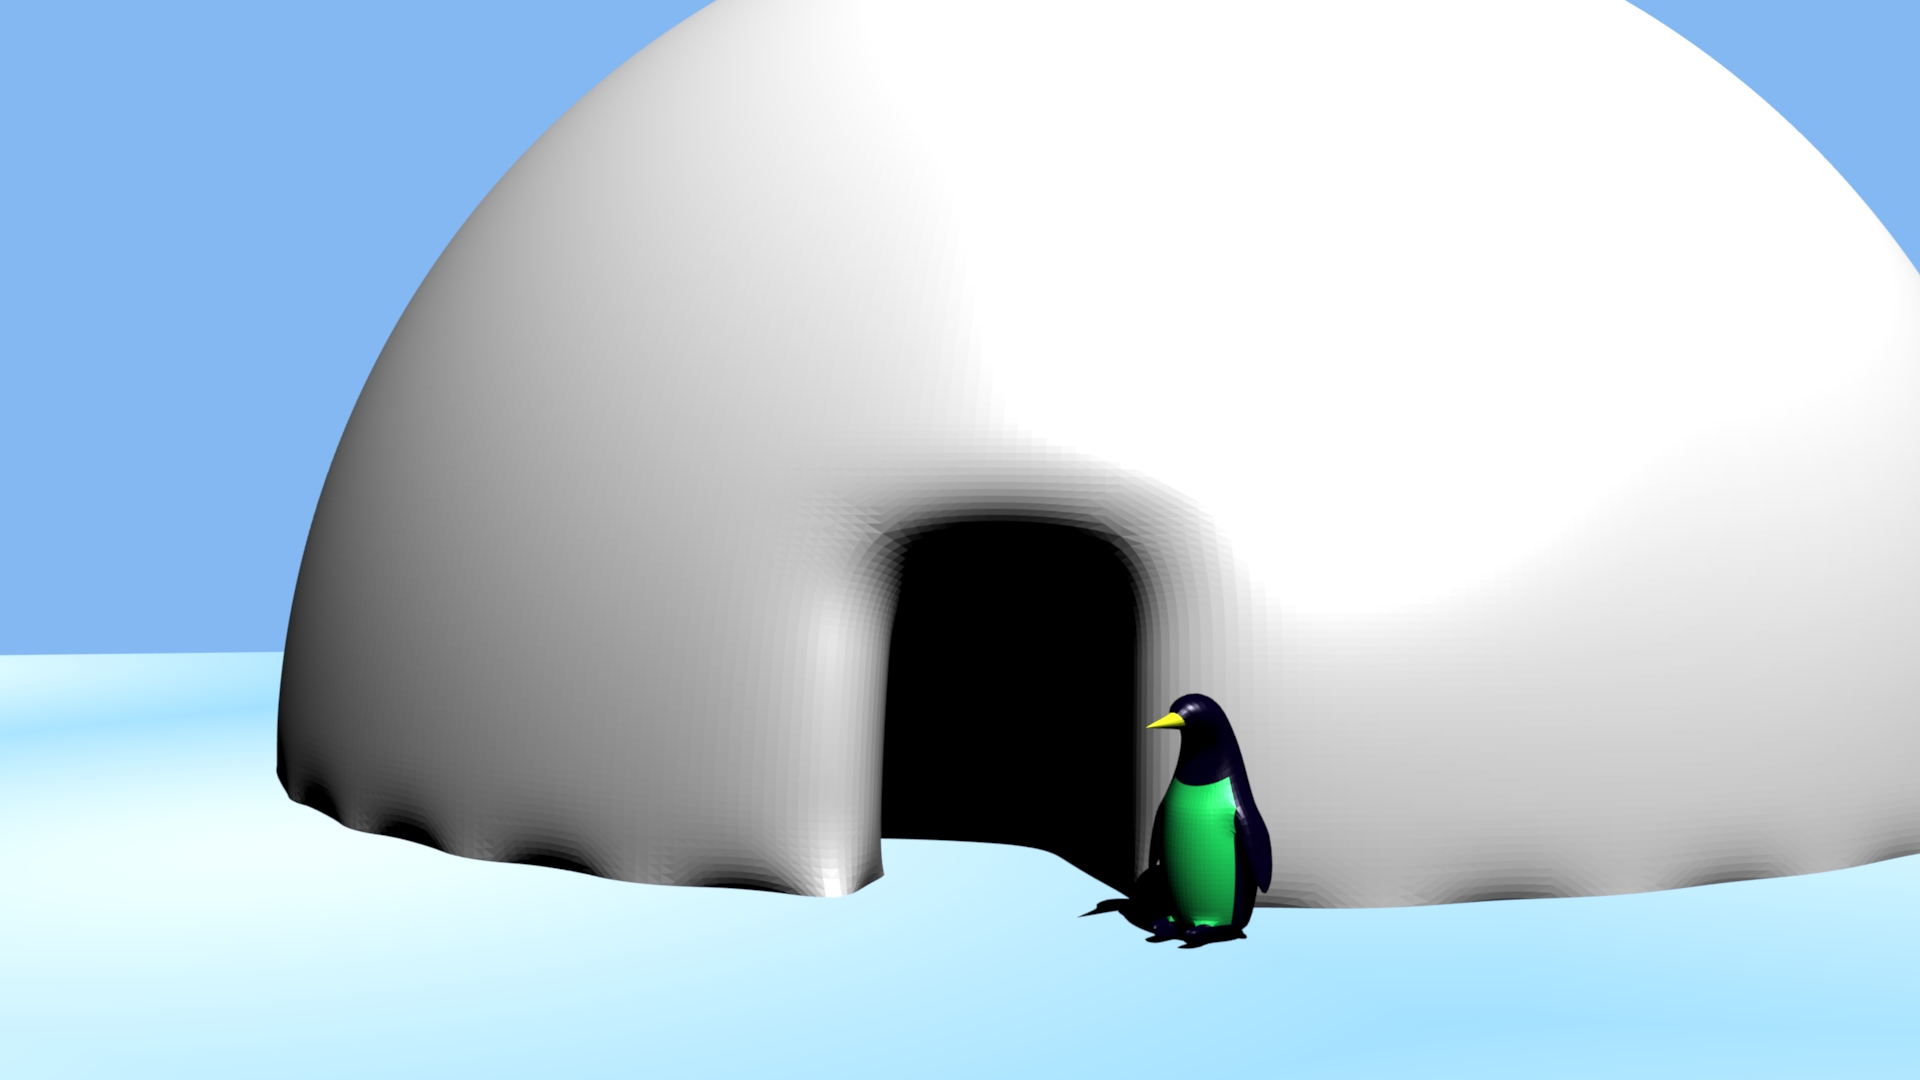
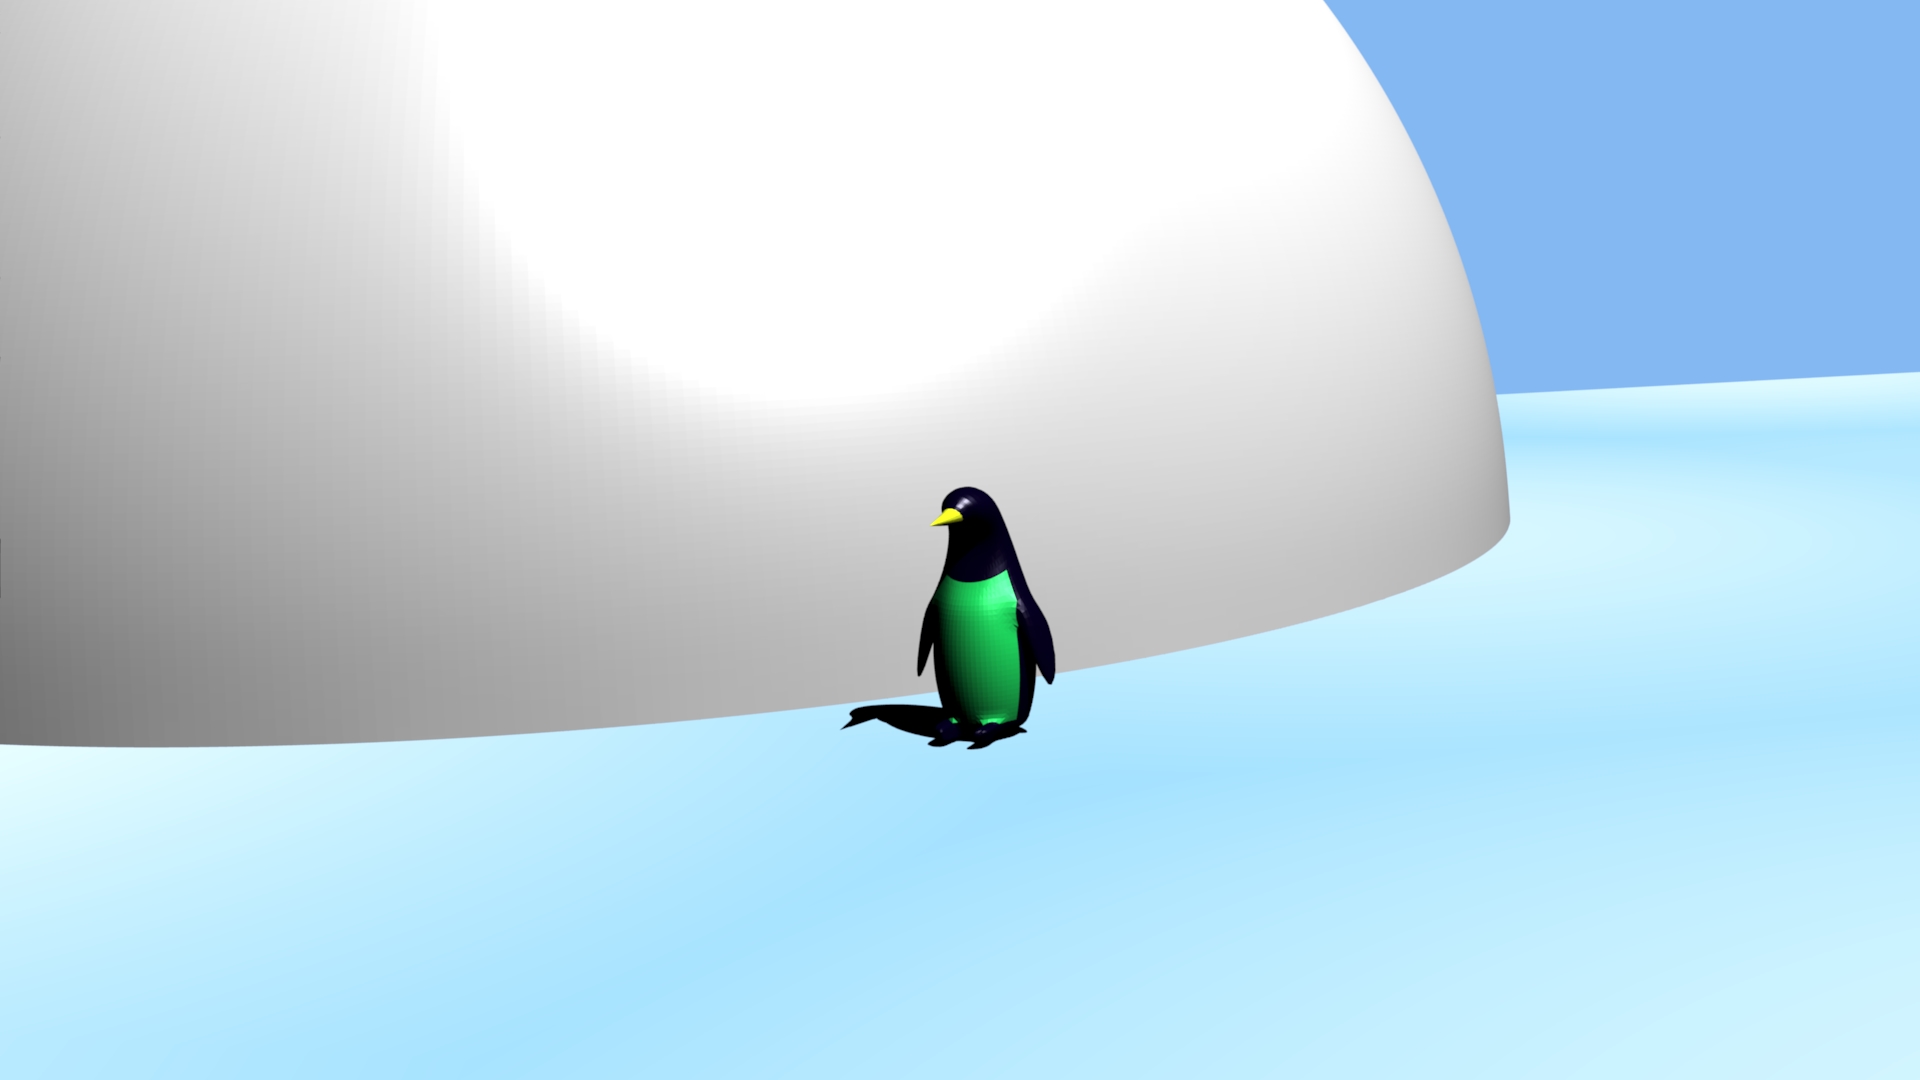
Unfortunately for him, I haven’t built an opening into his igloo yet, so he’s kinda stuck outside. That’s fine because I haven’t made him any furniture yet! But then again, I haven’t made him eyes yet, so perhaps he doesn’t know about the igloo yet? So much to do and so little time to do it all!
By the way, if it isn’t clear, if you click on any of these penguin pictures you can see the full-resolution size.
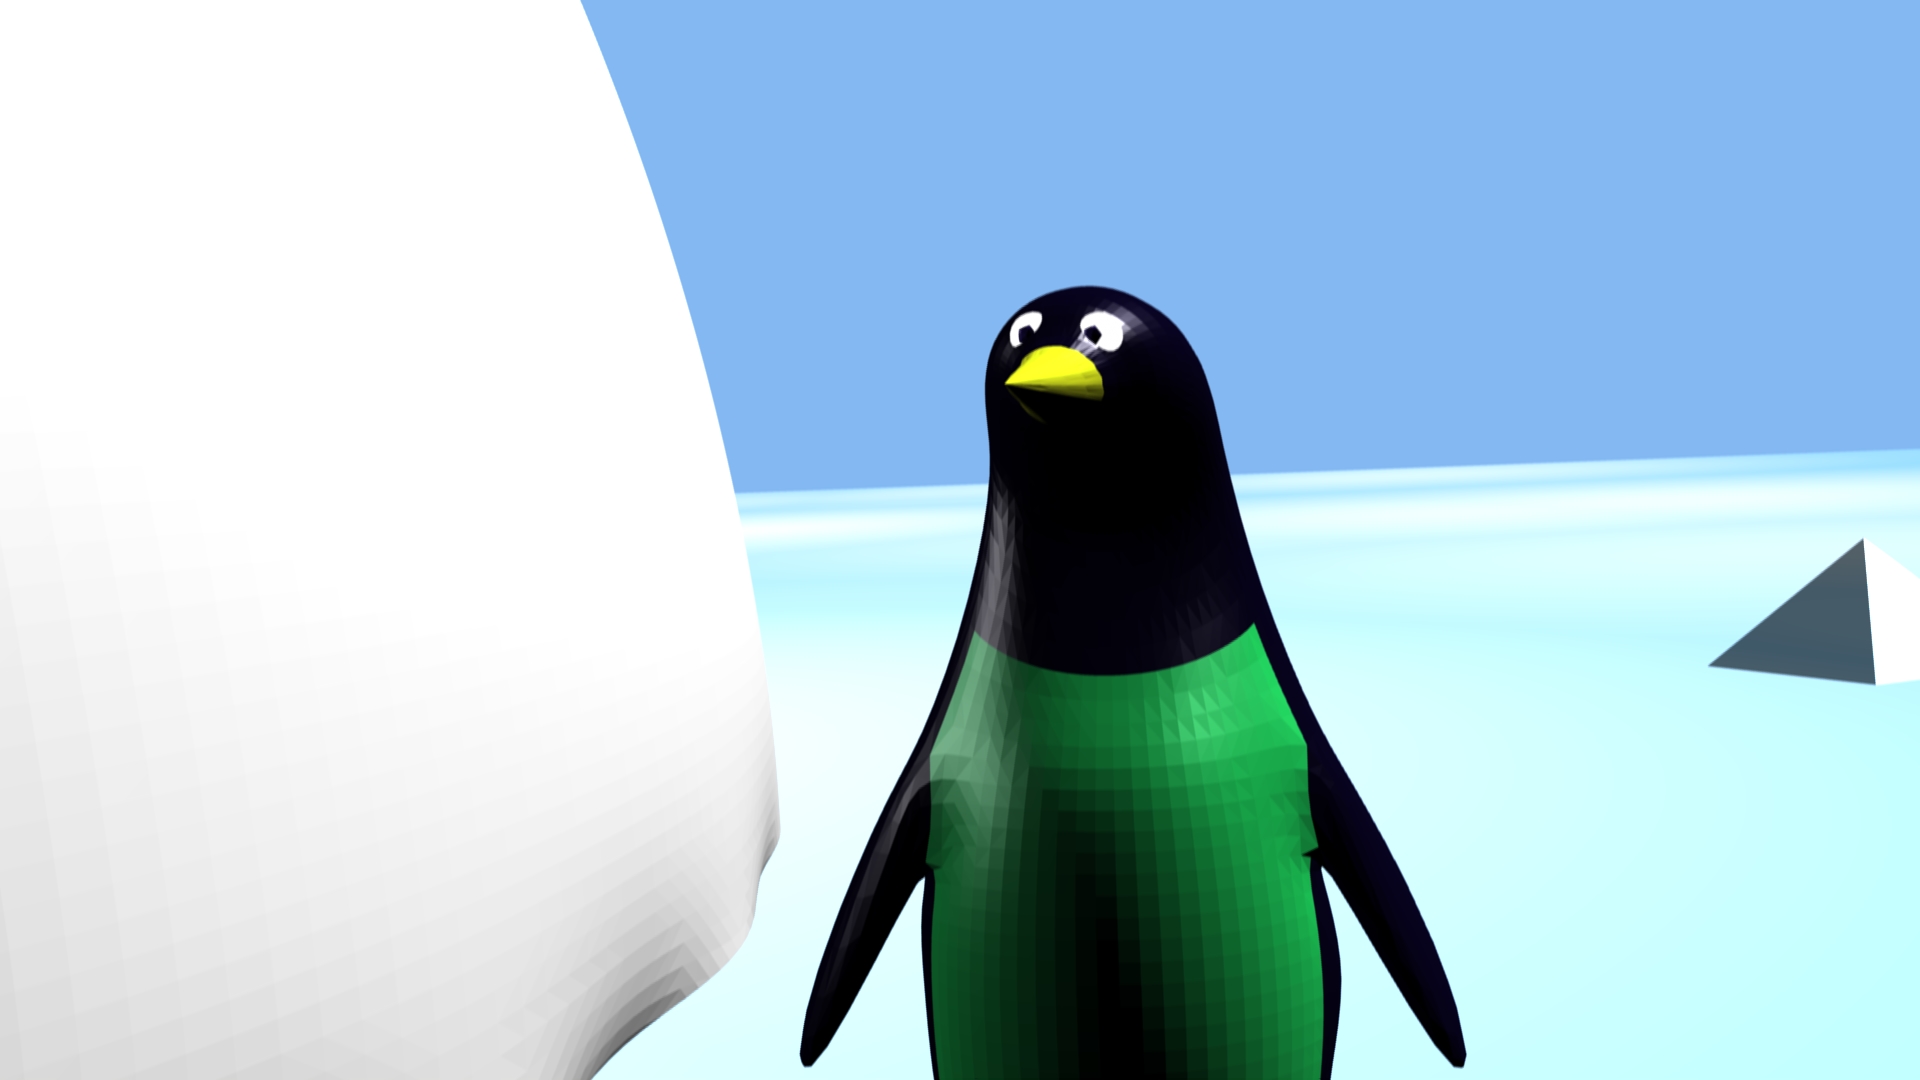
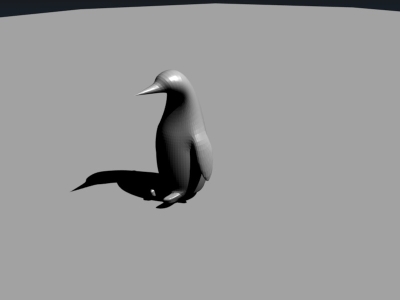
Here’s my second render. I love penguins and they’re the mascot of Linux, so why not work on penguins. Here’s how I progressed with my penguin as I learned more last night. And….BONUS….here’s my second video. This one’s 8 times as long as the previous one! Watch Penguins Jump (and Cameras move)!
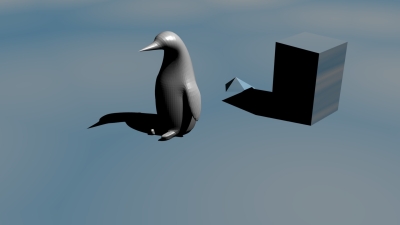
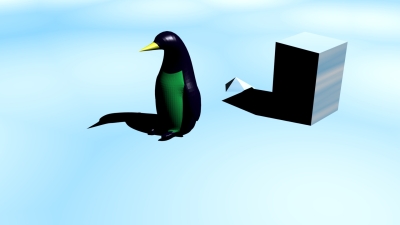
Here’s my first (admittedly simple) render with Blender. I did one before, but I didn’t really know what I was doing. This time I’m gearing up to do some serious playing. Full size is available by clicking on the picture. I also created a very short animation (just over 1 second) to test the animation process. You can access that here: Eric’s Cube and Mountains Animation (watch out Pixar!) You will need Divx and/or Xvid codecs to watch the animation.
 You’re probably asking yourself two questions. 1) When did Eric get awesome at modeling humans? and 2) What are these bald, naked women doing on this site? In fact, you probably asked yourself those questions in the reverse order. Extra points for the MakeHuman team if you didn’t even realize those were computer images and thought they were real.
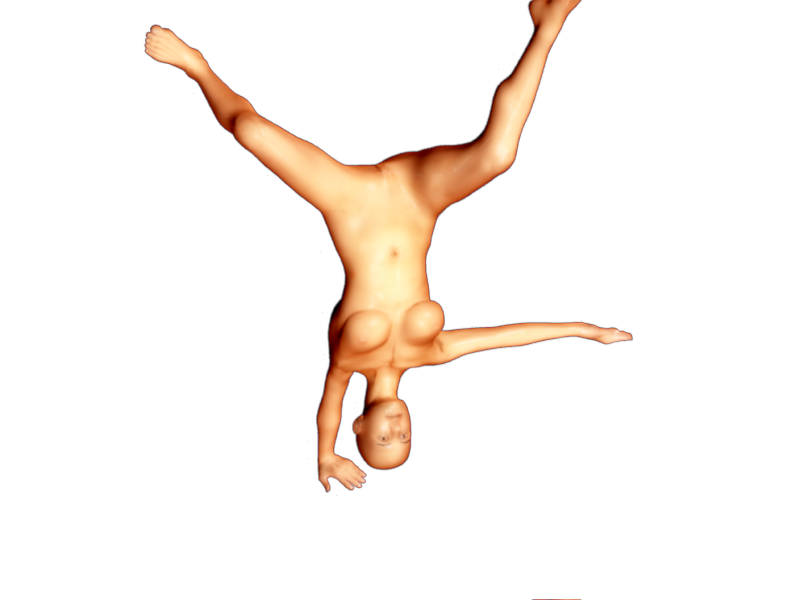 So, to start off with question 1, I didn’t model those humans in the traditional sense. In other words, I didn’t start with a box or plane and build up a human from there. Instead I used a program called MakeHuman which has similar goals to the commercial software Poser. Poser, as those of us into 3D art and animation know, is software for the posing, animating, and rendering of humans (and occasionally other creatures). Both software packages exist because animators may not want to also be character modelers. Instead they may wish to use a package such as MakeHuman which creates the character meshes and materials for them and then work on the animation. In such a context I wouldn’t call it cheating. After all, in a studio, most artists specialize on one part of the animation (eg animation, modeling, texturing, etc). I may even see myself using MakeHuman or Poser if I wished to have a realistic human character in my animation.
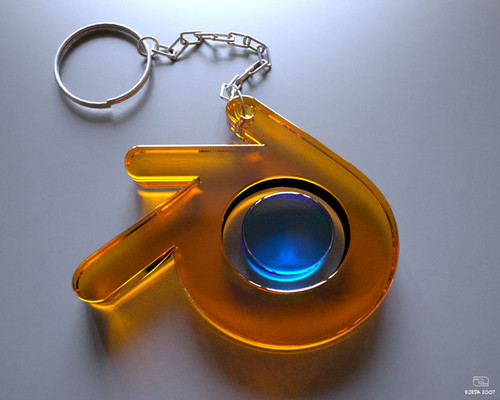


 I even got a little bold and added some color to my furry sphere.
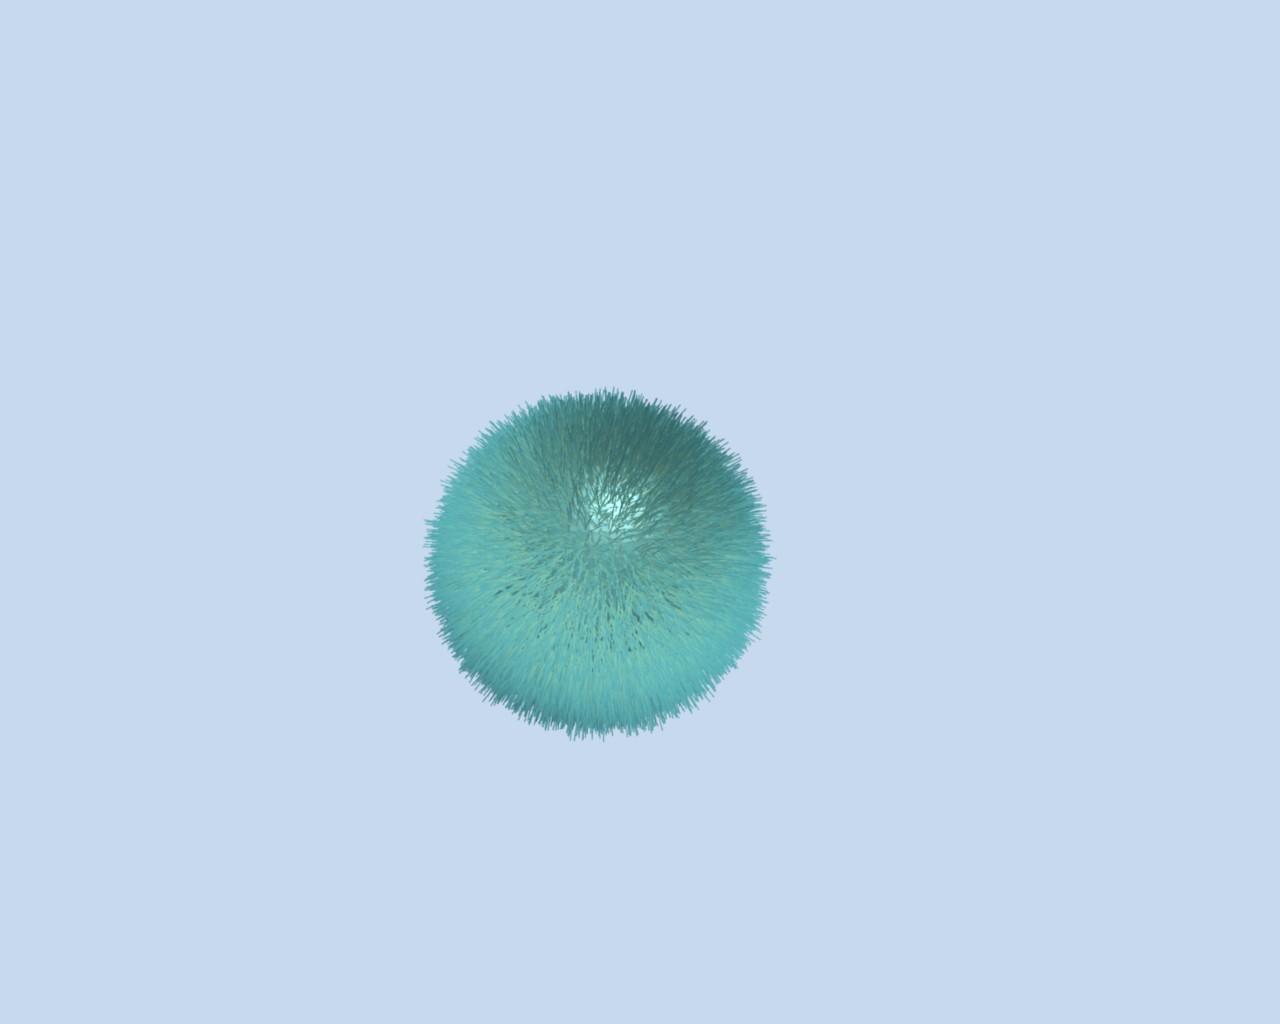 But things got a little messed up when I tried to add fur to Danny!