First Try with Indigo Renderer
EricMesa
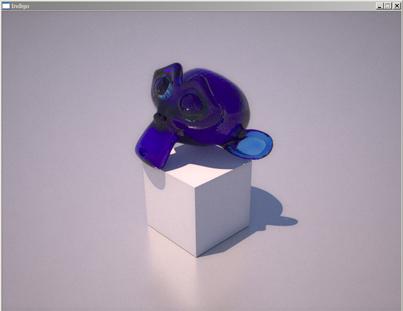
- 3 minutes read - 577 wordsFor nearly a year now, I’ve seen a lot of really great images in the blender gallery. Many of the most breathtaking images are rendered with outside renderers like Yafray or Indigo. Here’s an example of a subtle, but real-looking render made with Indigo.

I already tried Yafray before, and didn’t really like it too much. I decided to give Indigo a shot. So I went to the Indigo website and followed their directions for rendering with Indigo from Blender. The tutorial shows it as coming out like this:
 Here’s how mine came out:
 For comparison purposes, here’s how it looks with Blender:
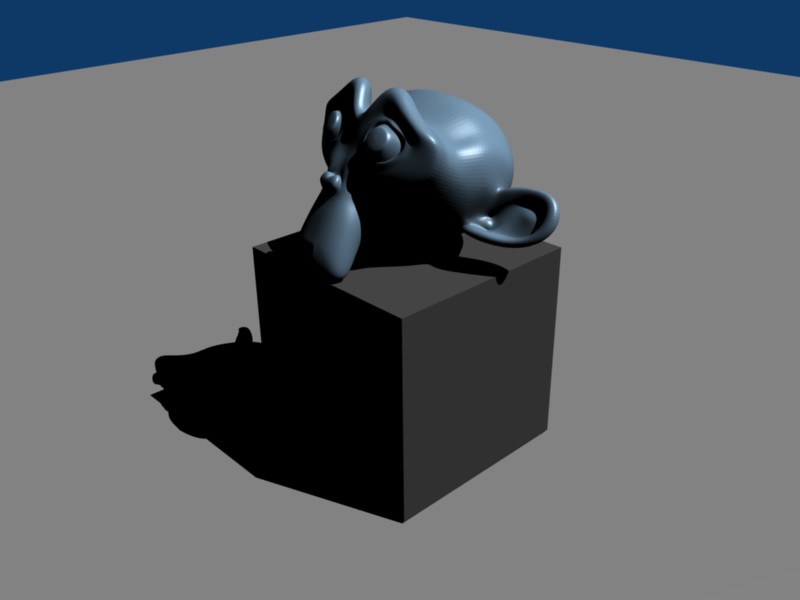 To be fair, for the Blender internal renderer, I’d have to have a different lighting setup as Indigo takes the “sun” light and lights up the entire scene. This might be a more fair comparison.
 But before I continue, I want to go back for a second and talk about how Indigo works. Indigo works by pretending to be a camera, albeit a very, very slow camera. It shoots out light and then calculates where it will bounce from. Then you wait for the “film” to develop. It continuously refines the image and you stop the process when it looks good enough. The following will illustrate it very well. When I first launch Indigo, this is what my image looks like:
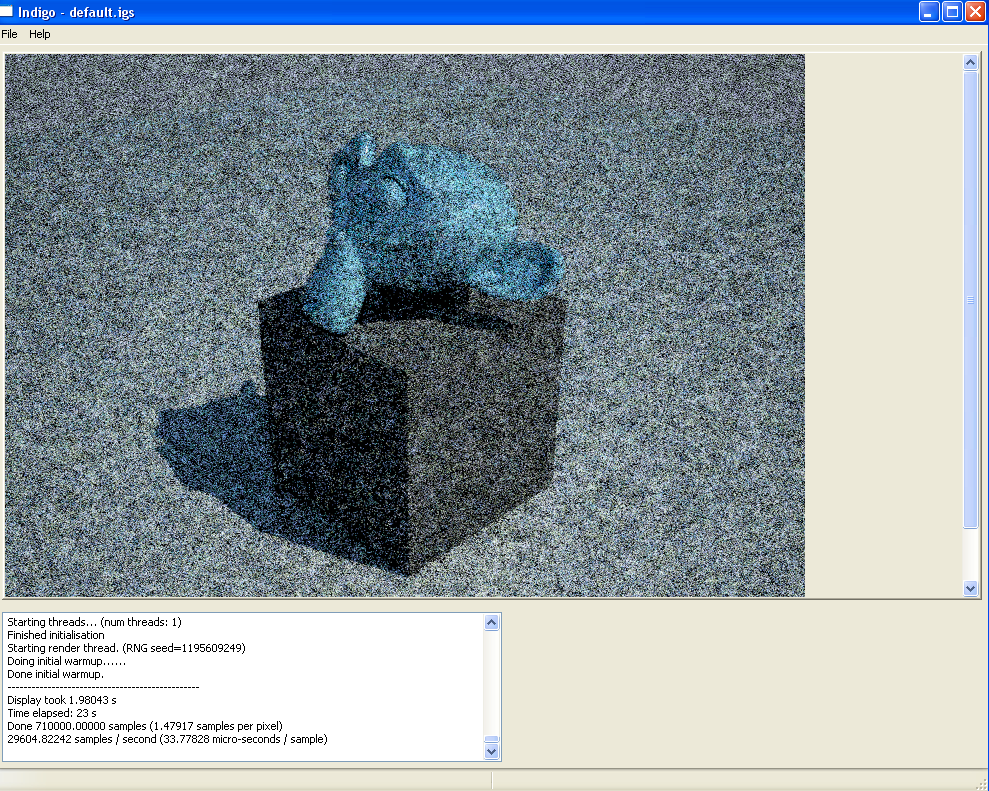
Not that pretty, eh? Here it is after about an hour
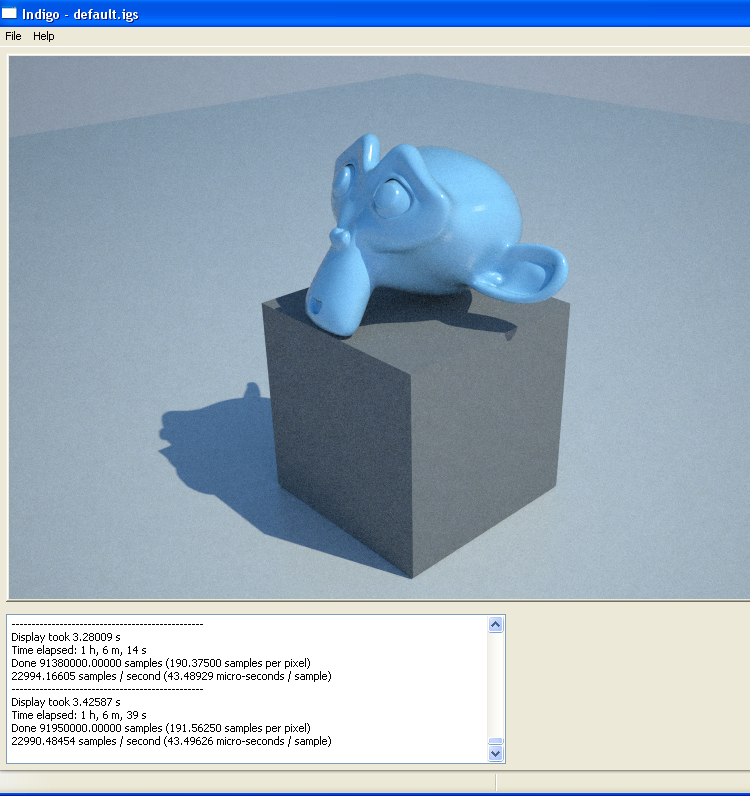
Much better, right? But still has a bit of grain. How long did it take to get my final shot? Approximately 11-12 hours. So Indigo is really best used for still images, not animation. Still, there’s one key difference - the tutorial looks more transparent like glass. While mine looks more like marble. However, the version of Indigo that I’m using is much newer than his. Also, I had a different exporter - at least mine was called Blendigo and look a little different than his. BUt here you can see that I had the same settings in Blender:
his:
 mine:
mine:
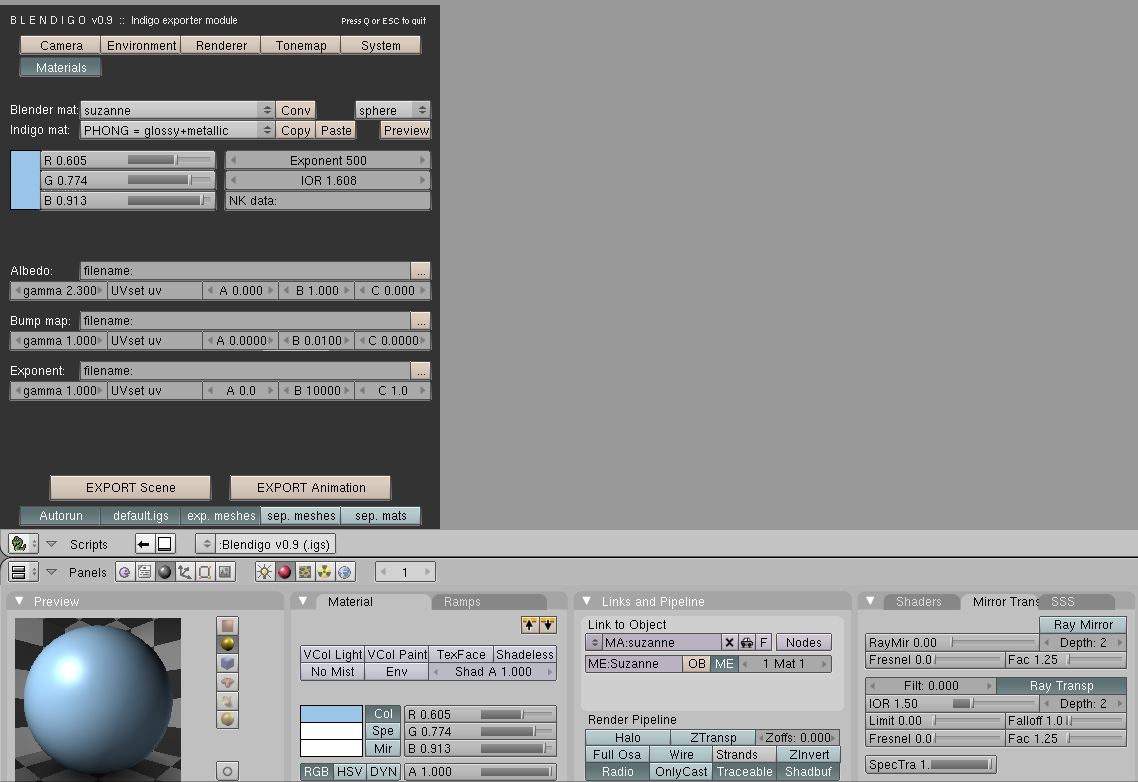 And you can see from my blendigo exporter that it didn’t pick the right material as he thought it would. So I changed the parameters to be the correct material and let this render for a while and got:
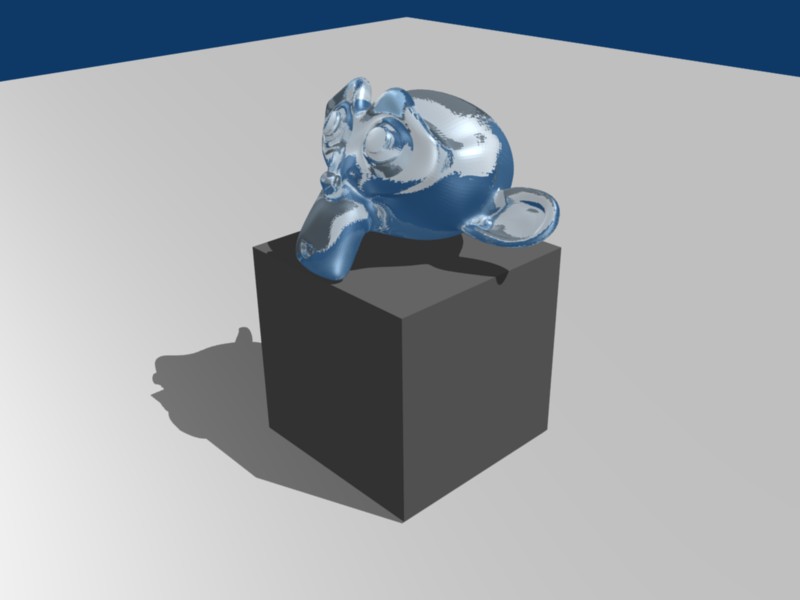
 Closer to his example, but still no transparency. If anyone out there knows what I did wrong, I’d appreciate being let in on the secret. I was finally able to get some transparency in Blender by playing with the alpha values and it looks like this:
 I started up an Indigo render with the alpha turned down. It will be a while before I can tell if it worked or not, so I may have to post that in the comments.
For completeness, here’s how the scene loked when renedered in yafray - frankly, it may have redeemed itself in this shot. In fact, with what I’ve learned recently from using Yafray, I didn’t use it correctly the first time around and that’s why the scenes rendered so horribly. I’ll have to redo that comparison in the future.
with the same light setup as the Blender internal renderer:
 and with indigo light setup
 One last thing - the Indigo logo on the images can be removed - I just didn’t realize it until it was too late.
Again, if anyone knows what I did wrong, transparency-wise, let me know, I’d be happy to learn more about how to use Indigo with Blender.