My first video editing experience with KDEnlive
EricMesa
- 4 minutes read - 812 words[iframe src="http://player.vimeo.com/video/41535967" width="500" height="281" frameborder="0" webkitAllowFullScreen mozallowfullscreen allowFullScreen>] KDEnlive Test from djotaku on Vimeo.
I’ve mentioned this on my blog before, but there are a few passions that I have been engaged in to various degrees over the course of my life. One of those is the creation of videos. Of course, video creation is much more involved than my other passions. First of all, you have to worry about sound as well as video. Second, it usually has to have a story or purpose - so it’s at least three times as involved as photography, writing, or programming. So my video production has fallen off quite a bit in the last few years. You can see that if you go to my video site: drop the bomb productions. Although I may have done some tidying up by the time this post goes up, before that I hadn’t touched it in 4 years.
In the old days I used to use Sony Screenblast Movie studio. When I recently went to make a video for my father-in-law’s birthday, I realized that it had been too long and my video editing program didn’t support the current codecs for either input or output. And, while I love the paradigm of what is now called Sony Vegas (I still think it’s the most intuitive video createion program I’ve ever used), I decided to try Adobe Premiere Elements - especially since I enjoy using Adobe’s photography programs so much. I found that experience to be horrible. I hate the interface, it’s buggy and crashy and takes too long to load.
Cinelerra, which I used to use on Linux, was OK…..but I wanted something better. So, given that I’m really into KDE now, I decided to try out KDEnlive for my next video. Well, I decided to see if KDEnlive supports the HD video produced by my Canon S100 because it would probably be the source of any videos I work on in the near future. So I created a test video and decided to create this mini-tutorial showing what I did.
First off, because of the way KDEnlive works - creating folders to store titles, previews, and so on - it’s recommended to create a folder for each project you work on. So I did that first. Then I started up KDEnlive. I like that for the first-start wizard it goes through and makes sure that you have all the components necessary.
[caption id=“attachment_5530” align=“aligncenter” width=“500” caption=“kdenlive startup wizard 1”] 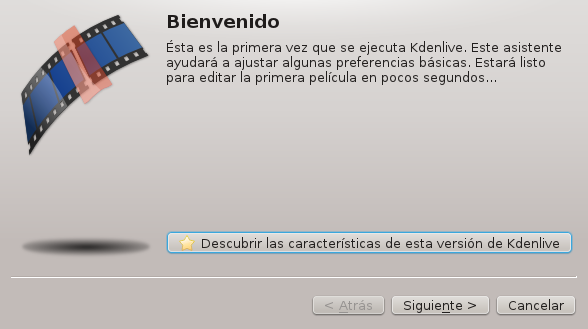 [/caption]
[caption id=“attachment_5531” align=“aligncenter” width=“483” caption=“kdenlive startup wizard 2”] 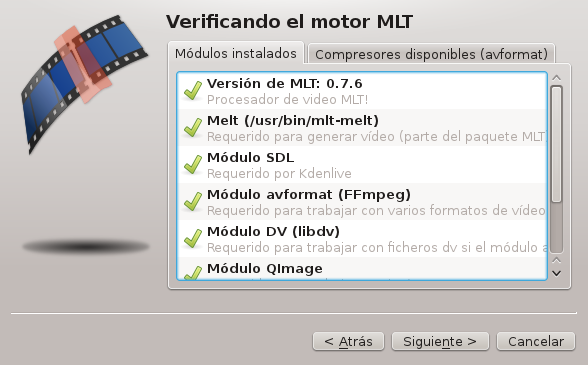 [/caption]
[caption id=“attachment_5532” align=“aligncenter” width=“500” caption=“kdenlive startup wizard 3”] 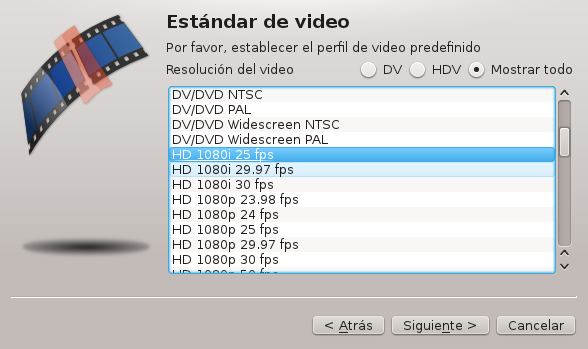 [/caption]
[caption id=“attachment_5533” align=“aligncenter” width=“500” caption=“kdenlive startup wizard 4”] 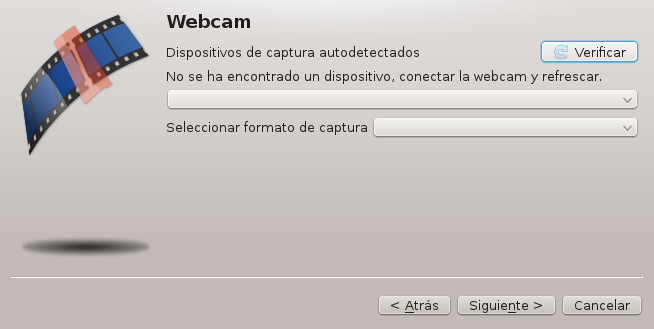 [/caption]
[caption id=“attachment_5534” align=“aligncenter” width=“500” caption=“kdenlive startup wizard 5”] 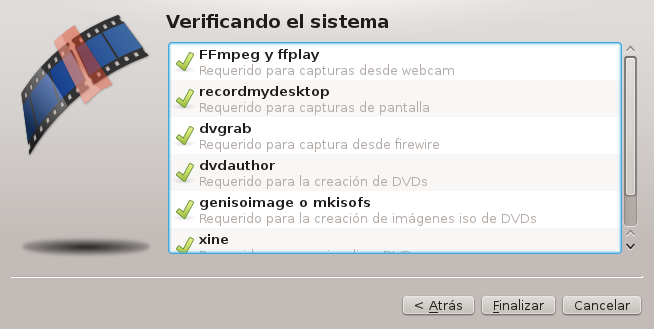 [/caption]
And here’s the default program view:
[caption id=“attachment_5535” align=“aligncenter” width=“500” caption=“kdenlive default view/loadout”] 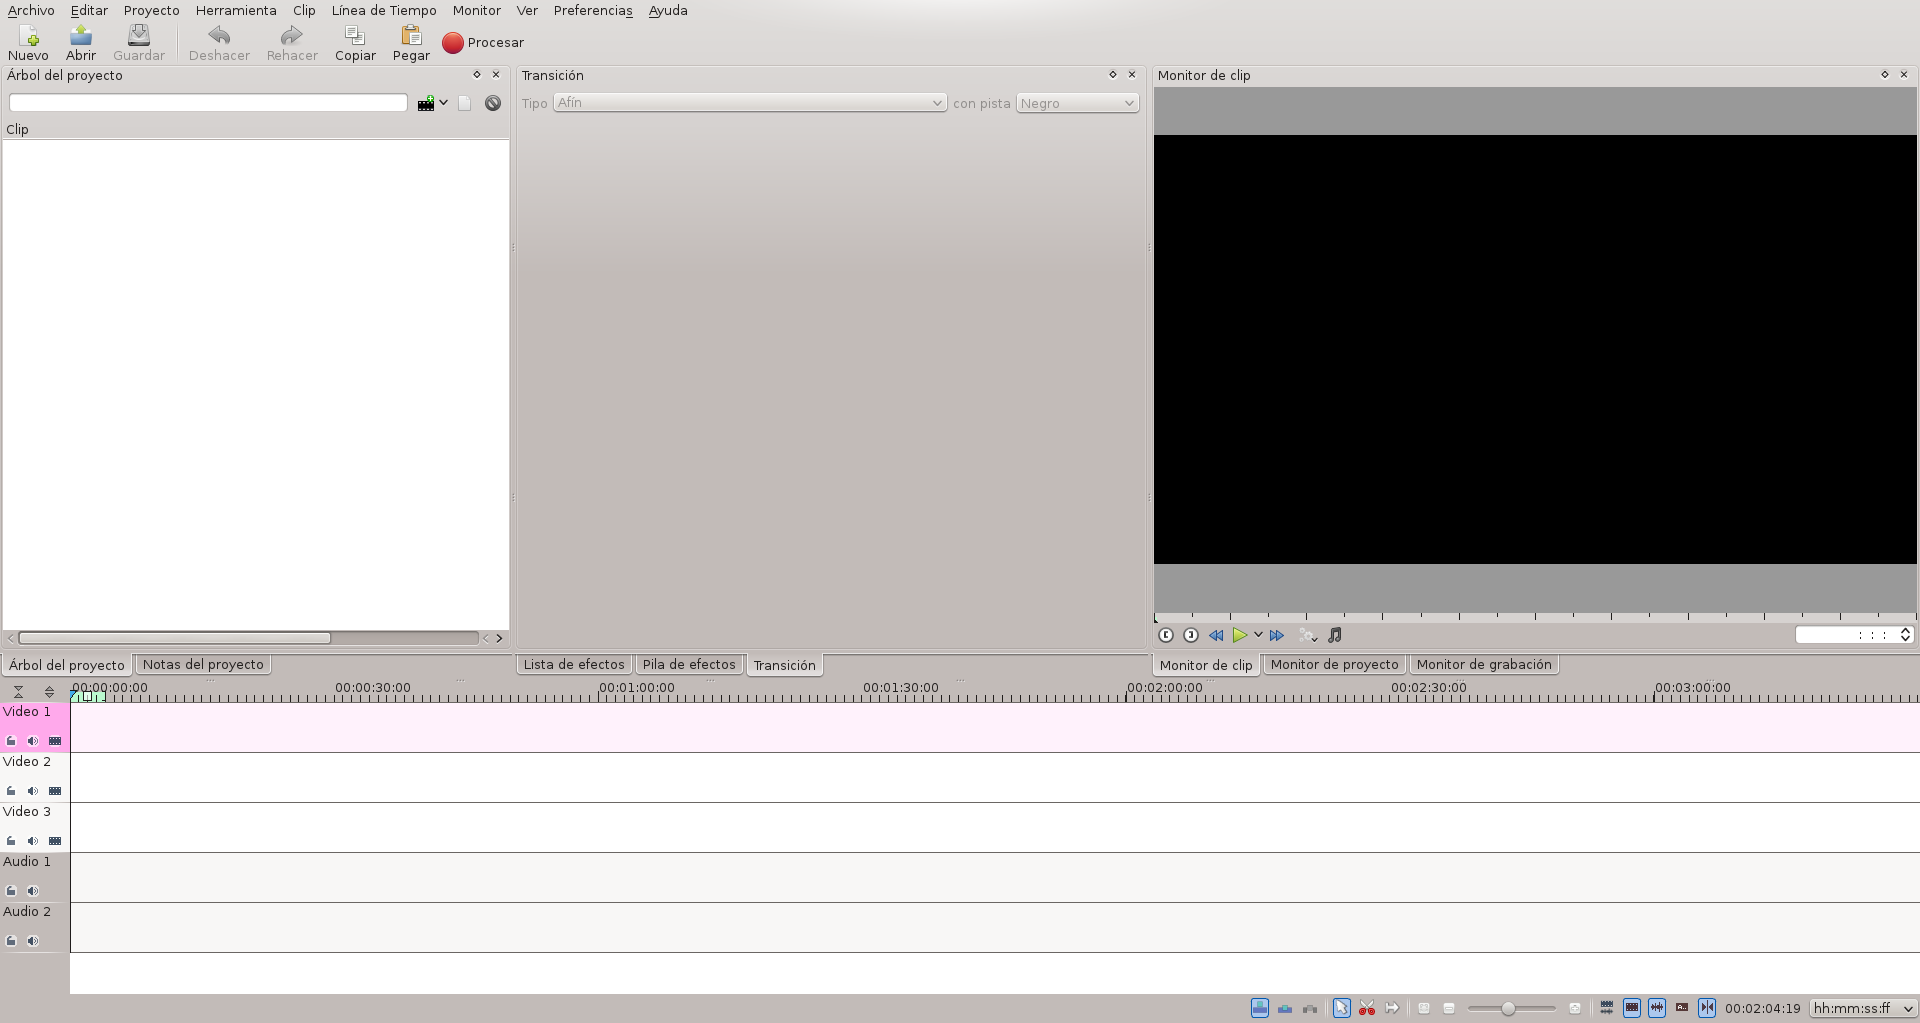 [/caption]
I went and added in the 1080 HD clips and they loaded fine. The playback was a bit stuttery so I think I’ll have to enable KDEnlive’s low quality cache to work with the files in the future. This creates a lo-res version of the file you can use for editing and then ties that back to the high quality version when it comes time to render.
[caption id=“attachment_5536” align=“aligncenter” width=“500” caption=“kdenlive loaded in some clips”] 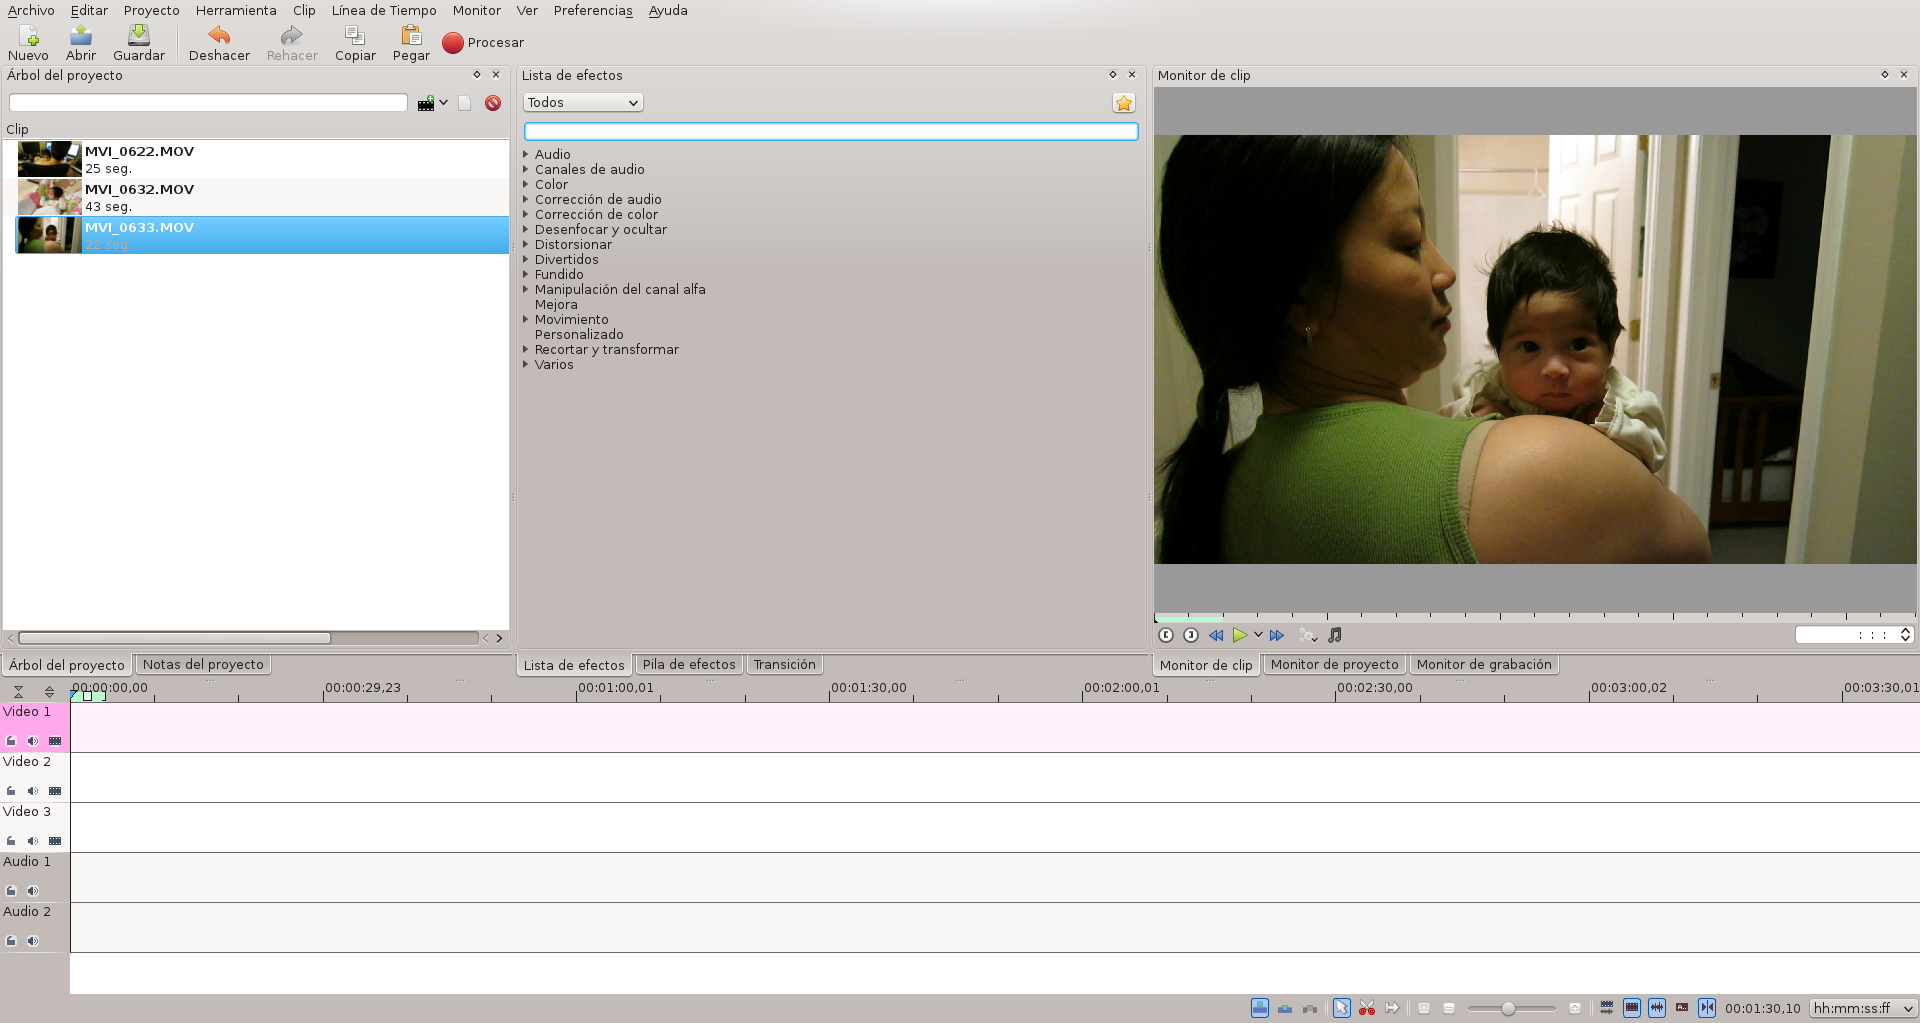 [/caption]
The title editor reminds me a lot of the one in Sony Screenblast:
[caption id=“attachment_5537” align=“aligncenter” width=“500” caption=“kdenlive title editor”] 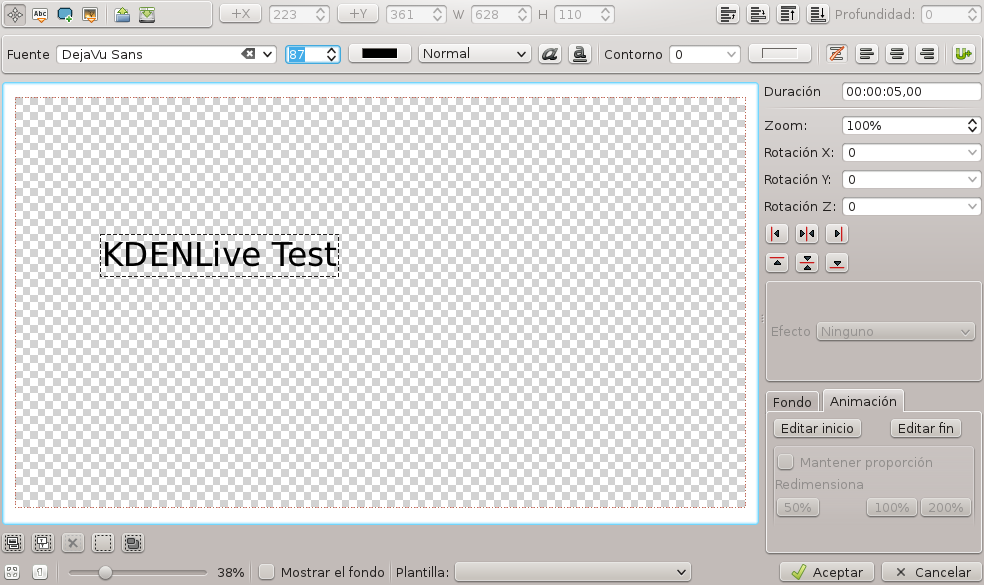 [/caption]
In order to delete the audio that goes along with the videos you have to break it out onto an audio track first:
[caption id=“attachment_5538” align=“aligncenter” width=“500” caption=“kdenlive breaking out the audio track”] 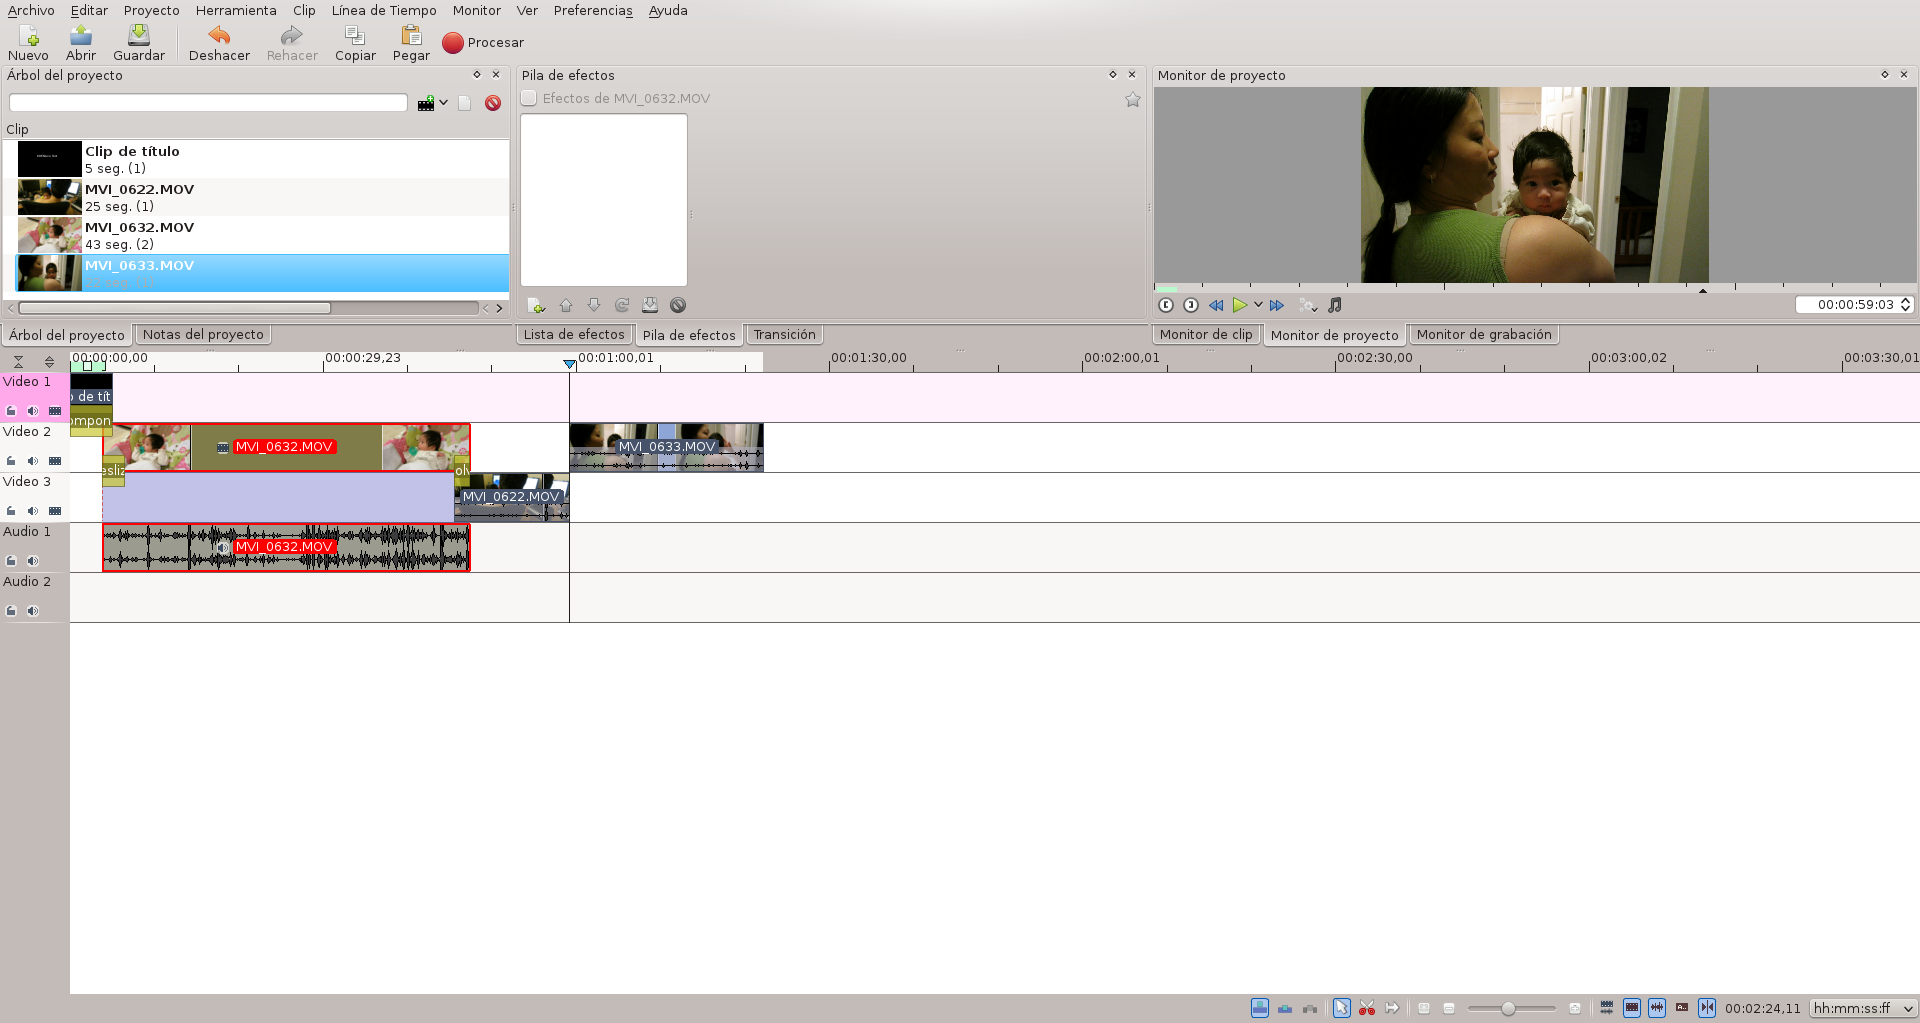 [/caption]
I like how flexible the interface is. For example, can break out the monitor windows across both my monitors. This way I don’t have to compromise between seeing the audio/video tracks and seeing the finished product. Annoyingly the separated windows disappear if another program has the mouse focus. That could make it hard to, say, respond to a chat, while watching the results of a video edit.
[caption id=“attachment_5541” align=“aligncenter” width=“500” caption=“kdenlive breaking out the monitors”] 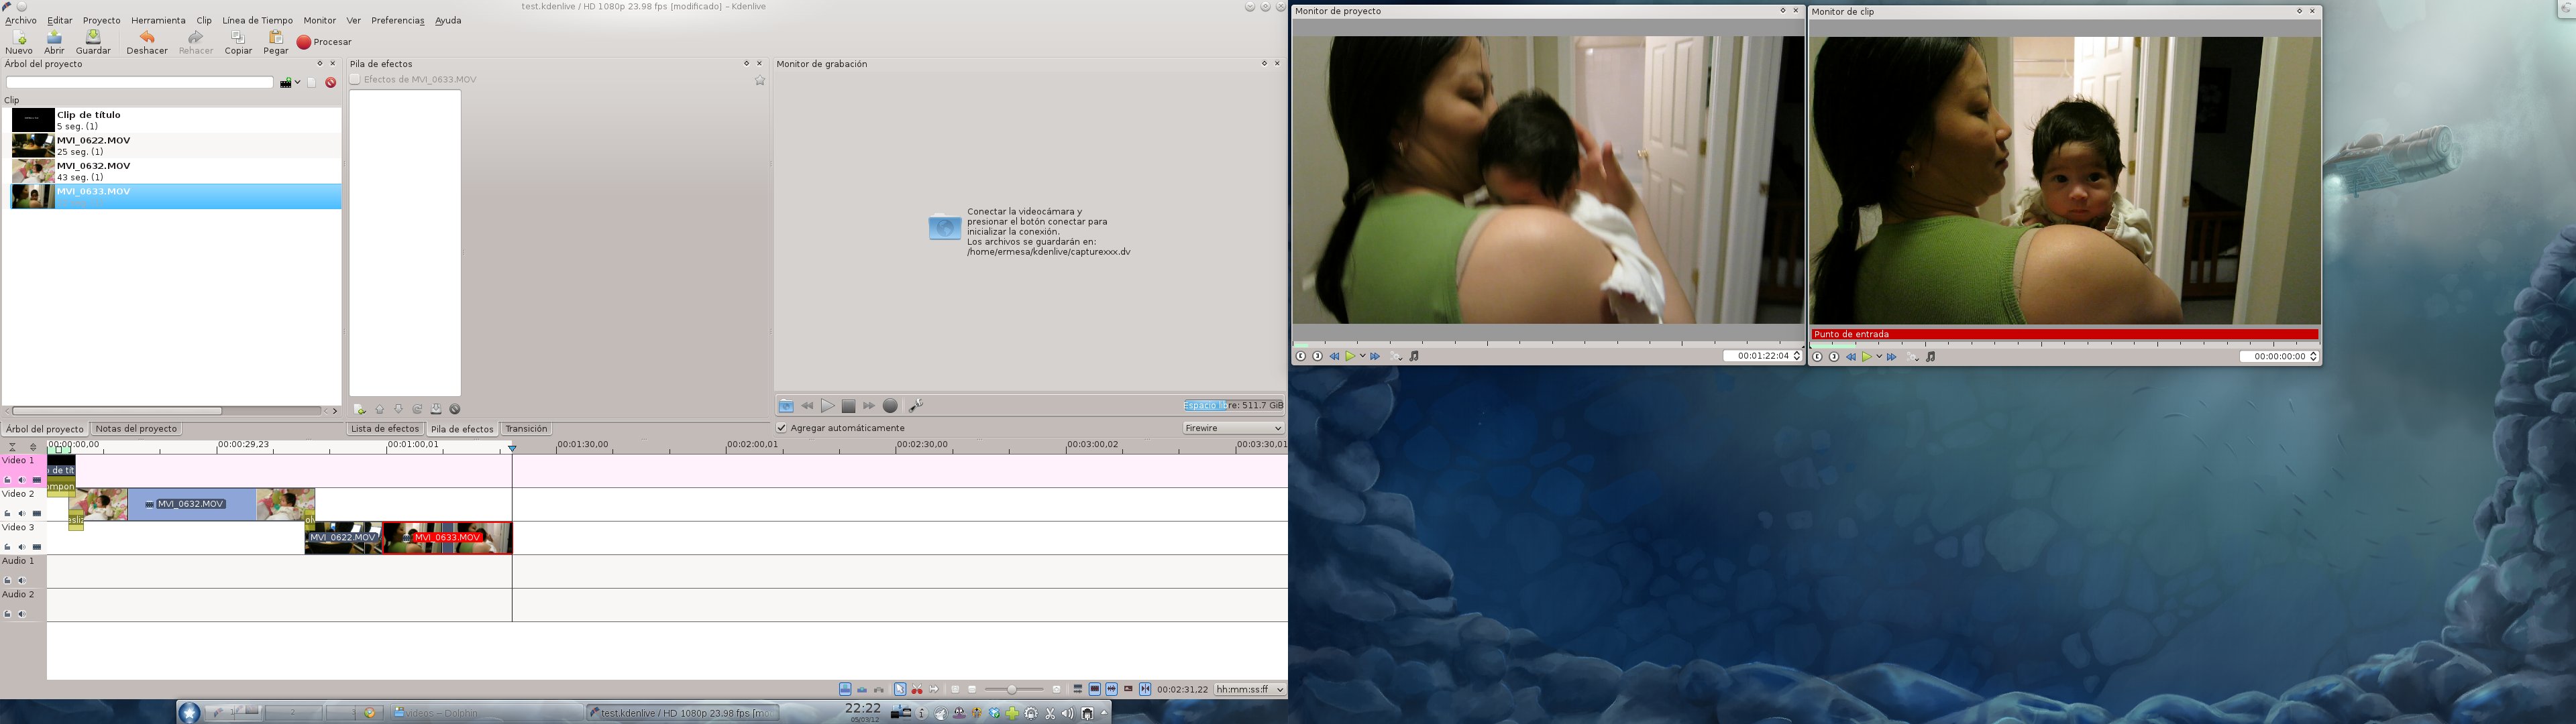 [/caption]
When it finally came time to render, I chose the Vimeo 720p output preset. The final file looked great and worked well with Vimeo.
[caption id=“attachment_5539” align=“aligncenter” width=“242” caption=“kdenlive some predefined outputs”] 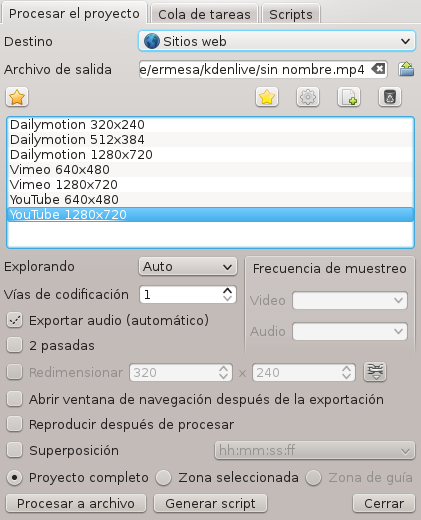 [/caption]
Overall not as simple as Sony Vegas Video, but more stable than Adobe Premiere Elements. And it’s much more of a pleasure to work with than Cinelerra. I think that while Linux may never have a commanding market share of the desktop experience, it is certainly starting to fill in all the gaps an advanced user might have. With digikam nearly as good as Lightroom and KDEnlive filling in the amatuer to semi-pro video production market - we’ve finally got a good desktop for creative users. (Of course Linux, with its libre compilers has been a great desktop for technical users since the beginning)