Fedora 14 Installation Process
EricMesa
- 4 minutes read - 735 words[caption id=“attachment_3851” align=“aligncenter” width=“403” caption=“Beginning Fedora 14 Install”] 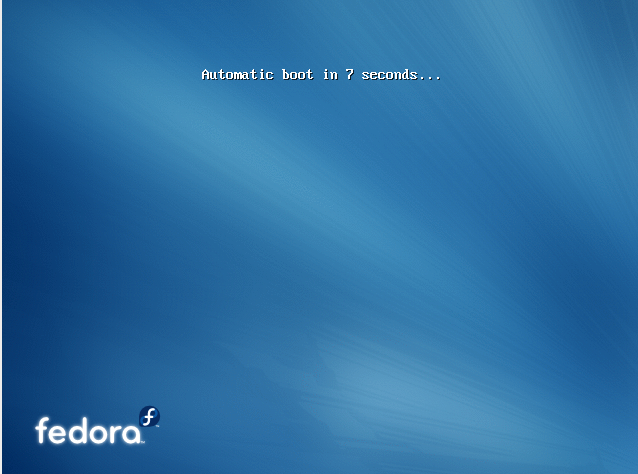 [/caption]
It’s been a more than a year since I last had to install Fedora from scratch. I’m installing Fedora 14 into Virtualbox for an upcoming blog post where I wanted to do some stuff I wasn’t quite sure I was ready to do on my main box, so I thought I’d go ahead and blog about the installation. The default artwork is very dynamic and conveys a sense that this is an exciting release.
[caption id=“attachment_3852” align=“aligncenter” width=“400” caption=“Fedora 14 Install Login Screen”]  [/caption]
The main Gnome desktop hasn’t changed much. I notice that there isn’t a “minimize all Windows button in the lower left. I think it’s odd that OpenOffice.org wasn’t included. I would have added a checkbox in the installation offering to automatically download OpenOffice.org or Abiword upon installation.
[caption id=“attachment_3864” align=“aligncenter” width=“397” caption=“Fedora 14 Default Desktop”] 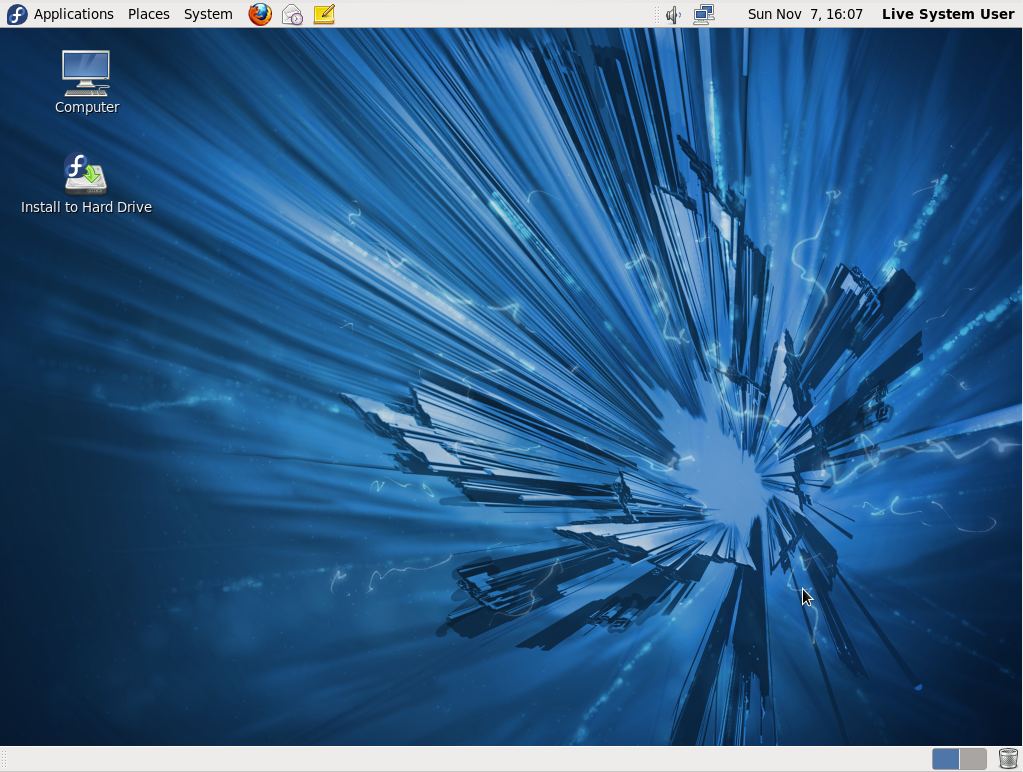 [/caption]
I like that you can click on your name and then system preferences and get at a control panel. Very nice.
[caption id=“attachment_3850” align=“aligncenter” width=“282” caption=“Fedora 14 User Preferences”] 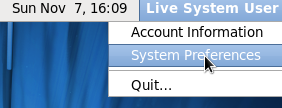 [/caption]
If that exists with Fedora 13, I don’t have it - maybe because I did an upgrade rather than an install from scratch.
[caption id=“attachment_3853” align=“aligncenter” width=“365” caption=“Fedora 14 System Preferences”] 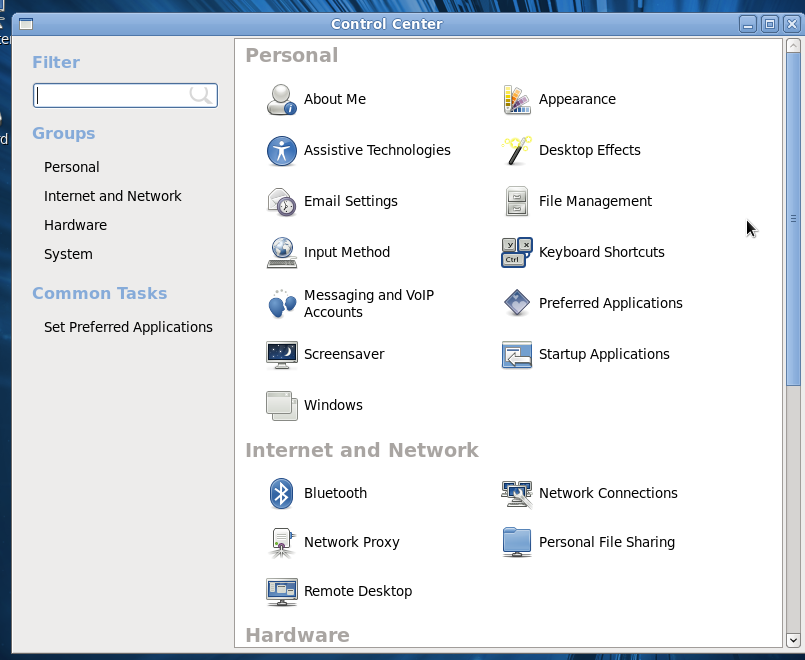 [/caption]
Either way it doesn’t matter. I LIKE it! I went ahead and started up the install. After the usual keyboard setup it brought up the following screen:
[caption id=“attachment_3854” align=“aligncenter” width=“386” caption=“Fedora 14 Install - Storage Devices”] 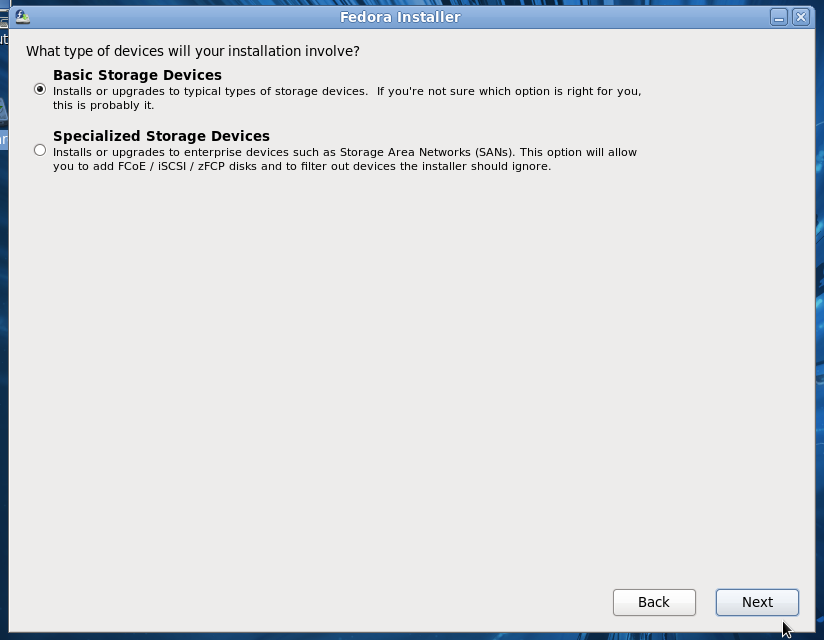 [/caption]
On the one hand, this is great for enterprise users that will be installing Fedora. In fact, it was probably placed in here as part of Red Hat’s Enterprise 6 offering. I like that it tells people they probably want the top one…but I think it’s more confusing than it needs to be. Perhaps having it hidden with a check box that says “Enterprise users” which will bring up the second option. Just not quite as user-friendly as most distros I install. Heck, even less user friendly than I remember Fedora back in Fedora 10. It’s mostly a niggle and maybe it just has to do with the target audience so take this complaint with a grain of salt. I had the following “scary” message, but I’m pretty sure it’s because I was installing into Virtualbox and that’s NOT something the typical user will do.
[caption id=“attachment_3855” align=“aligncenter” width=“417” caption=“Fedora14 - Install - Storage Virtualbox Error”] 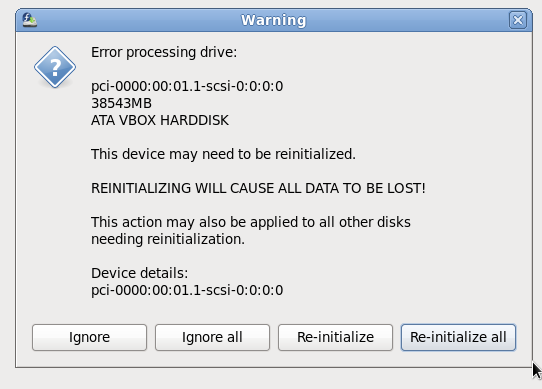 [/caption]
I selected the last option. Then came the hostname section. I like that “configure network” is a button for those who need it, but this page looks so bare!
[caption id=“attachment_3856” align=“aligncenter” width=“381” caption=“Fedora 14 - Install - Network Name”] 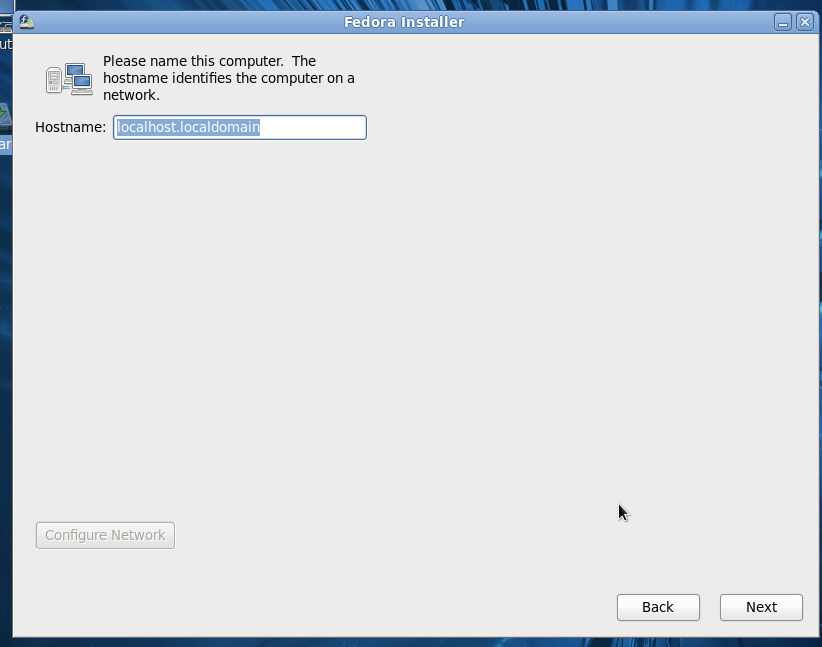 [/caption]
Next was the timezone setup with a neat, clickable GUI.
[caption id=“attachment_3857” align=“aligncenter” width=“386” caption=“Fedora 14 - Install - Timezone”] 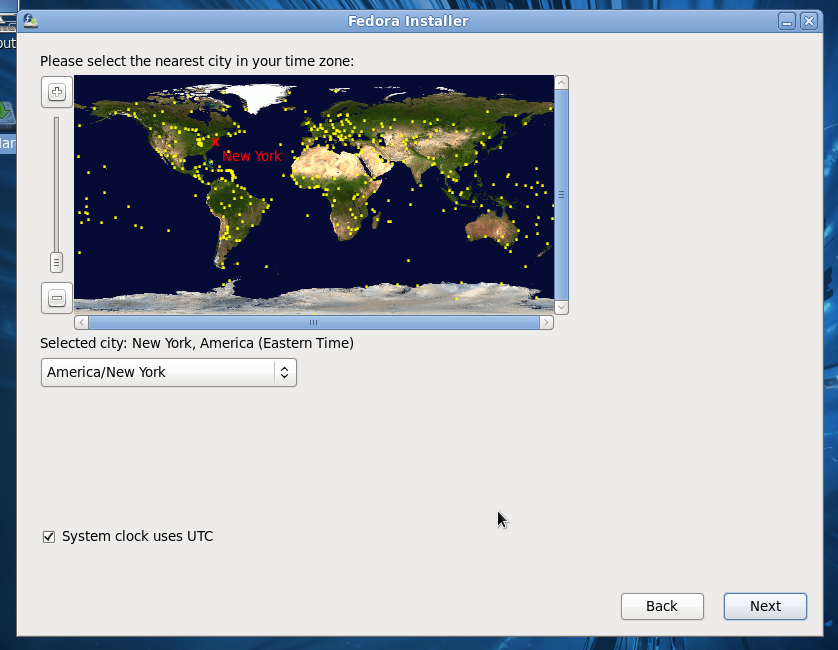 [/caption]
and setting the root password:
[caption id=“attachment_3858” align=“aligncenter” width=“391” caption=“Fedora 14 - Install - Setting the root password”] 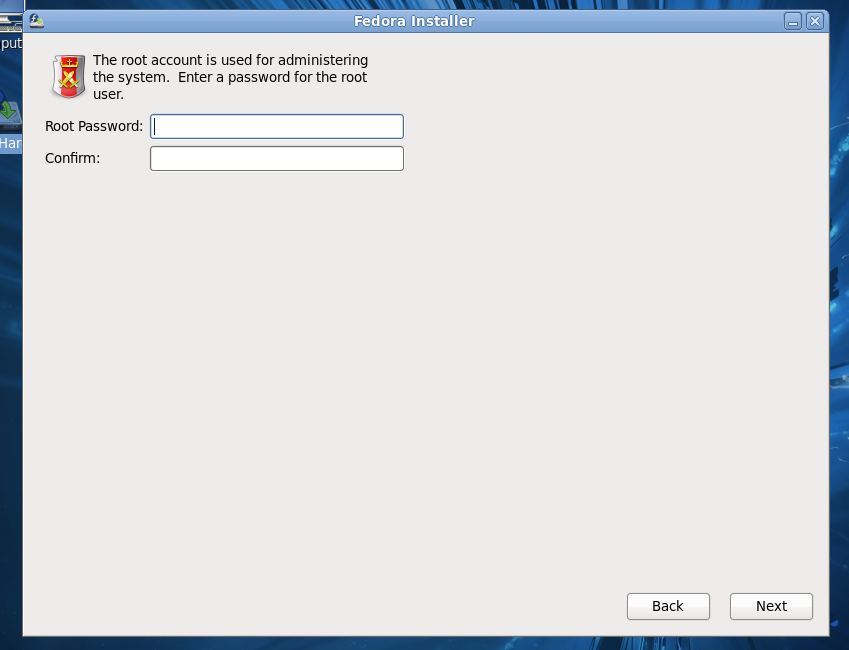 [/caption]
I like the partition section because it was pretty easy to see what you were going to end up doing. It isn’t as pretty as the Ubuntu one with the graphs, but I think this is an equally easy left-brained way to do it.
[caption id=“attachment_3859” align=“aligncenter” width=“383” caption=“Fedora 14 - Install - Partitioning”] 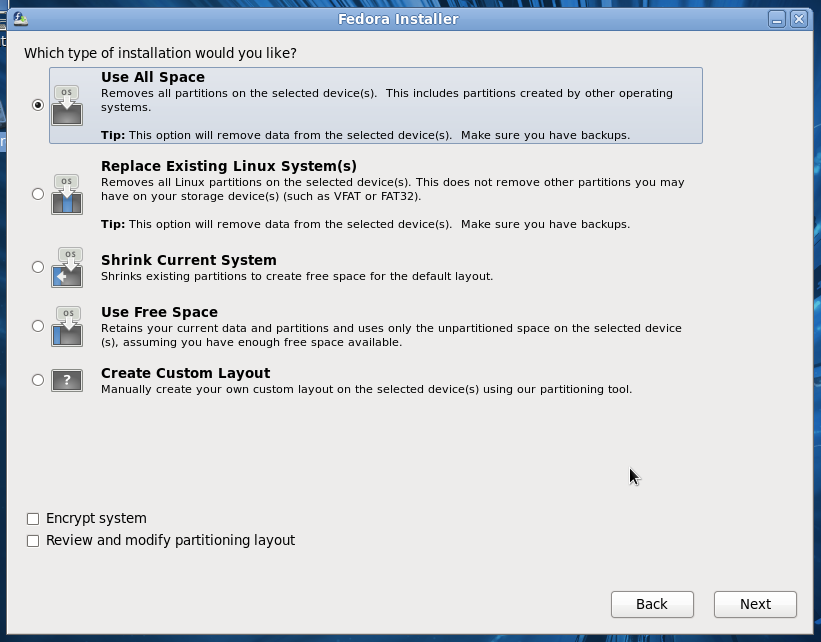 [/caption]
Then came the actual installation.
[caption id=“attachment_3860” align=“aligncenter” width=“384” caption=“Fedora14 - Installation begins”]  [/caption]
and I was ready for my new system!
[caption id=“attachment_3861” align=“aligncenter” width=“393” caption=“Fedora14 - Installation Complete”] 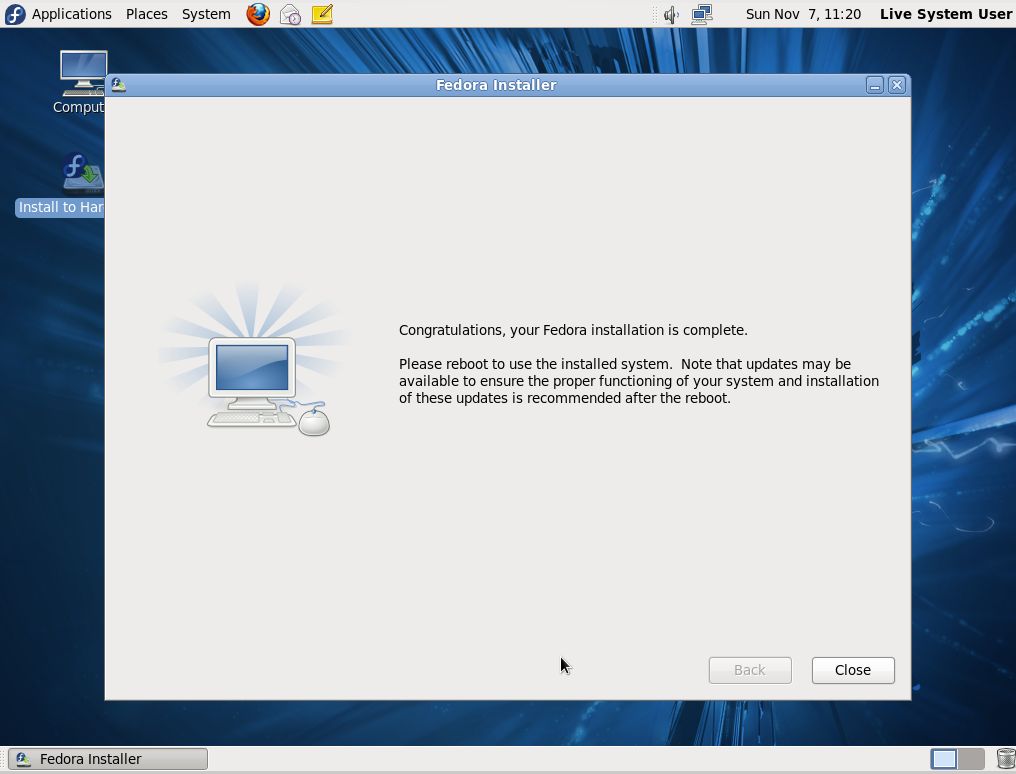 [/caption]
So I shut the system off and detached the ISO. I booted up and got a welcome screen.
[caption id=“attachment_3862” align=“aligncenter” width=“400” caption=“Fedora14 - Post-Install - Welcome!”] 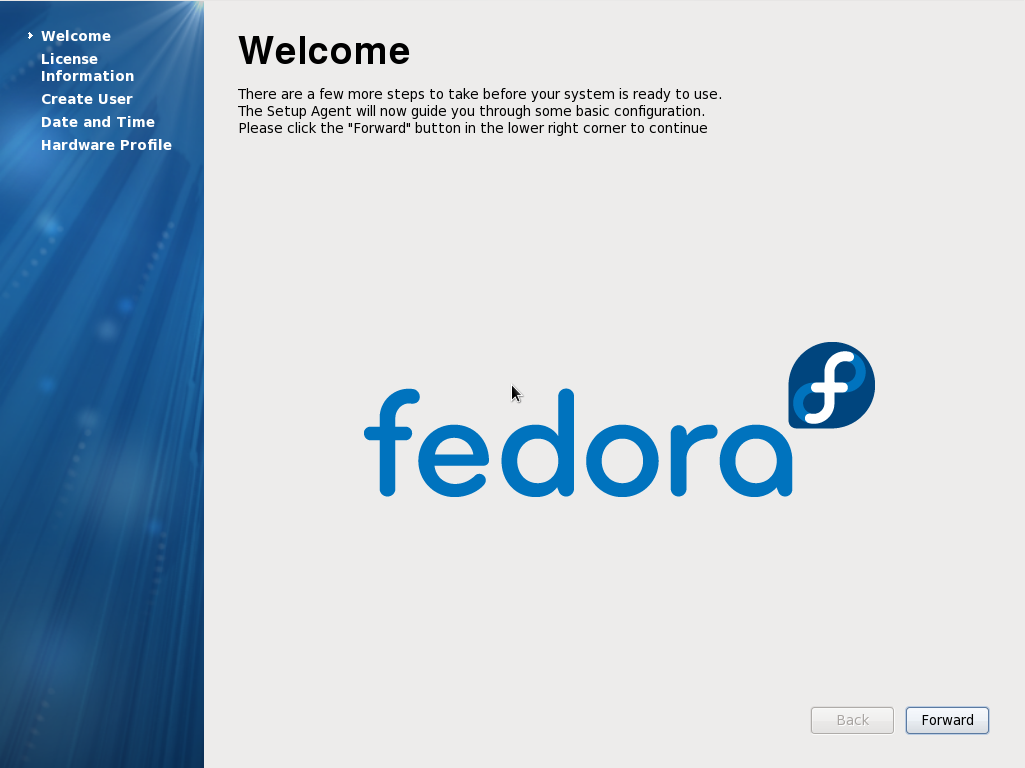 [/caption]
Then there was a short license agreement, and then it was time to set the user info:
[caption id=“attachment_3863” align=“aligncenter” width=“397” caption=“Fedora14 - Post-Install - setting user”] 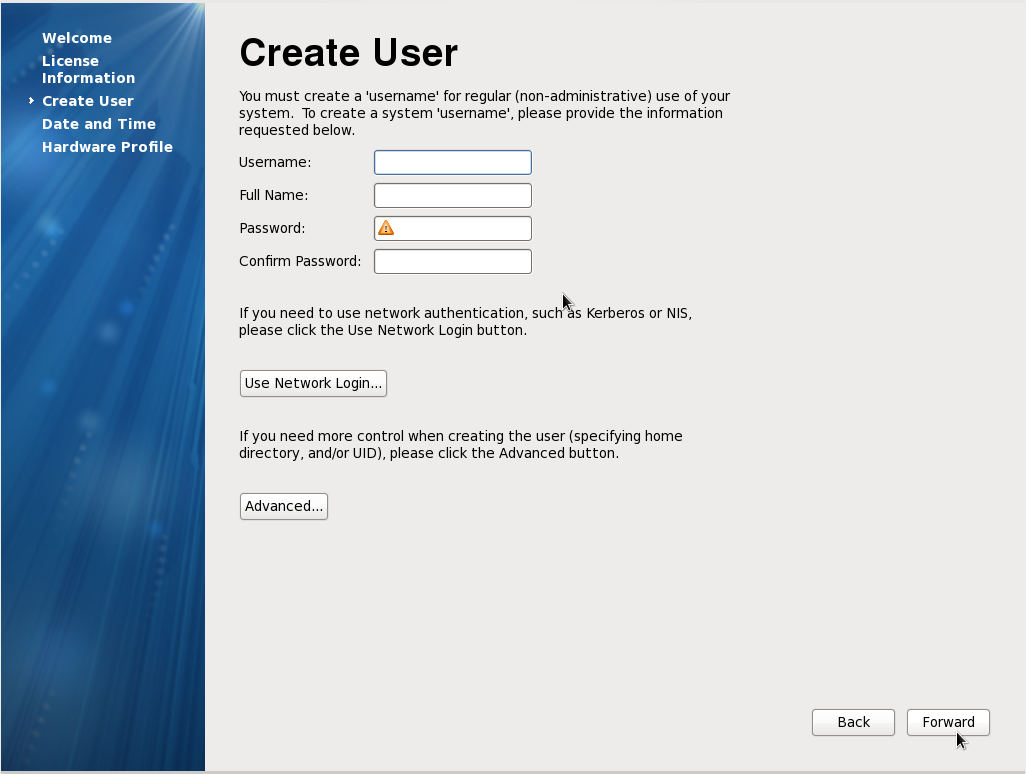 [/caption]
After that was date/time setting and Smolt. I’m not going to take a look at Fedora 14, that’ll come when I upgrade my main system. This installation was, as I mentioned at the top, in preparation for another blog post. You’ll get to hear about that when I get to it. Overall, I think the installation process is very good although it is definitely a bit more technical than other installers I’ve looked at in the past. Is that the direction we’re going with Fedora? It’s OK if the answer is yes - that’s why it rocks that there are so many Linux distros out there.