Creating a Black and White Image in RawTherapee
EricMesa
- 3 minutes read - 592 wordsIssues with tags and titles aside, I am really liking RawTherapee so far as my Lightroom RAW processing replacement. I wanted to document my process for getting to a black and white photo that I like both as a tutorial of sorts, but also to document for myself how it works with RawTherapee.
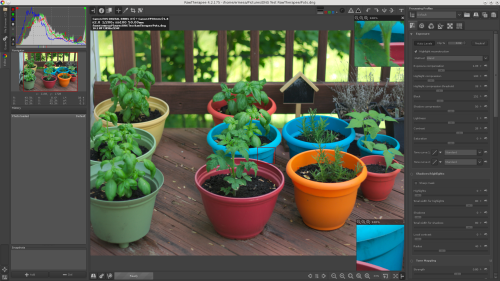
I’ve activated here one of my favorite features RawTherapee has that Lightroom does not, two windows showing just a small region up close. Too often I’m stuck zooming in and out of an image to check various parts of the image as I make changes. It’s not as crucial with this image, but I just wanted to test out the feature.
So let’s start off on the Exposure Panel and look at the Exposure Compensation slider. I make a slight adjustment to the midtones. I’m going to skip adjusting the white balance, because I like how the camera did it. It seems pretty similar (to my eyes) to the real thing. Now I’m going to take a look at the contrast and saturation.
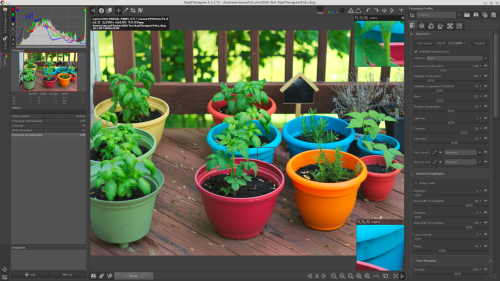
Overall, I like to get a picture I would like as a color picture before I go black and white. I’ve pushed the basil leaves a BIT too far on the saturation, but I think that’s probably going to work out good for me in black and white. There’s a bit of a highlight issue on the orange pot. I’m going to try the highlight compression slider to see if that can help with it a bit.
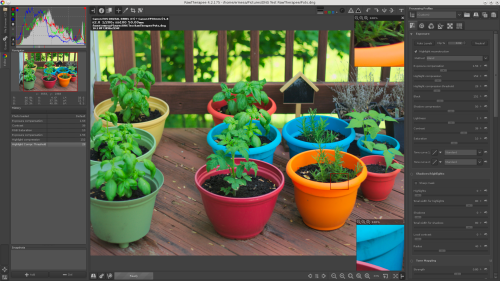
It does help a bit and I don’t want to overdo it as it has consequences on the whole image. So now let’s move on to the Black and White tool. I played around a bit and got this:
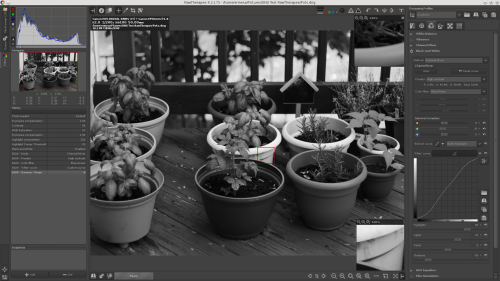
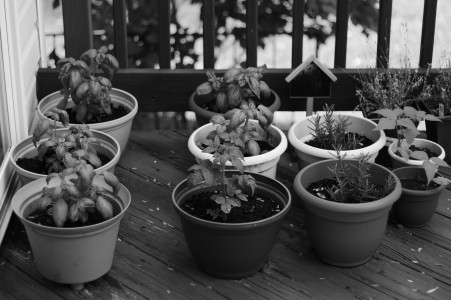
It may not be an awesome black and white image - I probably wouldn’t have chosen this image to convert. Optimizing for the pots, as I have, causes the leaves to somewhat blur together) But it has all the tonal qualities of a black and white image that I like and it only took me about 25 minutes including learning what the sliders do and writing up this blog post. RawTherapee gives a few ways to convert to black and white. The default was “desaturation”. Ever since I learned how to do this with old Photoshop 7, I never liked that method of black and white photos. It may suit some, but it never quite had the tonalities I liked. The method that worked best for me in RawTherapee was Chanel Mixer. This is the way I used to do it in Photoshop before Lightroom had their own weird way of doing it. I actually prefer doing it this way as it makes more sense to me. Given the composition of pots and the greens in the leaves, I found the best filter for me in this specific circumstance was a Blue-Green color filter. I’m not sure what the Before Curve is supposed to do, but I imagine it’s a way to getting around what I did in the beginning with the saturation and so on. However, I always like to use an S-curve to get the tonalities I want. The degree to which I mess with the sliders depends on the the image, of course.
And here’s the resulting JPEG.
Overall, this is a process I prefer to the Lightroom way of doing things. Really, with a fixed metadata process, I think it would be the perfect program for the way I think about photos. (At least so far)