
Long-time readers of my blog will know that while I’ve been working at mastering my grills for a few years now, it was in 2016 that I decided I would take my BBQ to the next level. Back in June I smoked baby back ribs for the first time. Then I realized that I wanted to step up my smoking game I’d need a Weber Kettle. Mom got me one for my birthday and at that time I started pining for a chance to take on one of the two kings of BBQ: Pulled Pork or Brisket. The local area made up my mind for me. Apparently it’s next to impossible to get full packer brisket in Maryland. So pulled pork it would be.
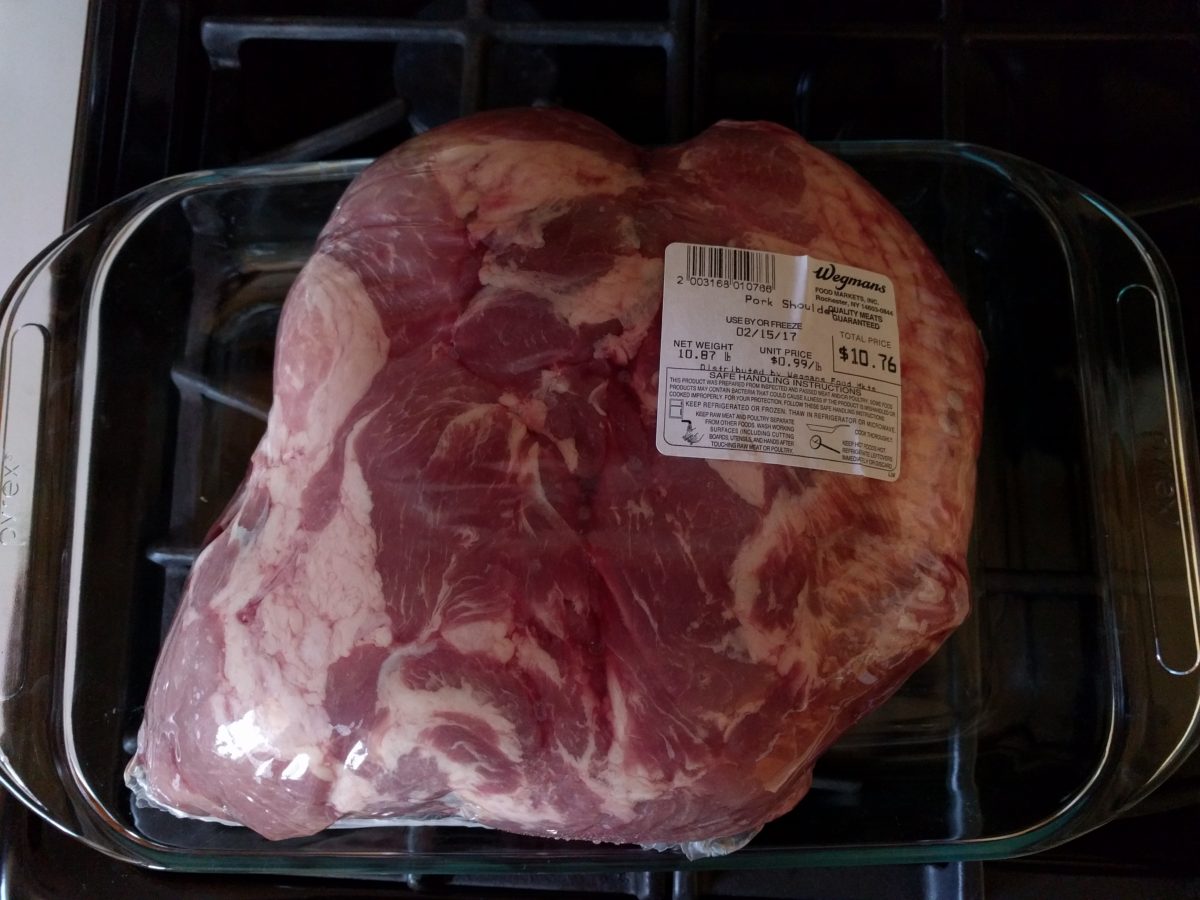
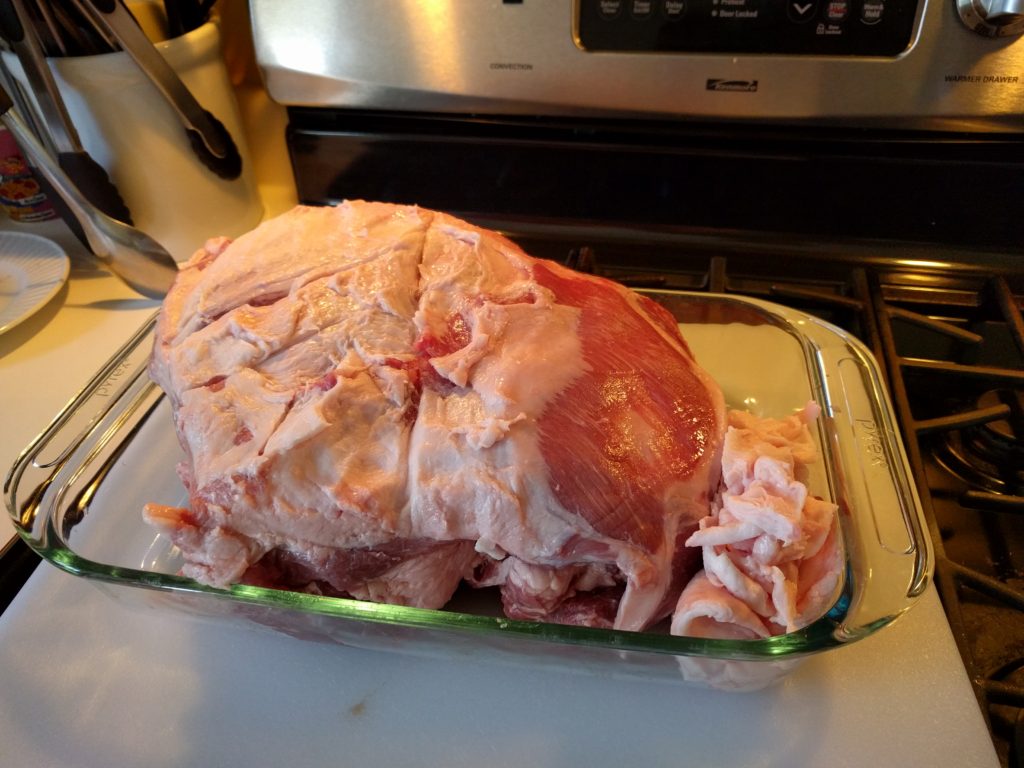
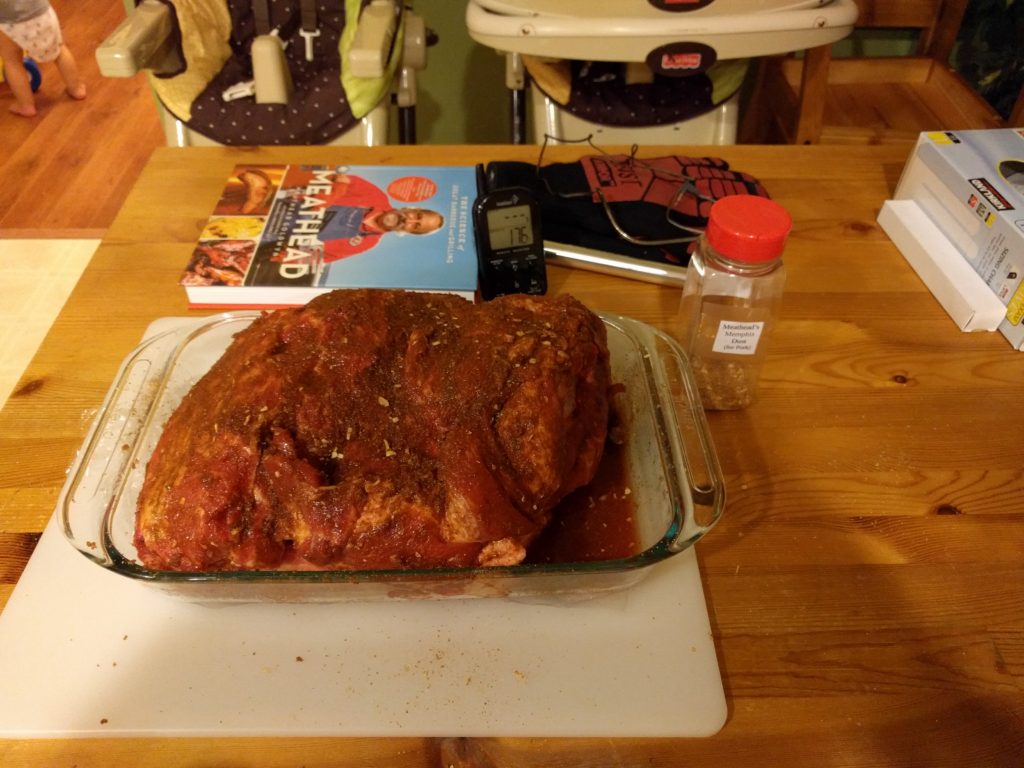
I’d already been spending a lot of time in Reddit’s BBQ Subreddit, but to master a winter smoke, I turned to the Smoking subreddit. A special thanks to the two users who helped me here. (As of now going by the handles: HolySchnikeys and golfzerodelta) There will be room in the future to experiment with other recipes, but for now I’m mostly following Meathead Goldwin’s recipes. This time it was this one for pulled pork. I recommend reading the website once to get Meathead’s very wordy tips. Then use his cookbook to do the actual cook as the realities of printing costs mean he has to be more economical with his works. Meathead recommends trimming the fat (because most people aren’t going to eat it and they’ll end up throwing away your bark – where most of the flavor is) and salting it 12-24 hours ahead of time. I ended up being able to salt it 18 hours-ish ahead of time:
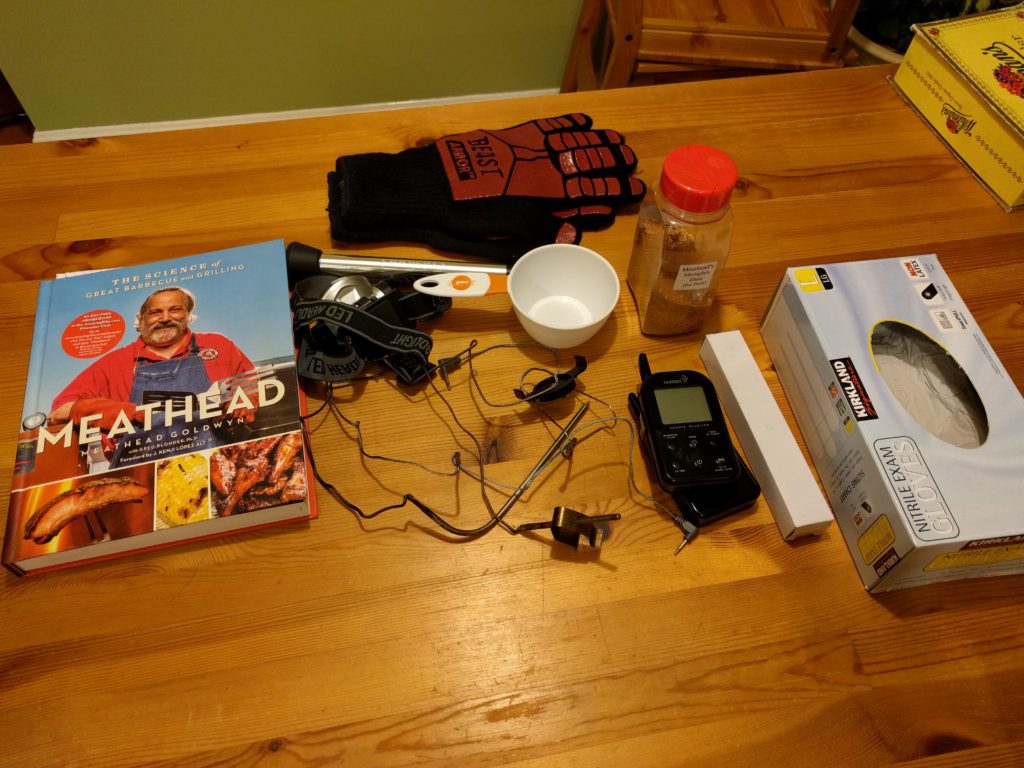
Meathead warns that a 5 pound pork shoulder could take 8-12 hours depending on conditions and this was nearly an 11 pound shoulder. I had a feeling it wasn’t linear (meaning it wouldn’t take twice as long), but I had no idea how long it’d take. So I planned to get it on the Weber Kettle by 0600. I didn’t want to be running around the house while everyone was asleep, so I got everything ready ahead of time:
I got up at 0515, brushed my teeth, and got ready to go outside.
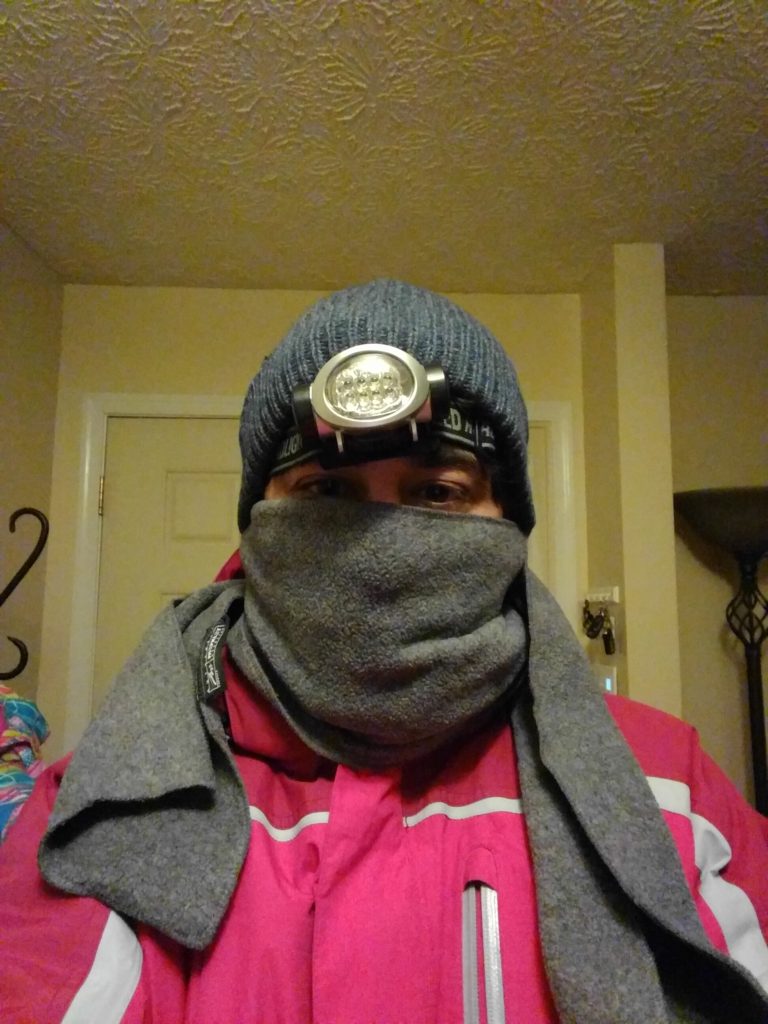
The winter gear is pretty self-explanatory – it was 29 out there when I first went out. The headlamp was so that I would be able to see even if my body was blocking the porch light.
The guys on the smoking subreddit recommended the snake or fuse method to keep a nice, consistent flow of heat because a lot of it was going to be radiating out of the Weber Kettle due to how cold it was outside.
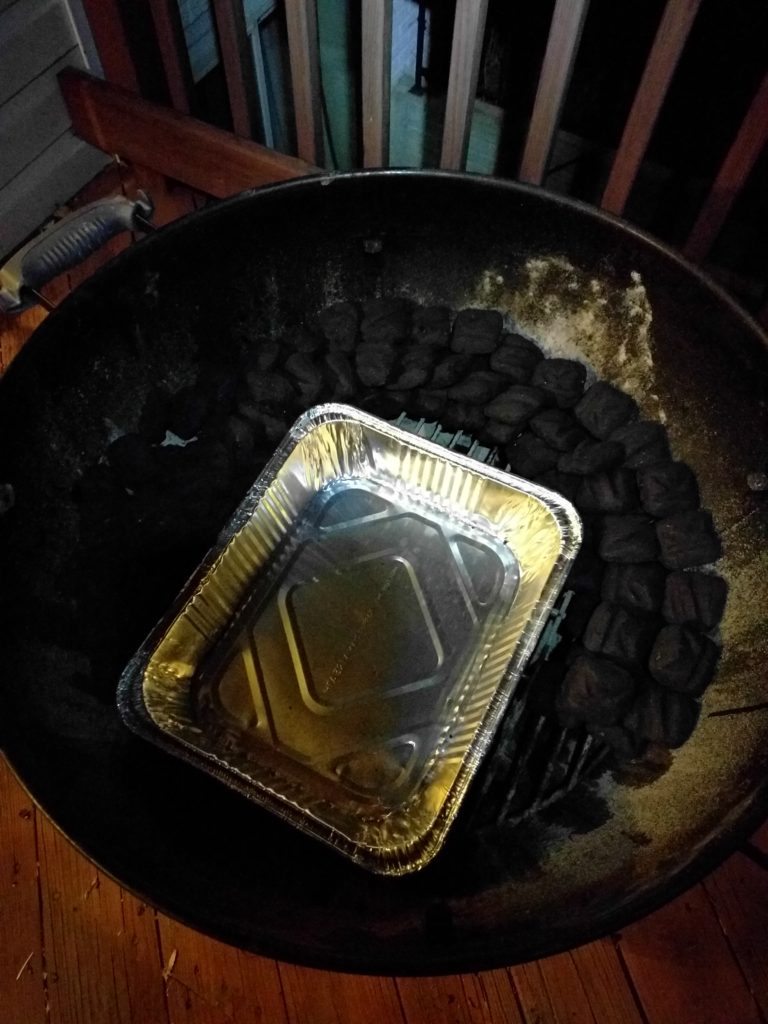
I set up a snake of 2 coals topped with 2 coals going around as you see above. Here’s a closer shot:


I used hickory wood chunks as I like the hickory flavor – it’s the one I associate most with BBQ. (Although I’ll be experimenting in the future) Meathead usually has one weigh wood so the pitmaster can be consistent in the future. I didn’t have time the prior day so I tried to approximate about 1 lb of wood.
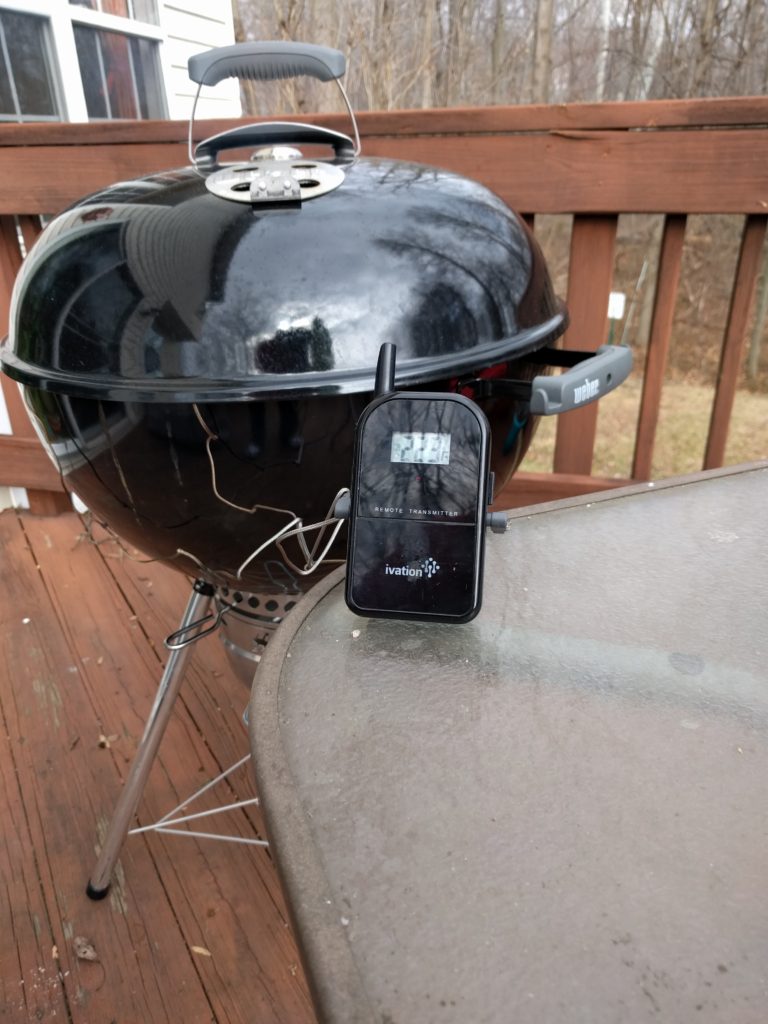
I put 10 coals into the Weber chimney and about 7 were fully lit when I placed them onto the right side of the snake fuse. I filled the water pan with 208 degrees F water from our instant hot water tea maker. I used the entire capacity and ended up filling the pan somewhere between 75% and 80% full. Then I closed the lid with both the top and bottom vents fully open. It was 0609. So I was a bit behind. I went and grabbed the butt (yuck yuck) to put the seasoning on it while I waited for the BBQ to come up to temp.
Then I added the temp probe:
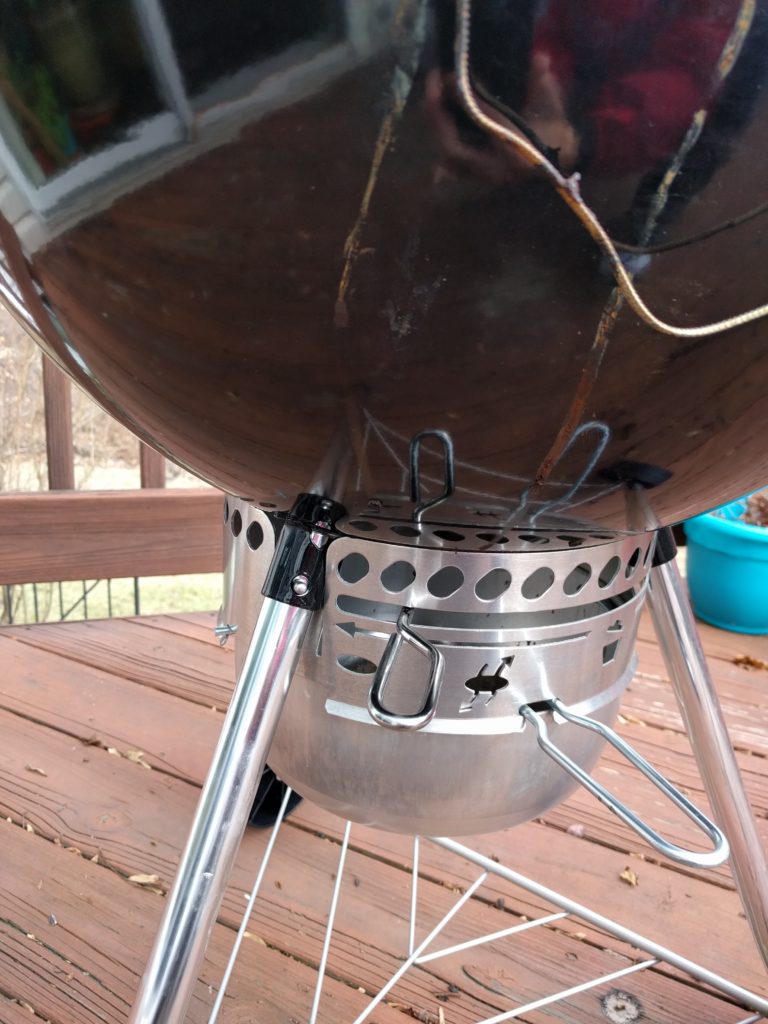
The pork ended up on at 0645. The grill wasn’t up to temp yet, but I figured I’d start the cooking rather than waiting for the perfect temp. Things went well and the snake kept things relatively sane. I only had to adjust the vents a little here and there (probably when a wood chunk would ignite). Here are some shots of the kettle and settings at 1113:
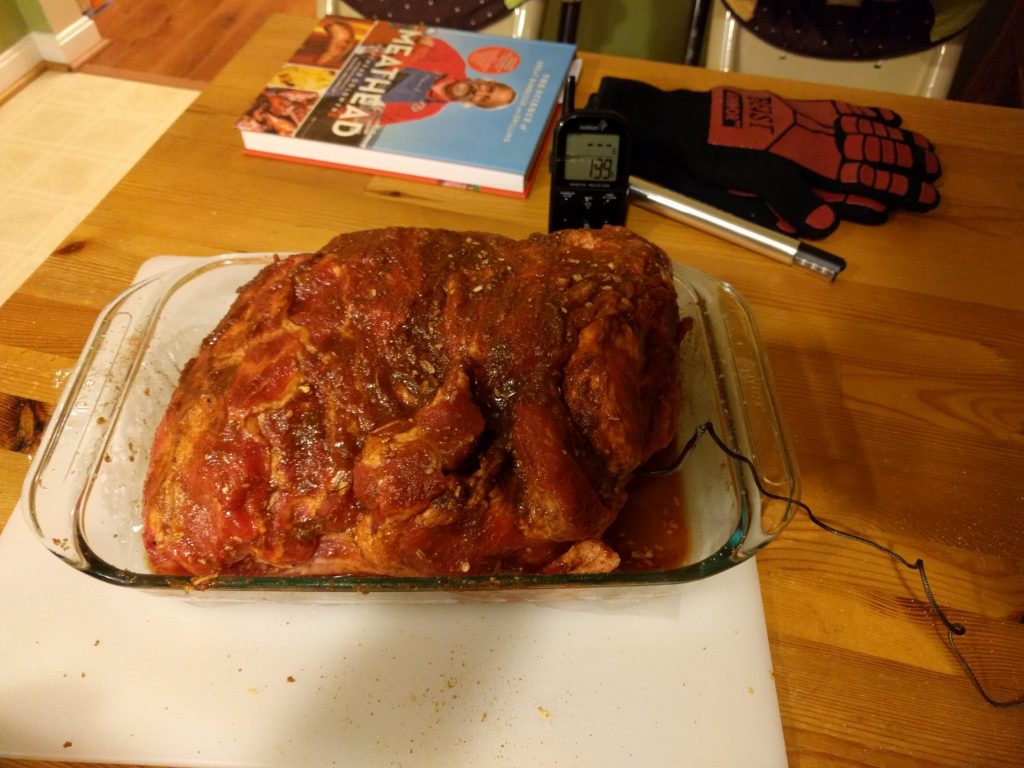
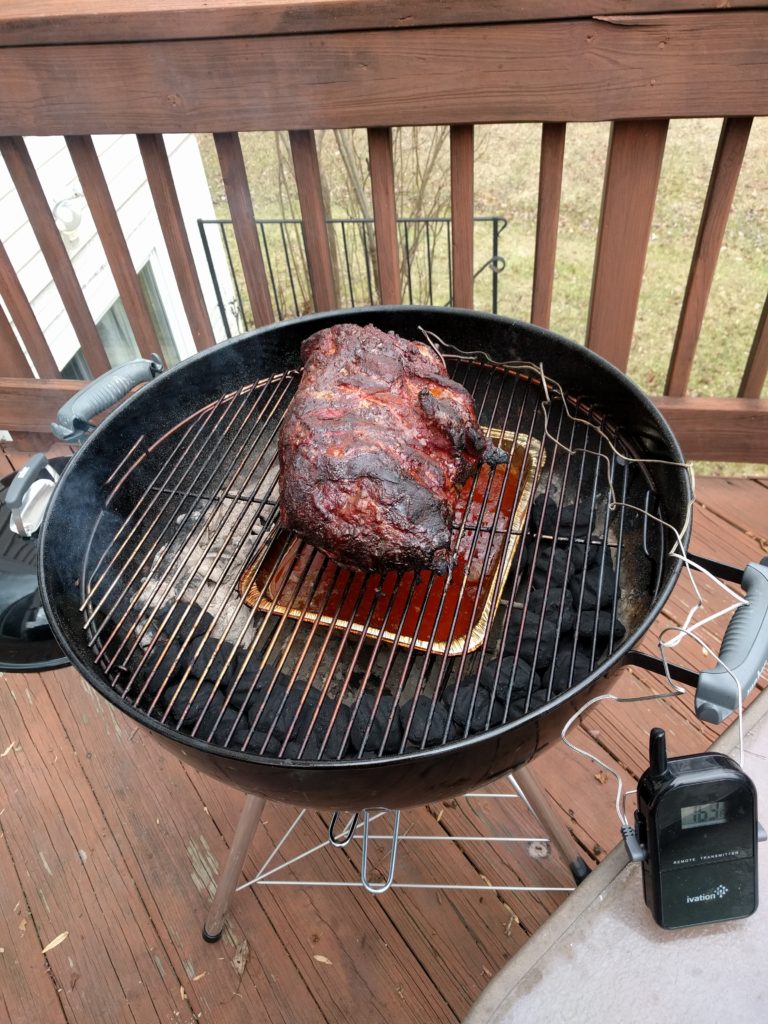
A little after 1400 I noticed my temps starting to drop precipitously. I’d been checking the snake every time I adjusted the vents, but given how cold it was outside I didn’t want to do that too much and leak more heat out than the Kettle was already leaking. Turns out my snake was about to die. So I removed the cooking grate, moved the water pan, cleaned out the ash, continued the snake onwards, and watch the temps. They were taking too long to climb back up, so I took 1 chacoal lump, and the newly created charcoal (the hickory wood from before) and lit that in the chimney. I then added that to the snake. Temperatures began to climb back up. This was also around the time I had a stall. Was the stall because I’d reached stall temp or because the meat was cooled by being taken out in winter (I think in the summer the effect would be negligible)? Anyway, here’s how the pork shoulder looked at that point:
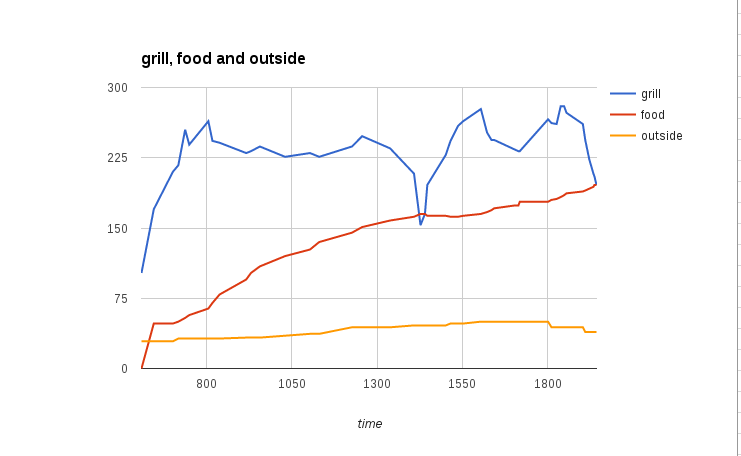
Before I get to the finished product, here’s a chart of various temps throughout the cook. The least accurate is the ambient temp as that was from my phone which probably updated on the half hour.
Near the end there as it started to get cold again and the coals were starting to run out on my second snake, I had to clean out the ash a lot to maintain my temps.
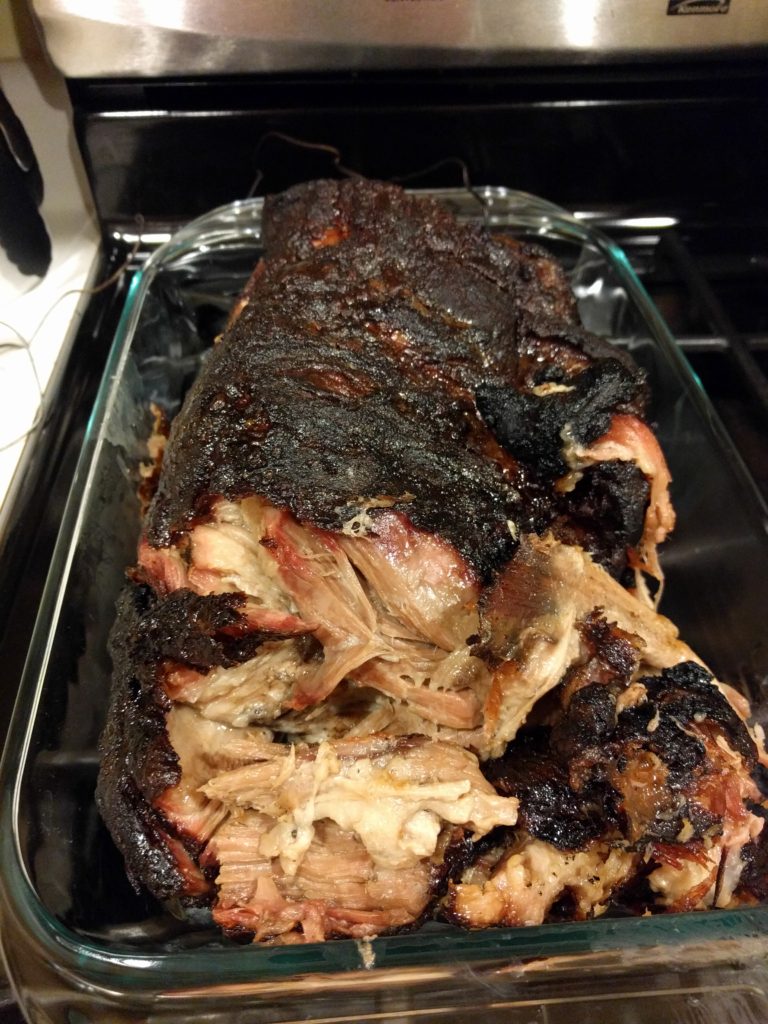
It was getting late and I pulled it at 196 rather than wait for 203. It was super tender and a bit actually stuck to the grate and I had to remove it with a spatula (that’s the part on the right of that photo). The bark tasted amazing on average. However, there were some parts (especially on the edges (as opposed to top and bottom)) that were actually burnt rather than just looking burnt. That was regrettable because it was bark and flavor no one wanted to eat. I might end up cutting it up so that it’s smaller and easier to eat while still giving flavor.
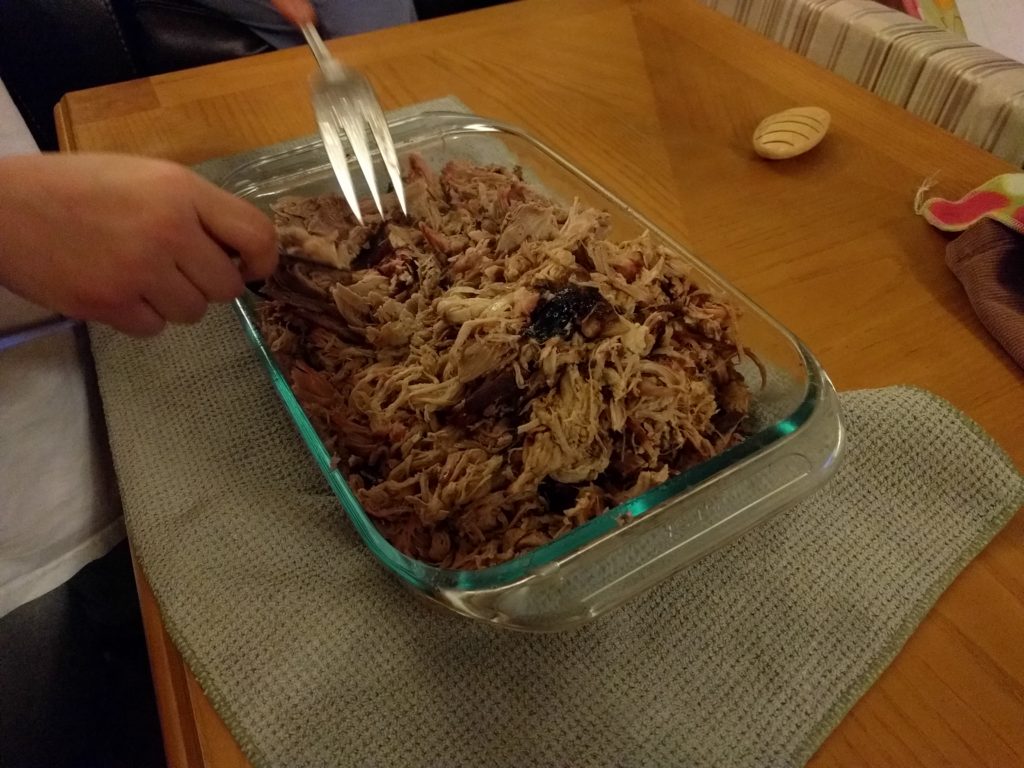
My wife shredded the pork as I had no experience with that whatsoever. Then we took her homemade coleslaw (buttermilk instead of mayo and 2 kinds of cabbage!) and made sandwiches:
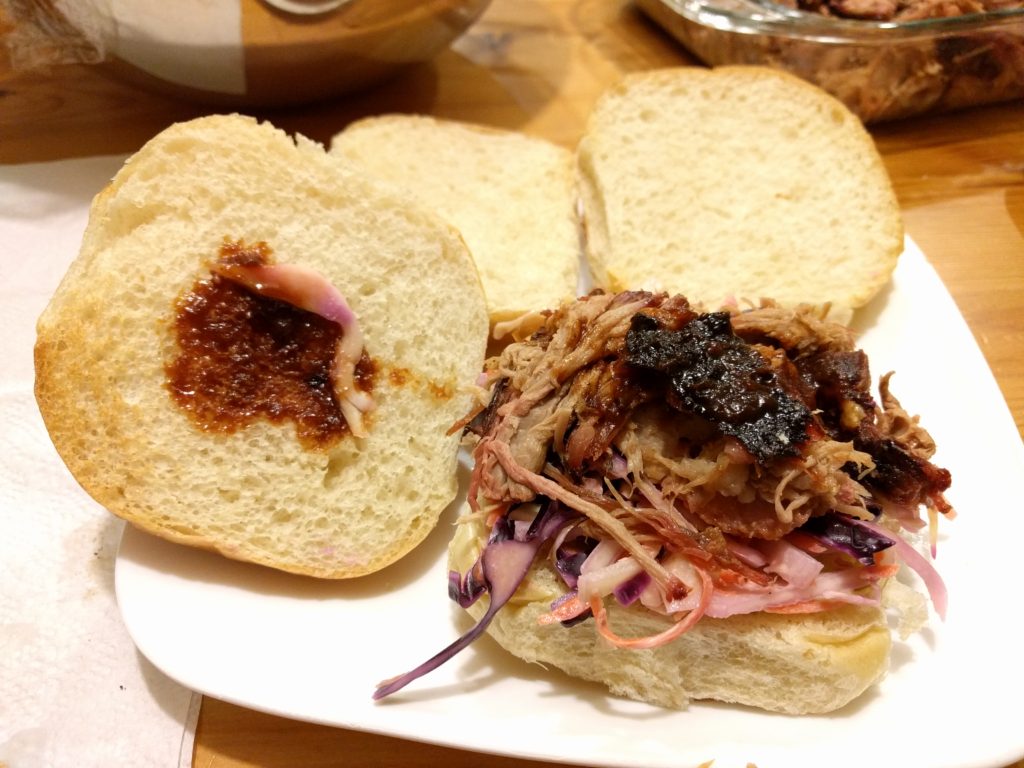
I never had to crutch so my bark was somewhere between simply tough and crunchy. I liked it, but my wife did not. Perhaps in the future I will crutch it or rest it with foil to soften the bark a bit for her? Another lesson learned is that since it really does have nearly all the flavor in the bark (like 90%), I’d do better to have 2 five pound shoulders instead of one ten pound shoulder to increase the bark to inner meat ratio.
Overall it feels great to have conquered my first long cook. My wife liked it (and she does NOT mince words with me when it comes to food taste – she will not hesitate to tell me when food flat out sucks) and I took some to work the next day and the guy with whom I usually talk BBQ shop loved it. People did not want to stop eating and share with others. So that’s a good sign. In fact, I actually found that it tasted a bit better to me the second day. Aforementioned BBQ expert agreed with me, but your mileage may vary. Next….time to find some whole packer brisket!
3 responses to “First Smoked BBQ Pulled Pork”
Check Costco for the brisket or a restaurant supply store that’s open to the public (in Washington state we have Cash’N Carry).
They don’t have it here in MD. q:o(
Never trim the fat off a shoulder,butt,or picnic..fat renders and keeps the meat moist, and protects it from getting burnt…welcome to the smoking world..practice makes perfect..!!