Dungeon in a Box Voyage of the Fallen Star Recap: Sessions 1 to 5
EricMesa
- 15 minutes read - 3191 wordsThis was our second non-kiddie Dungeons and Dragons 5e campaign after Humblewood. As it says on the tin, this is a very dungeon-focused adventure. I reviewed the first 3 adventures from the point of view of the Dungeon Master a while back. This is a session recap of the adventure as experienced by the players. If you’re not a DM, but someone who might play, there are spoilers below!
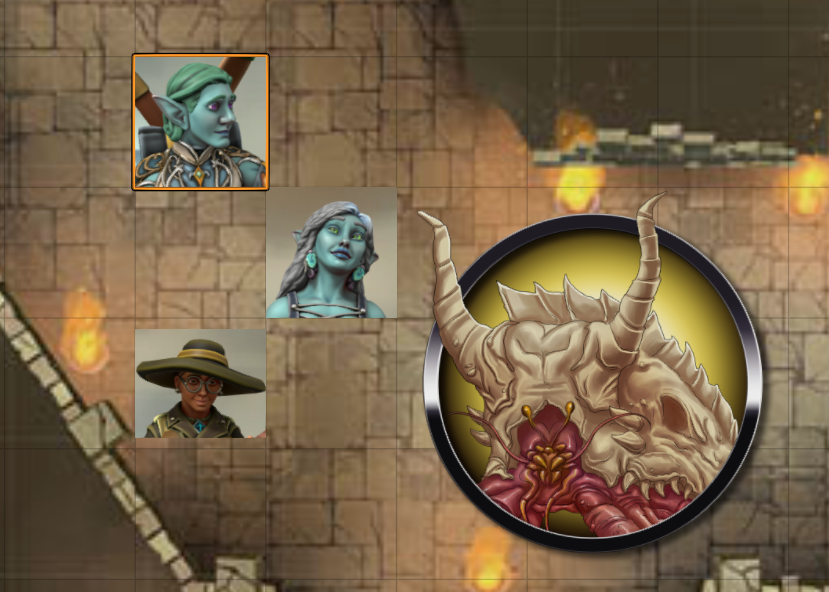
Note: we didn’t play in a VTT, I’m just using it to illustrate some key moments from each session.
Character Background
Hazel
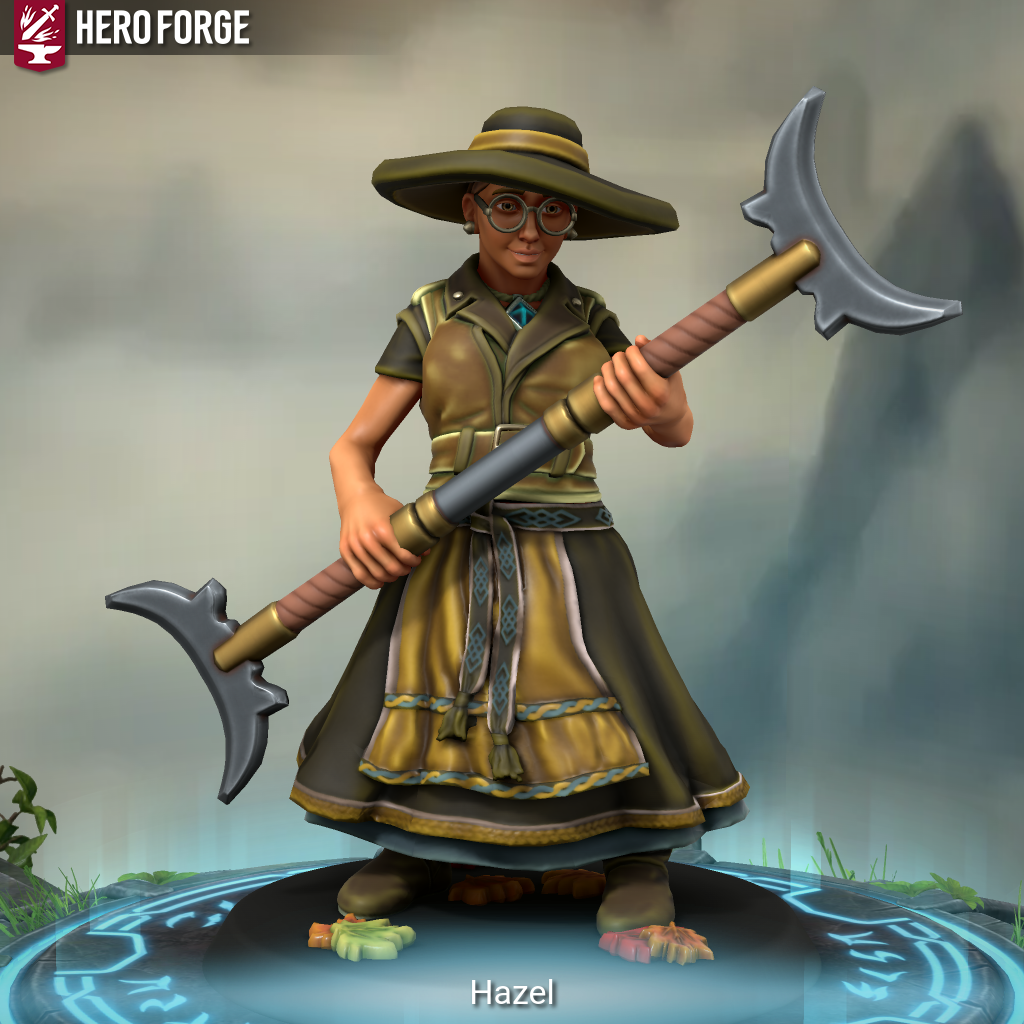
Hazel’s parents were immigrants from Slew. The city had increased their rent so that her parents could no longer afford to live in their small home. So they moved to Stonefast, where it was a little more manageable to live. When they moved to their new home, they converted it into a herbalist shop. While her parents set up the shop and bought what they needed, they sent Hazel to be a worker at another business and earn some coin. Hazel learned early how to smile at a customer, how to haggle, and how to manage a business. Eventually her parents had saved up enough money to open and manage the shop, so Hazel came back home. She was the oldest of all her siblings, so she developed a nature of caring for everyone. When she was 15, she went into the woods and got lost. She wandered into a Druid encampment, and they rescued, then escorted her back to her home. Astonished by their kindness to her, Hazel started researching on Druids. This became an obsession, and she eventually become one of the Conclave of the Unicorn. Hazel was sent out to do minor jobs, but she also came back to her parents’ shop every once in a while to stay and help with family. When the Dark Dwarves started causing problems, the Druids sent her to try and stop them.
Amelia
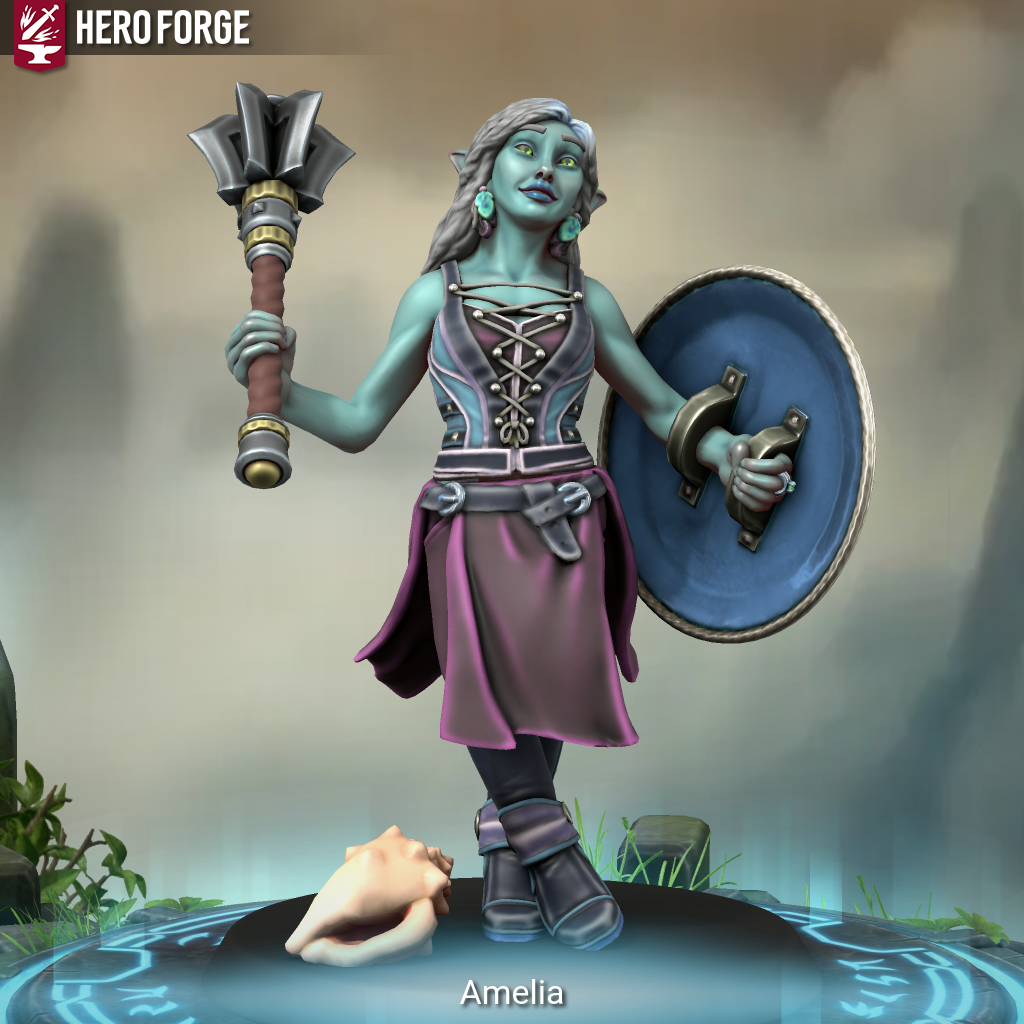
Amelia is an acolyte at the local temple of Katrina, the goddess of Weather
Thomas
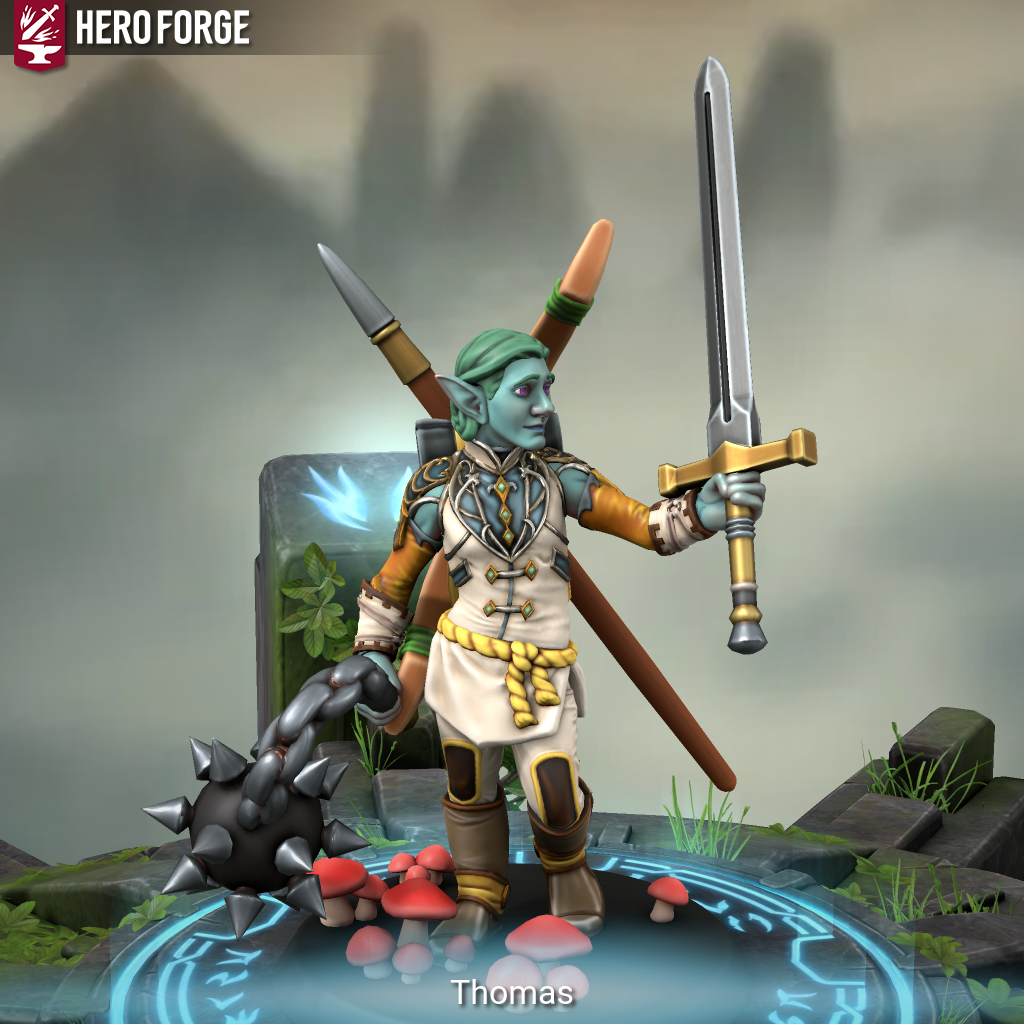
After being a guide for a while, Thomas settled down to marry and have 1 child. He lives in a house with his wife Fiona and their daughter Lilly. People used to ask Thomas for directions though the forest. Thomas and his sister Amelia have a great sibling relationship. Thomas can’t spend that much time with his family but still loves them.
Story Prologue
Hazel was contacted by Cendrial on behalf of the Conclave of the Unicorn. Since Hazel knew they had to start at Greyhaven, she looked for party members there. She found a fighter mercenary named Thomas. He suggested his sister who was an acolyte at the local temple of Katrina the goddess of Weather.
Session 1 - The Star Tide
The party entered the temple armed with the map provided by Cendrail. On the way in, the adventurers were careful to inspect all the activated traps, so they had a good idea of how to avoid them on the way out once they were reactivated when the astral compass was removed from its dais. In the study room, Hazel agreed to become possessed by Magnus Barrelblock. He promised to help them get the astral compass and escape unharmed. He proved to be telling the truth when he helped them with the geode trap. Later he also promised to help find the pirate Scarlett’s hidden treasure. The giant hermit crab was awakened when the temple traps were retriggered. Thomas tried to attack the hermit crab. His arrow did nothing to the dragon skull it was using as a shell. Amelia was also unable to harm it with frost. Hazel looked at the map, noticed it was strange that there was water in the dungeon and decided to chance escaping through the water. Everyone followed and made it out alive.
Fighting the Giant Crab
On their way to Grayhaven they came across an old corpse that was just bones and rusty armor. However, Thomas grabbed a ring off the corpse that he was later able to sell.
The adventurers made it to Grayhaven’s walls 18 hours after having left the temple, their senses assaulted by the sounds and smells (like piss and night soil). Hazel led them to Cendrail’s tower. He gave them the documents they needed to obtain the ship that the Conclave of the Unicorn bought in their name and told them to come back in a day or two when he would be done researching the compass.
When they arrived at the dockmaster Captain Catapult attempted to cheat them out of their ship, but they succeeded in convincing the dockmaster that they were the rightful owners. They just had to get proof that they worked for the Conclave of the Unicorn. On their way to the Conclave’s location in Grayhaven, they first stopped at a shop to exchange the ring for gold. Thomas did not want to barter, so he only got 20 GP instead of 50 GP. Then the party bought armor and weapons. Additionally, Thomas entered an archery tournament and won 2/3 rounds.
Finally the group made it to the Conclave. They were asked to defeat a rust monster in exchange for 15 GP each as well as proof they worked for the Conclave. They succeeded in the battle, although they did also disturb a nest of stirges. Afterwards they had to get the ship signed over to them from the current owner, Hal Hawkshaw. Over some drinks, he convinced them to let him stay on as captain. He agreed to meet them at the docks.
They went back to Cendrail and found him being attacked by Blackrift soldiers. They saved him and learned how the compass worked. He refused to go with them or be persuaded by Hazel that Hal could truly have had a change of heart, so the party went off to the docks. There they were assaulted by another group of Blackrift soldiers. As they were defeating the soldiers, they saw that Captain Catapult and some pirates tried to make away with the ship. (Well, they didn’t know it was the tabaxi captain, yet). They successfully climbed aboard and defeated the pirates, Thomas throwing each corpse overboard as they died.
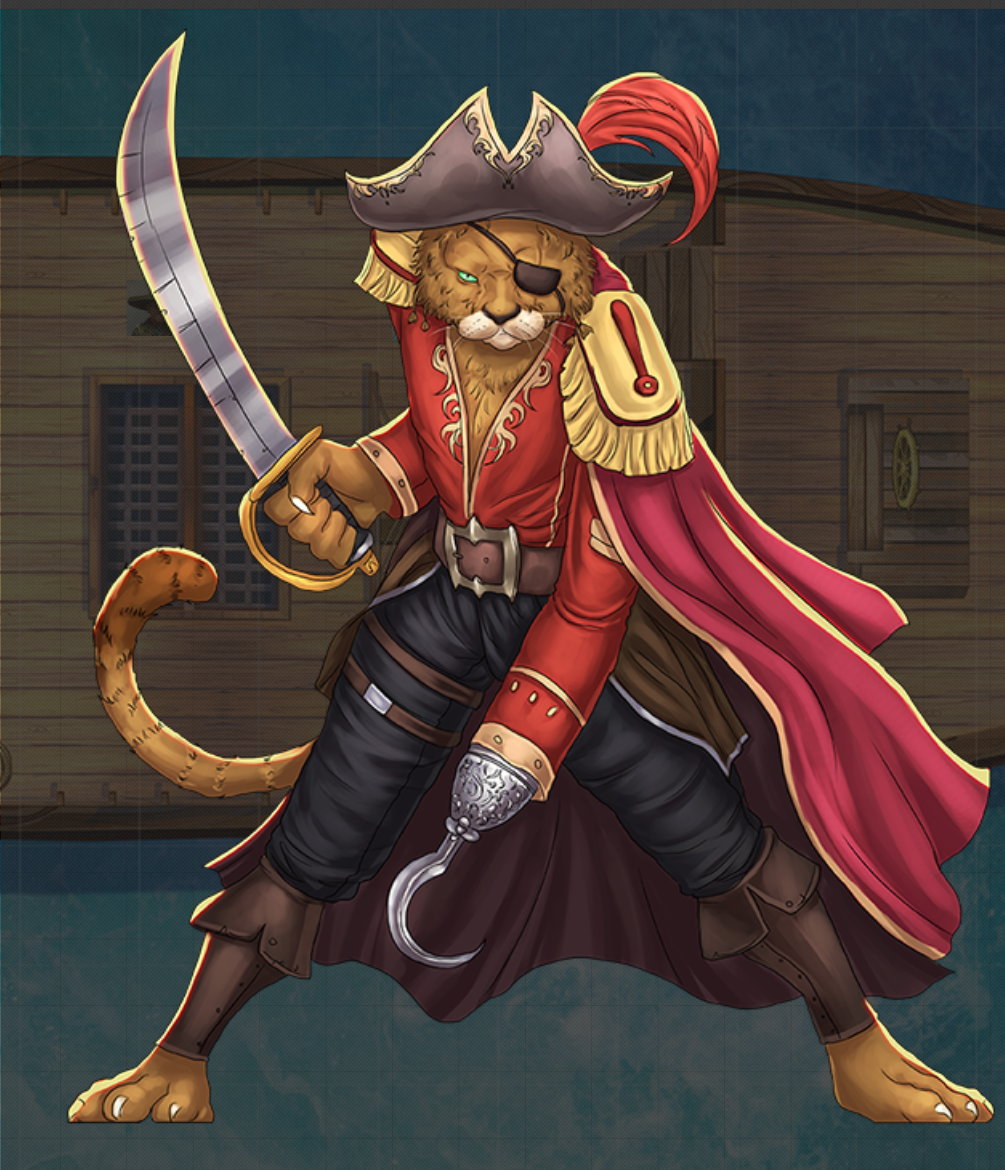
Captain Catapult wants the ship!
Finally, they had a moment of peace as they sailed on with their new ship.
Session 2 - Roar of the Blazing Isles
As the party sailed on from Greyhaven to Igni’ka, Hal Hackshaw expressed his happiness at being back at the helm of his old ship. He queried about a new name for the ship and the adventurers christened it the Ship of the Fallen Star. The team took up various roles on the ship with Thomas going up on the crow’s nest to be lookup, Amelia serving as the medic, and Hazel being the cook.
When they arrived at the island, they saw that Blackrift had beaten them to the island. It took 10 hours of searching, but they found a safe cove at which to drop anchor. Hal stayed aboard the ship to guard it from being boarded. The others went aboard one of the lifeboats. They broke one oar while sailing to shore, but otherwise made it OK.
Once they arrived on shore they were attacked by a species of Elf long-thought to have departed the world and 2 blackrift soldiers. While they are searching through the jungle Magnus Barrelblock tells them to search at a trap that has a dead explorer. There they get a map towards Scarlett Kate’s treasure.
As they get close to the volcano (which the compass is pointing to) they meet up with the hermit. Once they convince him that they will get rid of the Blackrift soldiers, he agrees to help them. He also tells a bit of his backstory of leaving society after suffering at the hands of the Blackrift nation. He gets them to the volcano, but refuses to enter.
The team blazes through the chambers (no pun intended) and finally reach a series of pillars they have to climb. Thomas keeps falling and getting injured so Hazel makes her way up and discovers the firewolf up there. After a battle, they find that a star piece was animating the firewolf. There’s also a steam spirit that is born from the death of the firewolf. The volcano starts erupting so the party flees.
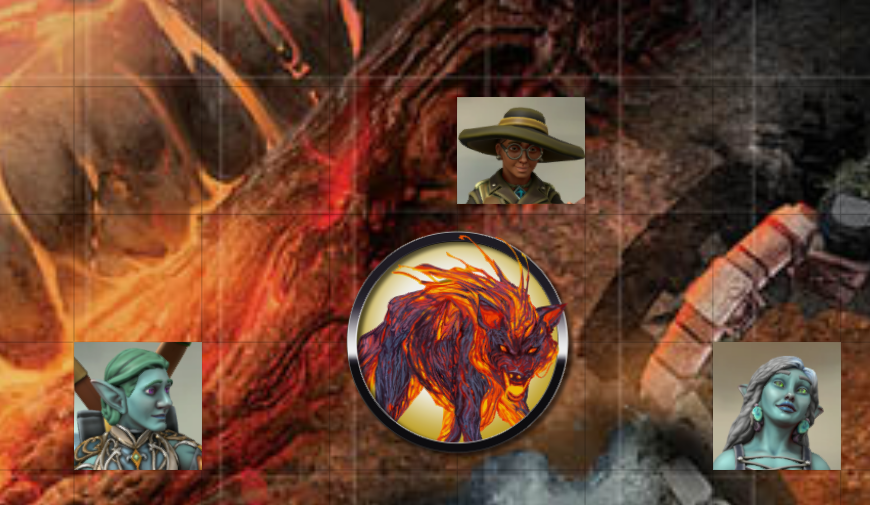
Fighting the Magma Wolf!
The hermit convinces enough of the party to leave behind the steam spirit so he gives them an infernus urchin and instructions on how to use it for healing. The team sails away towards the Giant’s Spur.
Session 3 - Pillar of the Giants
As the team sails towards the Giant’s Spur, they pass a dragon sea marker as they leave the oceanic boundaries of Greenwold and into the dragon Lux’s territory. They arrive at some trader ships at the shoals an hour out from the island. There Thomas sells his spear and the party learns about the pilgrim ascension, the need to pay Lux for a red flag for safe passage, and that someone is looking for griffin eggs. Magnus Barrelblock also asks Hazel if she will look for a glyph related to Scarlett Kate’s treasure. He asks nicely and both Hazel and Amelia go looking. Amelia finds it. Unfortunately, it’s only half there as the shoal is a broken rock.
When the party attempts to get onto the island, they’re attacked by 4 soldiers from Blackrift. They easily defeat them. Aurora, one of Lux’s daughters arrives and congratulates them. She offers to trade a red flag of safe passage if they’ll figure out what’s going on on the island.
As the team climbs the lower spur, they defeat some steam mephits who were messing with pilgrims trying to cross a bridge. They find a pilgrim who is being dissolved by an ooze (well, at first they think he’s just crushed by rocks). After defeating the ooze, Hazel gives Amelia the sapphire the pilgrim was holding. They see a pilgrim being charmed by a Harpy. Thomas is the only one who wants to help at first. Uses his bow and arrow to interrupt the charm. On the third day, they run into a priest and pilgrims. They convince him they also follow the Oarsman.
At Tidewatch, they side with Selka against Bollo. (And also sell her the autographed book of romantic poetry) They are attacked by cloud golems and realize the previous pilgrims were kidnapped, they didn’t ascend!
On the upper spur, they go to the ancient tomb, but to not disturb the tomb. They visit with a genasi and get some hospitality. Finally, Thomas saves a foal pegasus from falling to its death.
In the giant’s home they fight the cockatrice to make a potion to un-petrify people which they’re able to do since Hazel speaks and reads giant. They also find the second-half of the glyph for Magnus. They use the un-petrify potion on a pilgrim (who renounces his faith), and explorer (who was trying to get to the top and was petrified for a month), and a griffon.
They defeat the giant cyclops by toppling the scaffolding around the statue he was making of his dead wife. When they get back to Tidewatch, Selka asks to join the crew and is welcomed aboard. Aurora arrives with the red flag and the giant’s staff, which had the star piece in it. The crew sails on.
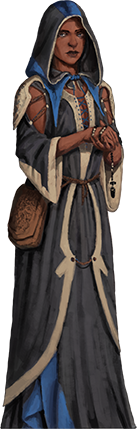
Sister Selka
Session 04 - Queen of the Rotting Jungle
As the warriors sail away from the Giant’s Spur, Hal recalls that the team had discovered a map towards Scarlett Kate’s island. The crew decides to stop there since it’s on the way to where the compass wants them to go. They make their way through the island and find Kate’s grave. Amelia heads back to the ship to get a shovel. They dig up the bones and Hazel looks through the journal.
When the party gets back to the ship, Sister Selka uses magic to examine the coat and discovers the wearer can breathe underwater.
They spotted a coconut with a sail and allowed them to board. One of them, named Haulani, climbs up onto Amelia’s shoulder so he can speak directly into her ear and explains that they need help and the start fragment landed at their island.
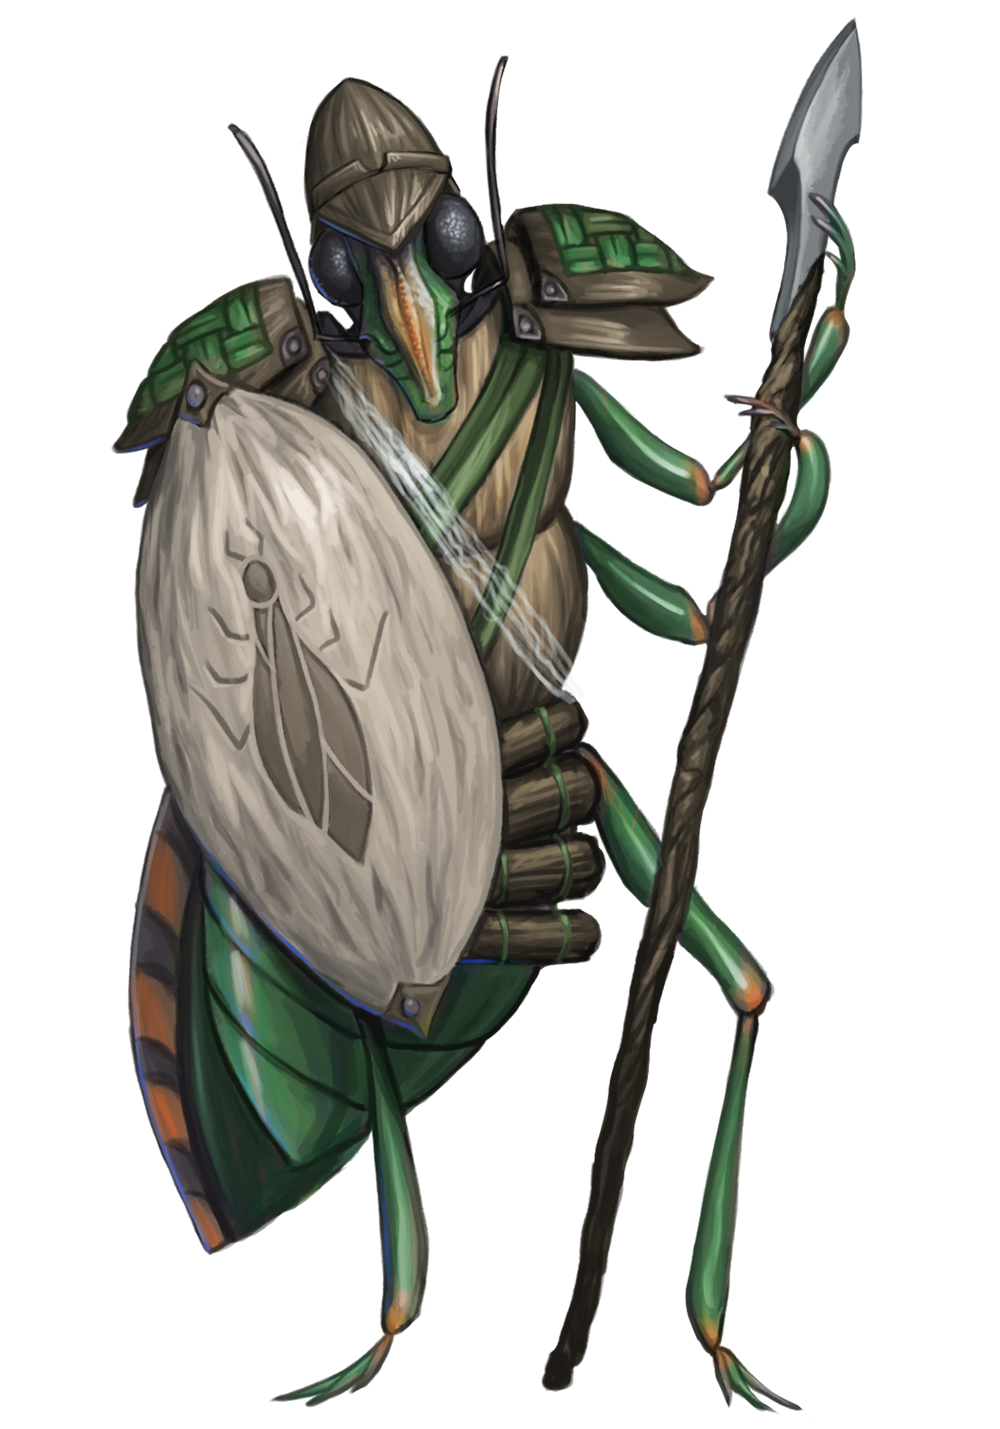
Haulani
Once the party (including Sister Selka, being played by your humble DM) arrives at the island, they attempt to go deep into the island, but the vegetation fights them. They agree to be shrunken down to Oahtu size. They explore the city for a while before being invited to the Queen’s court. There they fight the enemy and agree to head deep into the forest to fight the enemy and retrieve the star fragment. On their way out, they meet an Oahtu and agree to look for honey in exchange for coconut armor.
As they depart they are attacked by, and defeat, Felldew. They continue through the jungle and are attacked by bees. Hazel uses the spell “speak with animals” to talk to one of the bees and gets honey in exchange for helping them find the tallest flower.
The part then finds Oahtu ruins. They explore the ruins and they collect 3 units of cleansing water that can defeat the effects of the spores.
Finally, after 12 hours the party arrives at the tree where the star fragment landed. There they heal the parrot with the cleansing water. The party makes their way through the tree, fighting various creatures (mostly of the ooze variety). Eventually they get to the final boss.
Sister Selka notices that the current avatar of the enemy has a fragment of the star embedded in it. Before anyone on either side can attack, Thomas goes up to the enemy and pulls out the star in one go. (Basically passed strength check in one go). All the enemies turned to dust. The main enemy became a seed.
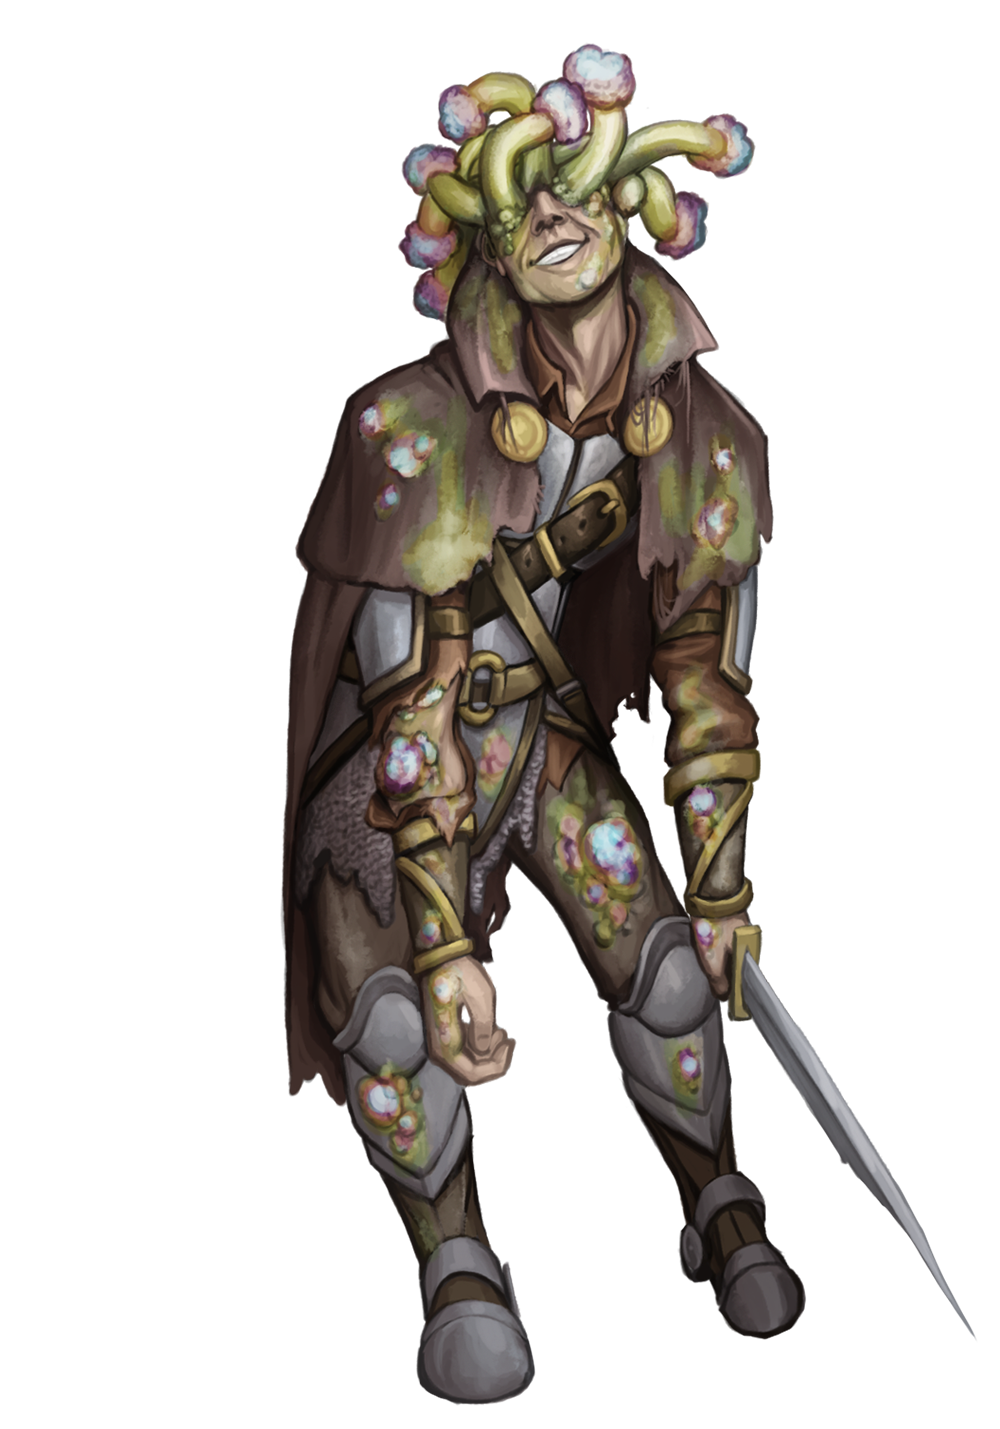
The Enemy!
The party got back to the city for a celebration. They delivered the honey and got the coconut armor. A colony of Oahtu decided to join them on the ship and they buried the seed before leaving.
DM Commentary
It was funny playing this one directly after playing the Tales of the Valiant one-shot Caverns of the Spore Lord (which I selected as a Halloween adventure). (I’ll have a recap with this adventure coming “soon”). I also explained to the kids that these types of spore infections are real in the animal kingdom.
Session 05 - Leviathan of the Lich
As the party followed the compass towards the Labyrne Basin, Hal tells the party of the legends he’s heard of the Labyrne Basin. As the ship enters the basin dozens of Blackrift ships surround them. Torrential rain begins to fall and limits visibility. The Blackrift navy also has a compass, which is they they’ve been dogging the party on most of the other islands. They also see, on the dock of one of the Blackrift ships, the Archimandrite of the Iron Chain, a religious leader of the far elves.
Blackrift sailors throw grappling hooks at the party’s ship. They attempt to board the party’s ship. Many of them fall into the sea because of the storm and the waves rocking both ships. The Archimandrite uses his powers to jump onto the party’s ship. He demands the compass, claiming it belongs to him. Before the team can do much arguing or fighting, a gigantic sea monster swallows the ship.
Everyone is knocked unconscious and wakes up in a dining room chamber along with the Archimandrite and three sailors. The party is unsure of whether to eat or what to do. They are very, very cautious. The Archimandrite orders the sailors to search the room. They set off many traps, dying, but too afraid of the Archimandrite to disobey even as their comrades died. The Archimandrite tried to engage the party in conversation, but they were pretty guarded. Kalvikodas, the lich who created the undead leviathan they were all now inside of, appears and invites the parties and Archimandrite to become his newest collections. The Archimandrite attacks Kalvikodas and the lich freezes him, demonstrating he is a more powerful sorcerer. He then invites the party to try and escape, but is confident they cannot best him nor the traps in the leviathan.
The party chose not to dance with the dancing specters. Thomas enters a room where Kalvikodas forces him to face his greatest fear. They go through many more rooms. Eventually they find a special hammer. Later they find the Glerm, undead dwarf who runs the armory. They give him the hammer and he regains his memories. The dwarf joins them. They keep moving on, often splitting up. Eventually they find Kleevi, a tiny fiend operating as a librarian. She and Glerm bicker as she has often played tricks on him, including hiding his hammer. The team has to choose who they want to join them for Glerm will not continue with Kleevi. The party chooses Kleevi.
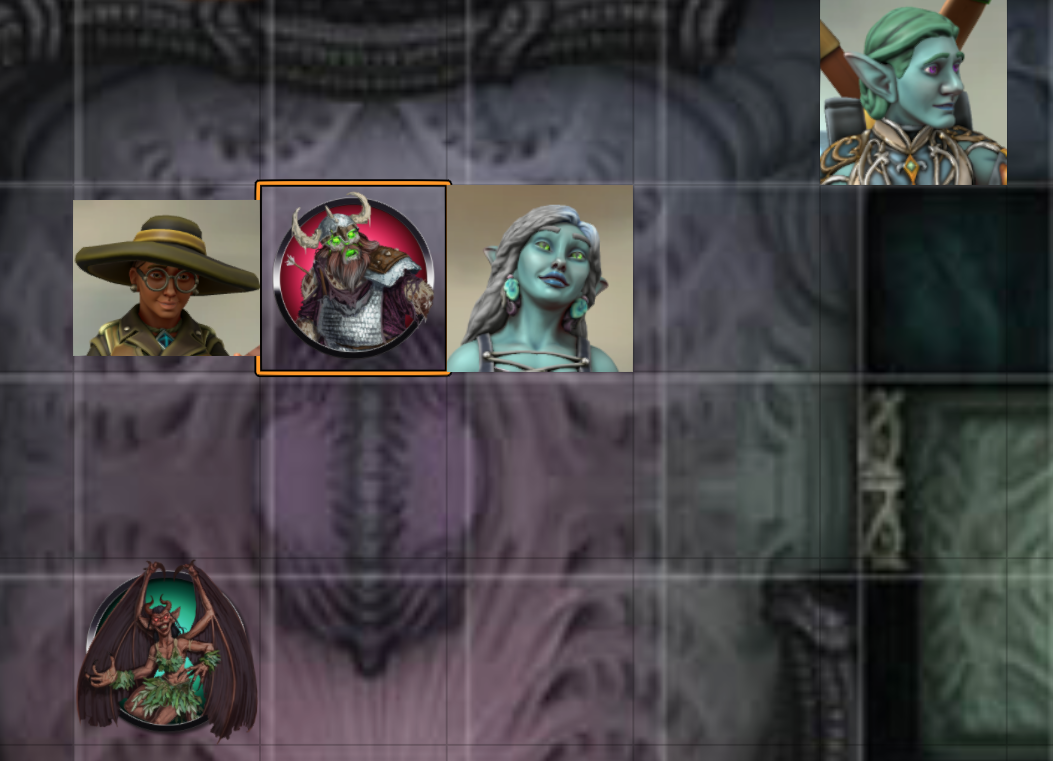
Choosing Between Kleevi and Glerm
Eventually they also pass by a huge wolf without attracting its attention. They make it to the chamber with Kalvikodas. Kleevi breaks the vial holding the Leviathan’s soul and they are able to escape as the leviathan disintegrates around them.
They FINALLY have the final piece of the star fragment for the astral compass. They can now finally go for the star they’ve been searching for!
Overall DM Commentary
This might just a failing of mine as the DM, but the story made a big deal about the various groups that the characters could belong to. Scarlett chose to have Hazel be a member of the Conclave of the Unicorn. Other than a mention around book 3 that a certain port could be a good place to catch up with the organization, it hasn’t really played a part at all. Maybe this will change as we go further into the story, but for now it seems to have been a bit of a pointless detail.
I learned through this adventure that my players are not the biggest fans of dungeons. I think they’re interested in figuring out what’s going on with the star and having their characters make their wishes. But In the future I’m not going to buy or run adventures that are so heavy on dungeons. I think they were pretty happy with the amount of dungeons in Humblwood (essentially just 1 major one and then a couple small sections that could be considered dungeon-like).
The other thing I need to do as we work towards finishing up this adventure is keeping the party together. Especially in the last dungeon, I allowed Sam to take Thomas in a completely different direction than the girls. I think there can be some times where this is a valid style of play, but for the large dungeons in this adventure, it becomes a little too chaotic and hard to balance the encounters since they were made for all the characters to be together fighting the enemies.