Building the computer
EricMesa
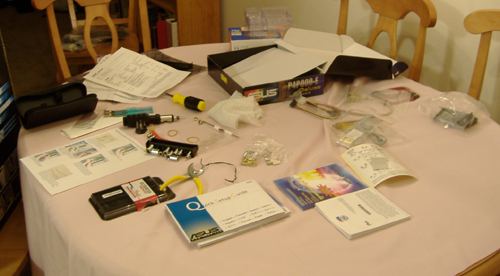
- 2 minutes read - 405 wordsHere is the abbreviated commentary on my building of my new computer.Above are the new computer parts I used. In addition to these, I scavanged my DVD-ROM, DVD+-R, and hard drive from my old computer. I actually didn’t use the firewire ports as my motherboard has one in back and a connection for one in the front. I only use firewire for my video camera, so that was enough for my needs. I’m hanging on the to the firewire card for future potential projects.
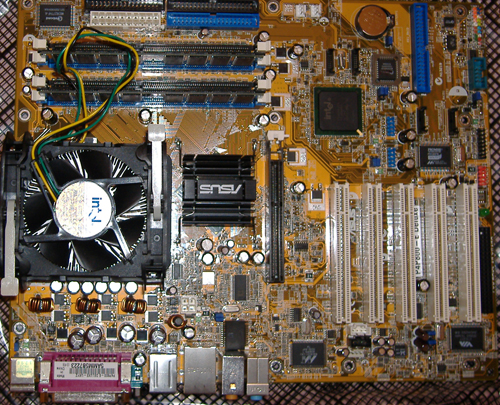
Here’s the Asus motherboard with the Pentium chip and heatsink/fan already installed. I didn’t think of taking one without the heatsink until it was already on and I didn’t want to take it off for no reason. As you can see, there is an AGP 4/8x slot and 5 expansion slots.
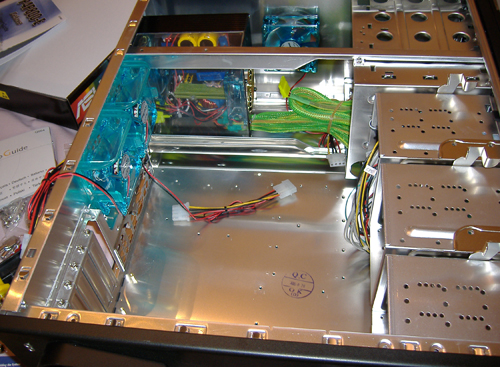
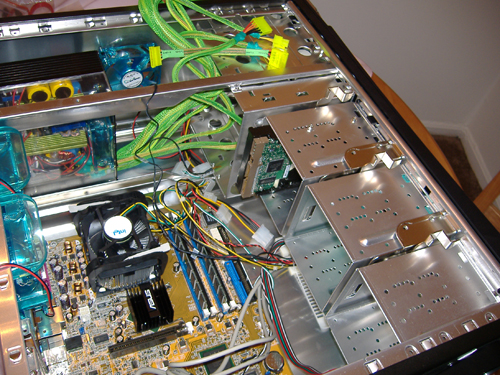
Here’s the case all nice and neat before I got into it to mess around. You can see here there are 3 cages for harddrives. Each holds 2 for a total of six hard drives. Of course, that would mean 2 SATA and 4 PATA, leaving me without the ability to have a DVD-ROM.
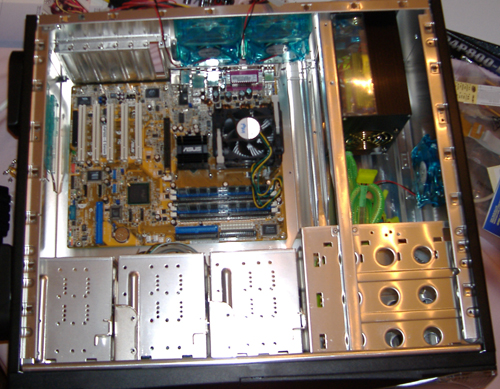
Here I have finally set the motherboard. This was a pain in the butt as the holes didn’t line up with the spots to connect it to the case.
Here I have connected the front controls and lights to their locations on the motherboard.
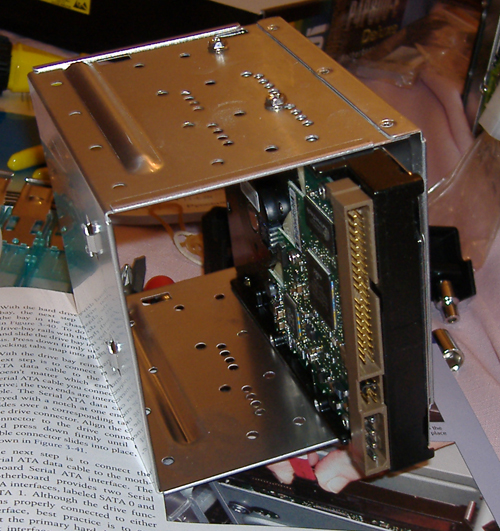
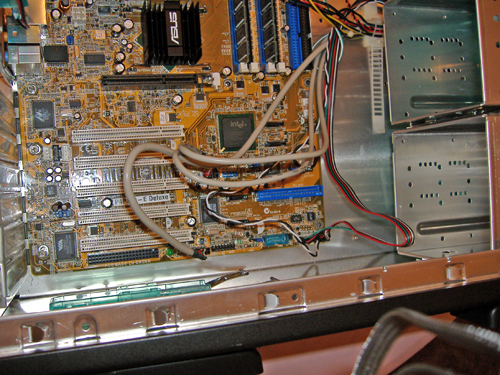
Here’s a shot of the hard drive cage out of the case so that I could attach the screws that hold the hard drive in place. This makes it a LOT easier than having to screw it in while it’s in the case.
I put the hard drive back in, but haven’t connected it up yet.
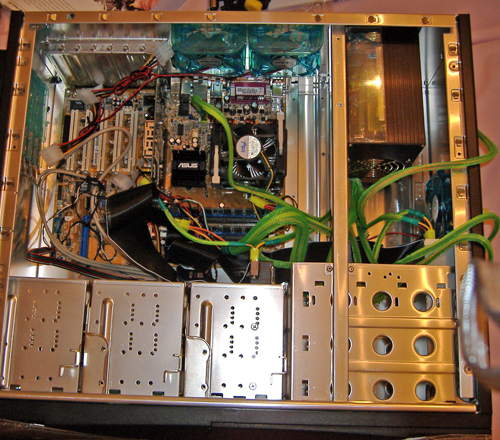
The hard drive is all connected up.
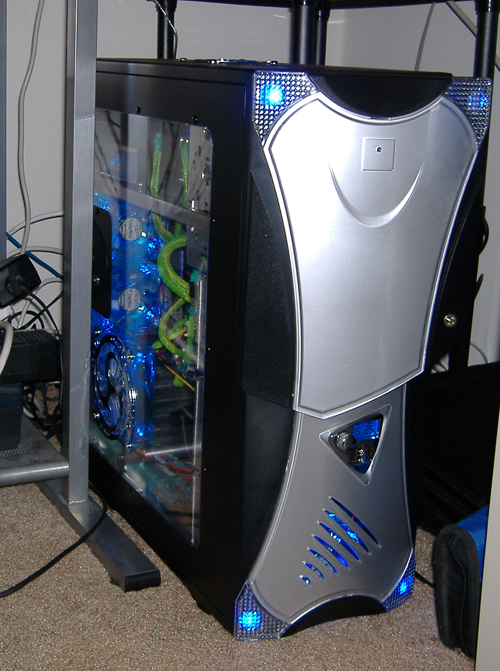
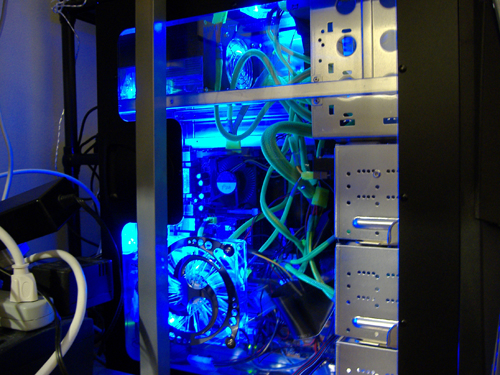
Here it is from the front all LEDs glowing, but you can’t tell with the flash from the camera going off. I tried to take a shot without the flash and it came out too blurry. However, as you’ll see below, I got a side shot without the flash and it came out just fine.
And here is the aftermath on the operating table:
And that’s how the computer was build. Except, of course, with a lot more time in between shots getting the cables FIRMLY connected and trying to find screws that had fallen in. It was a lot of fun and I’d love to do it again.