Quotes
It’s time once again to empty out my AIM quotes into my blog. Enjoy:
?“You’re, like, my concierge to the Internet Underworld” - T to Chris at work
“Sticks and stones may break my bones, but words will never hurt me. Unless you throw a dictionary at me.” - Colbert 8 April Colbert Report
“They’re so much cuter tasting” - Lauren about airline pretzels
“In science one tries to tell people, in such a way as to be understood by everyone, something no one ever knew before. But in poetry it’s the exact opposite.” - Dirac
Absolute First Impression of Ubuntu 8.04
Last weekend, it had been a few days since the latest Ubuntu hit the net and I hadn’t heard of any major upgrade SNAFUs so I decided to upgrade. I wanted to record my absolute first impressions without doing much, just to see how I felt. The upgrade went by without anything bad happening. My wireless connection still works and nothing major seems to have gone wrong. I went through each of the things I’d heard hyped about in Ubuntu and checked to see how they had changed.
Mario Kart Wii
I’m writing this Sunday, but I am trying to limit my blog posts to one a day so that there can be something for my readers each and every day.
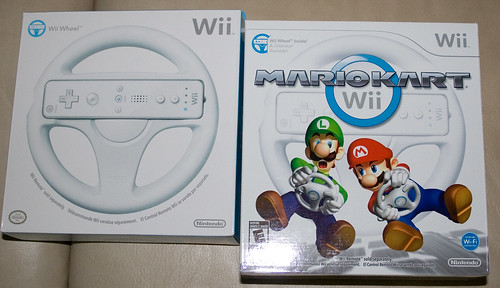
I couldn’t wait for Mario Kart Wii to come out. The Mario Kart series has been my favorite on the Nintendo and Mario Kart Double Dash is the reason why my wife bought a Gamecube. We’ve had countless hours of fun playing and when the release got post postponed until today we were pretty bummed. So today we were at Best Buy right when it opened to make sure we’d be able to get a copy. There were enough, although I wouldn’t be surprised if they sold out by the end of the day.
Joost, the end of Cable TV?
Joost recently (within the last couple of weeks) came out of Invitation-only beta. It’s a program developed by the same people who brought you Kazaa and Skype. Like those programs it also harnesses the power of peer to peer (P2P) technology. (Another reason for advocating net neutrality!) Joost is meant to replace cable TV and provide the viewer with programs on demand. There are a lot of other people trying to work on the same goals, but a key difference is that Joost actually has deal with content providers to legitimately provide content. Both The National Geographic Channel and Viacom Channels are available.
Having all distros release at once?
The Open Source Advocate has an article discussing the merits of all the distros releasing on the same schedule. His main argument, bolstered by quotes from Shuttleworth is that by having them all release at the same time, they will end up with the same software and cause a massive synchronization across all major open source projects. The 2 main quotes I’d like to focus on are:
“Simply set a hard date and modify your goals to make that release date.” - Article Author
Another example of DRM being hurtful
The Free Software Foundation’s Defective by Design is reporting that MSN Music is shutting down, leaving anyone who bought music legally left with music they can no longer listen to. This will have two outcomes and neither of which is what the music labels really want. Some people will decide they got left holding the bomb with one second left for doing the right thing and paying for music. They will decide to download music without paying from now on. They will reason that if they ever buy music again they won’t know if it will cease working. Or they will being to take note of places like Amie Street and Amazon.com that sell DRM-free music.
Mistranslations in the Kama Sutra
If you’ve ever looked at a reprint of the Kama Sutra, I think you’ll agree that reading it without being careful can lead to some interesting things. Such as this:
I don't know if this is real, but if it is....
It’s AWESOME! Check out the video i n this post from Andrew’s blog. If you ever played the original Nintendo, you’ll go nuts.
Floods
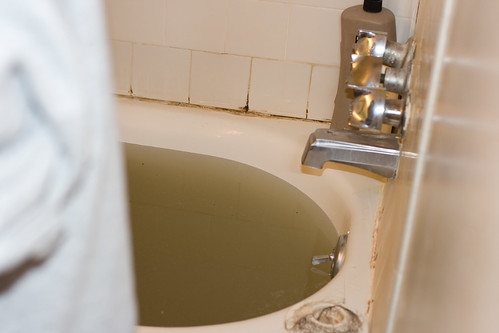
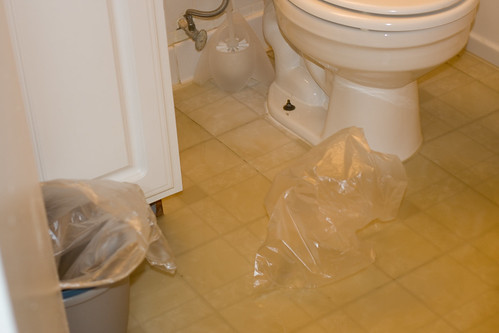
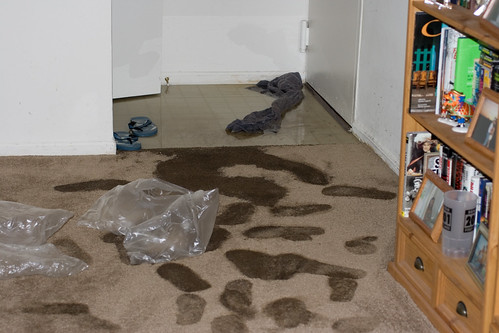
The sewers backed up in my apartment flooding my bathroom via my bathtub and toilet and my living room via the front door with water full of excrement and urine. However, even in these horrible and anoying times, you still have to look at it positively. Our neighbors got flooded throughout their entire house. For us it didn’t spread of out the bathroom or living room. It was royally disgusting and smelly, but at least the cleaning crew worked through the night and morning to get our apartment to a usable state.
